Changing the printer port 27
❏If you see that your printer requires adjustment, select the box for the mode you want to adjust (by clicking inside it with the mouse or by moving to it by pressing Tab).
❏Next, select a negative value to shift the lower row left, or a positive value to shift the lines right. The extent of the shift is indicated by the size of the value.
Use the same procedures as you do for other parameters to scroll through the list of settings and select the one you want (see “Changing User Setup Utility parameter settings” on page 18).
❏After you make an adjustment, you can check its affect on printing by printing a test again.
❏Repeat the above steps for each mode, if necessary
Changing the printer port
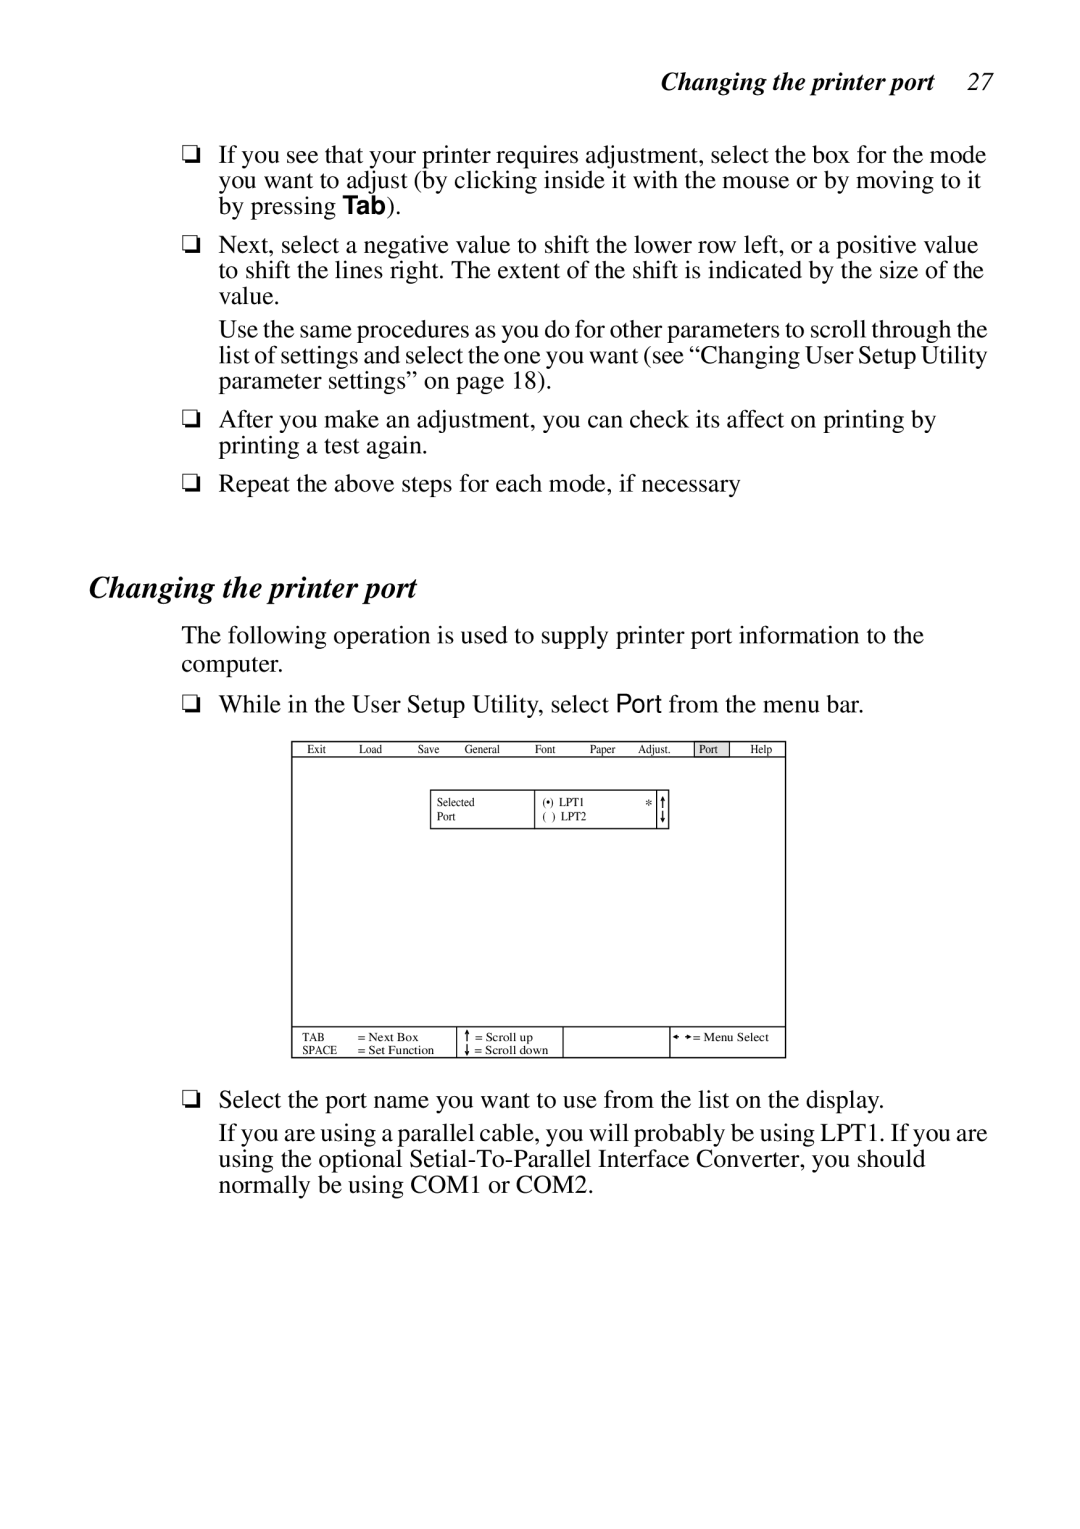
The following operation is used to supply printer port information to the computer.
❏While in the User Setup Utility, select Port from the menu bar.
Exit | Load | Save | General | Font | Paper | Adjust. |
Port
Help
Selected Port
(•) LPT1 | * |
( ) LPT2 |
|
TAB | = Next Box |
SPACE | = Set Function |
=Scroll up
=Scroll down
![]() = Menu Select
= Menu Select
❏Select the port name you want to use from the list on the display.
If you are using a parallel cable, you will probably be using LPT1. If you are using the optional