8Printer Setup
Important!
The following instructions apply to the Centronics parallel cable that is used with an
For an
✓Use a standard
✓The parallel cable should be no longer than six feet (two meters). Longer cables can result in poor transfer of information.
Important!
Make sure that the printer is unplugged from the AC outlet and that the computer is switched off before connecting them.
❏Plug one end of the parallel cable into the parallel port of your computer. The parallel port should be labelled “Printer,” “Parallel,” “PRN,” “LPT1,” or something similar.
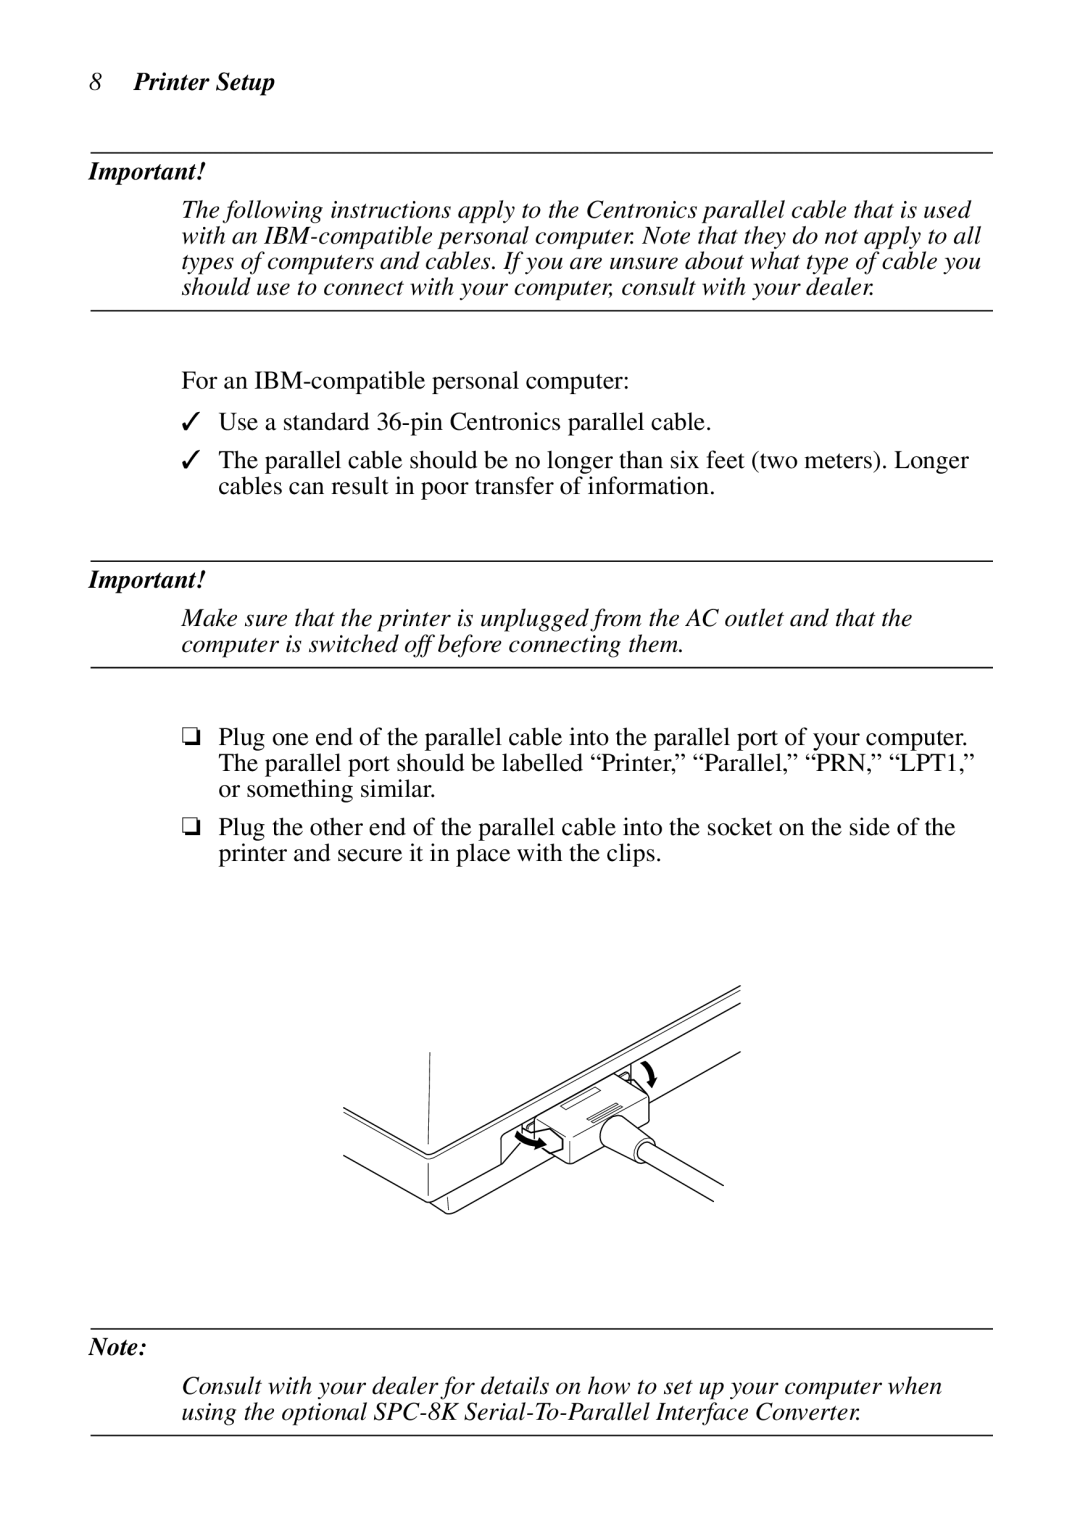
❏Plug the other end of the parallel cable into the socket on the side of the printer and secure it in place with the clips.
Note:
Consult with your dealer for details on how to set up your computer when using the optional