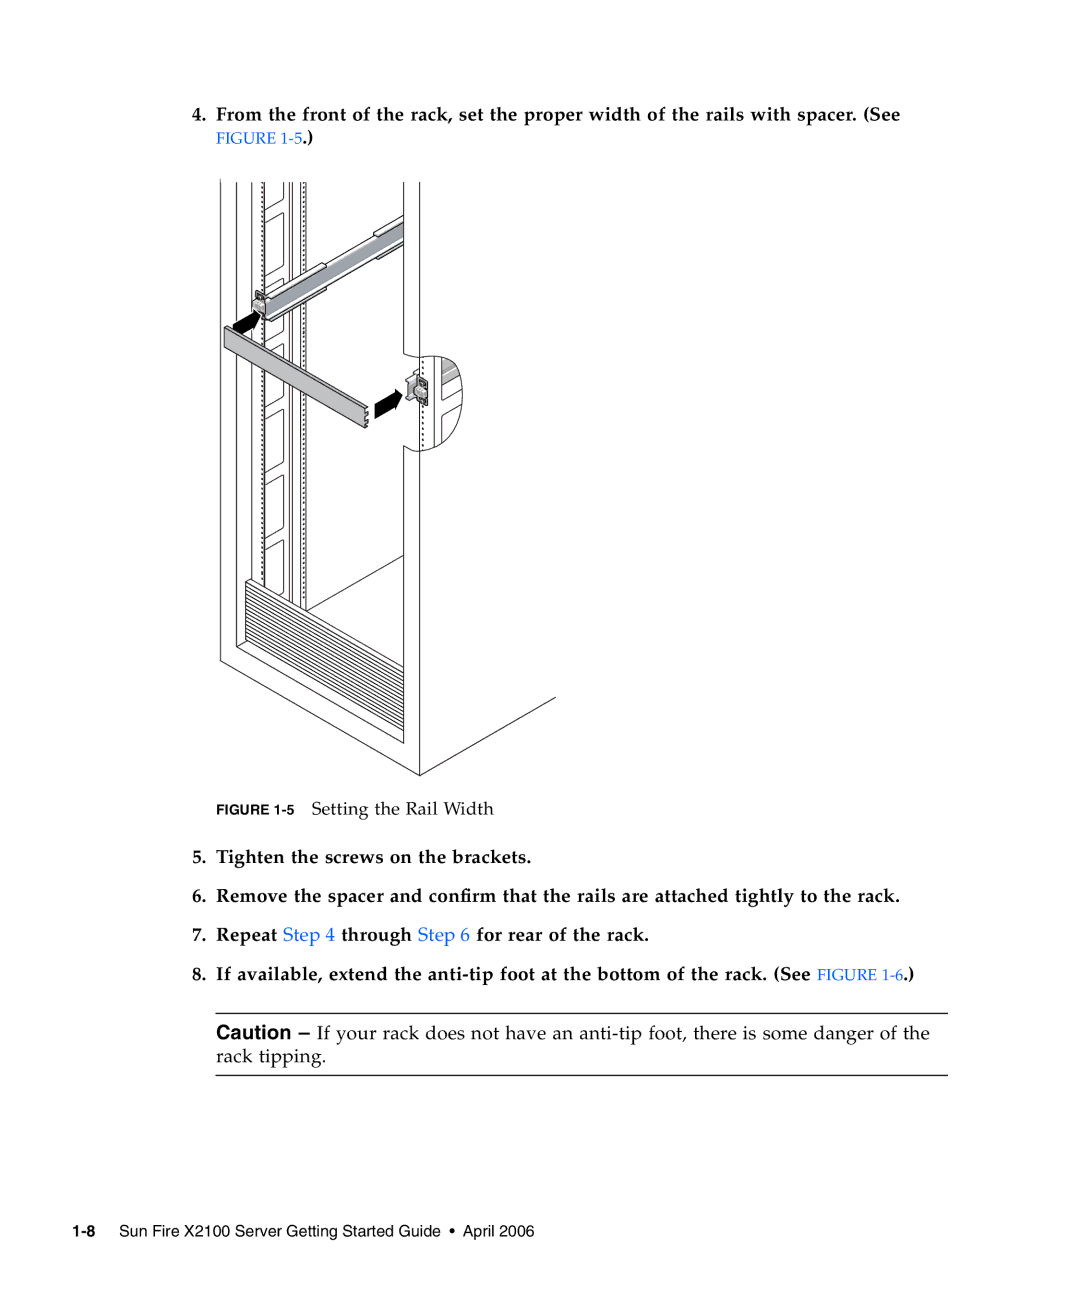
4. From the front of the rack, set the proper width of the rails with spacer. (See FIGURE
FIGURE 1-5 Setting the Rail Width
5.Tighten the screws on the brackets.
6.Remove the spacer and confirm that the rails are attached tightly to the rack.
7.Repeat Step 4 through Step 6 for rear of the rack.
8.If available, extend the
Caution – If your rack does not have an