10.5. Motion Detection Area Settings
Motion detection areas can be set on the digital video recorder menu. For more information, please refer to the digital video recorder’s instruction manual.
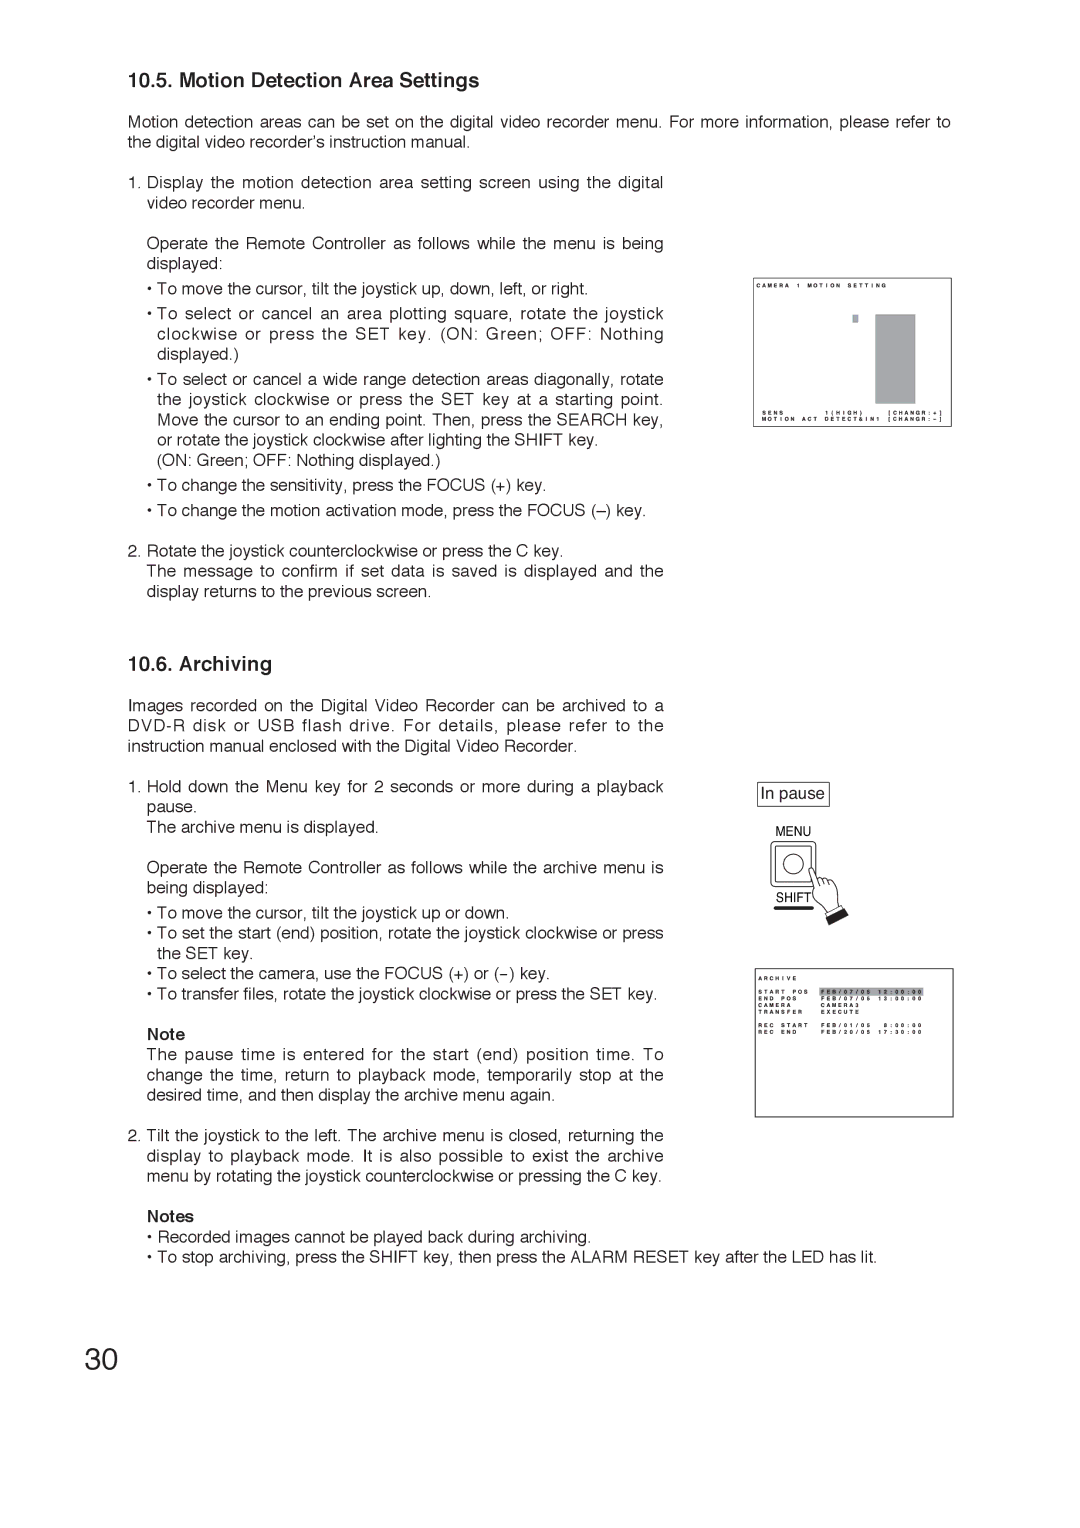
1.Display the motion detection area setting screen using the digital video recorder menu.
Operate the Remote Controller as follows while the menu is being displayed:
•To move the cursor, tilt the joystick up, down, left, or right.
•To select or cancel an area plotting square, rotate the joystick clockwise or press the SET key. (ON: Green; OFF: Nothing displayed.)
•To select or cancel a wide range detection areas diagonally, rotate the joystick clockwise or press the SET key at a starting point. Move the cursor to an ending point. Then, press the SEARCH key, or rotate the joystick clockwise after lighting the SHIFT key.
(ON: Green; OFF: Nothing displayed.)
•To change the sensitivity, press the FOCUS (+) key.
•To change the motion activation mode, press the FOCUS
2.Rotate the joystick counterclockwise or press the C key.
The message to confirm if set data is saved is displayed and the display returns to the previous screen.
10.6. Archiving
Images recorded on the Digital Video Recorder can be archived to a
1.Hold down the Menu key for 2 seconds or more during a playback pause.
The archive menu is displayed.
Operate the Remote Controller as follows while the archive menu is being displayed:
In pause
MENU
SHIFT
• To move the cursor, tilt the joystick up or down.
•To set the start (end) position, rotate the joystick clockwise or press the SET key.
• To select the camera, use the FOCUS (+) or
• To transfer files, rotate the joystick clockwise or press the SET key.
Note
The pause time is entered for the start (end) position time. To change the time, return to playback mode, temporarily stop at the desired time, and then display the archive menu again.
2.Tilt the joystick to the left. The archive menu is closed, returning the display to playback mode. It is also possible to exist the archive menu by rotating the joystick counterclockwise or pressing the C key.
Notes
•Recorded images cannot be played back during archiving.
•To stop archiving, press the SHIFT key, then press the ALARM RESET key after the LED has lit.
30
