4 Replacement Procedures
Figures |
|
|
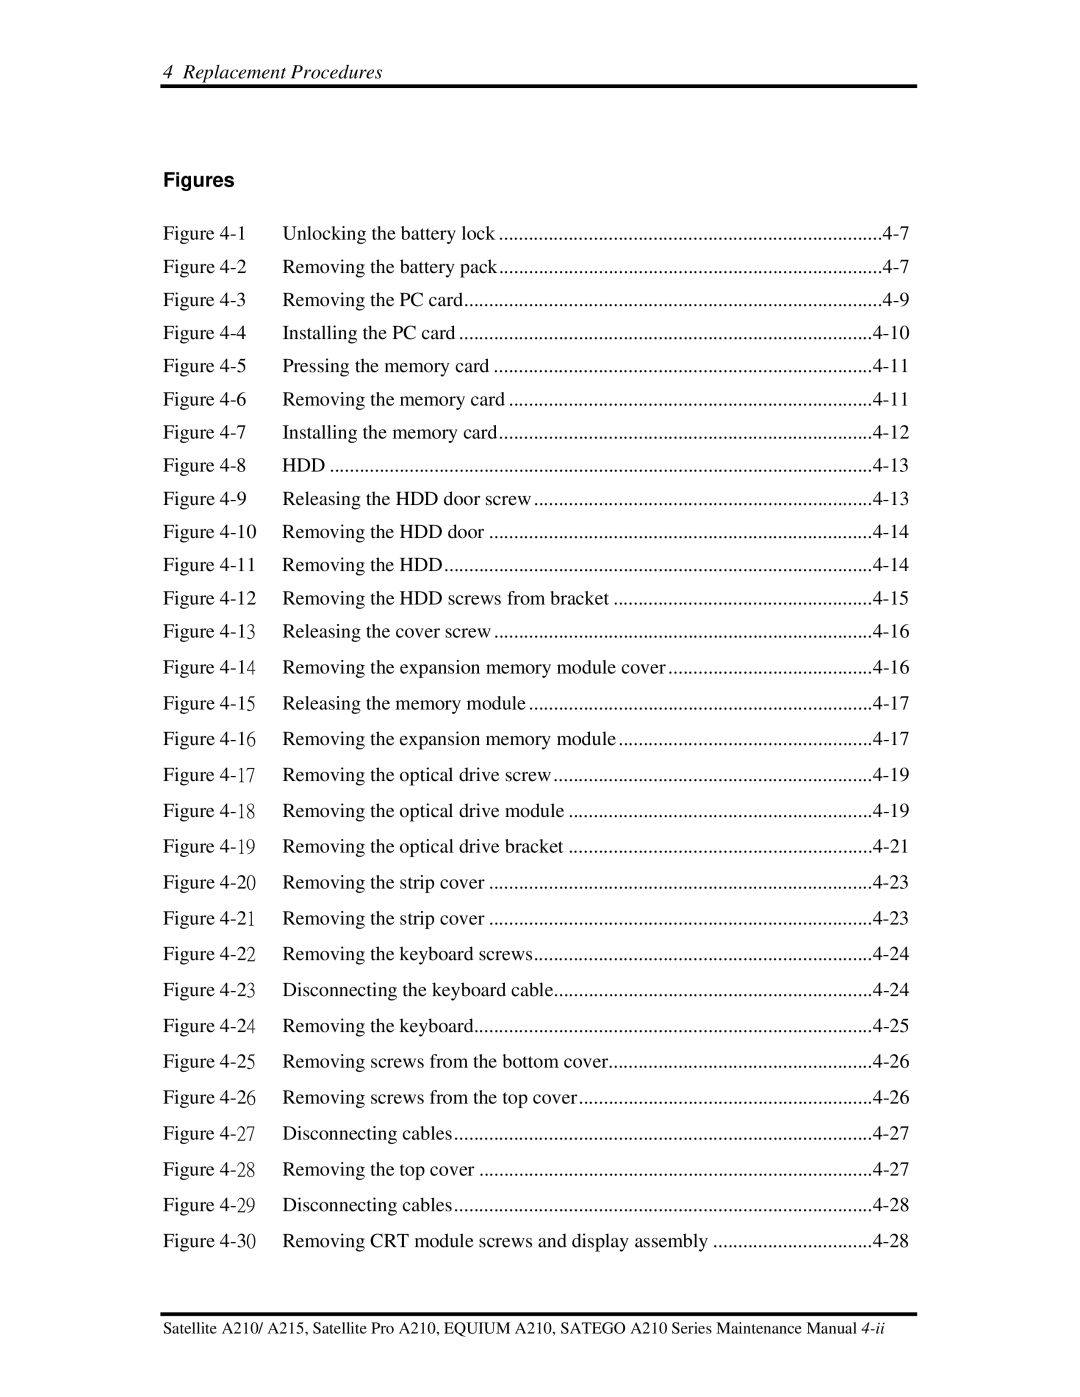
Figure | Unlocking the battery lock | |
Figure | Removing the battery pack | |
Figure | Removing the PC card | |
Figure | Installing the PC card | |
Figure | Pressing the memory card | |
Figure | Removing the memory card | |
Figure | Installing the memory card | |
Figure | HDD | |
Figure | Releasing the HDD door screw | |
Figure | ||
Figure | ||
Figure | Removing the HDD screws from bracket | |
Figure | ||
Figure | ||
Figure | ||
Figure | ||
Figure | Removing the optical drive screw | |
Figure | Removing the optical drive module | |
Figure | Removing the optical drive bracket | |
Figure | ||
Figure | ||
Figure | ||
Figure | ||
Figure | ||
Figure | ||
Figure | ||
Figure | Disconnecting cables | |
Figure | Removing the top cover | |
Figure | Disconnecting cables | |
Figure | ||
Satellite A210/ A215, Satellite Pro A210, EQUIUM A210, SATEGO A210 Series Maintenance Manual
