4 Replacement Procedures

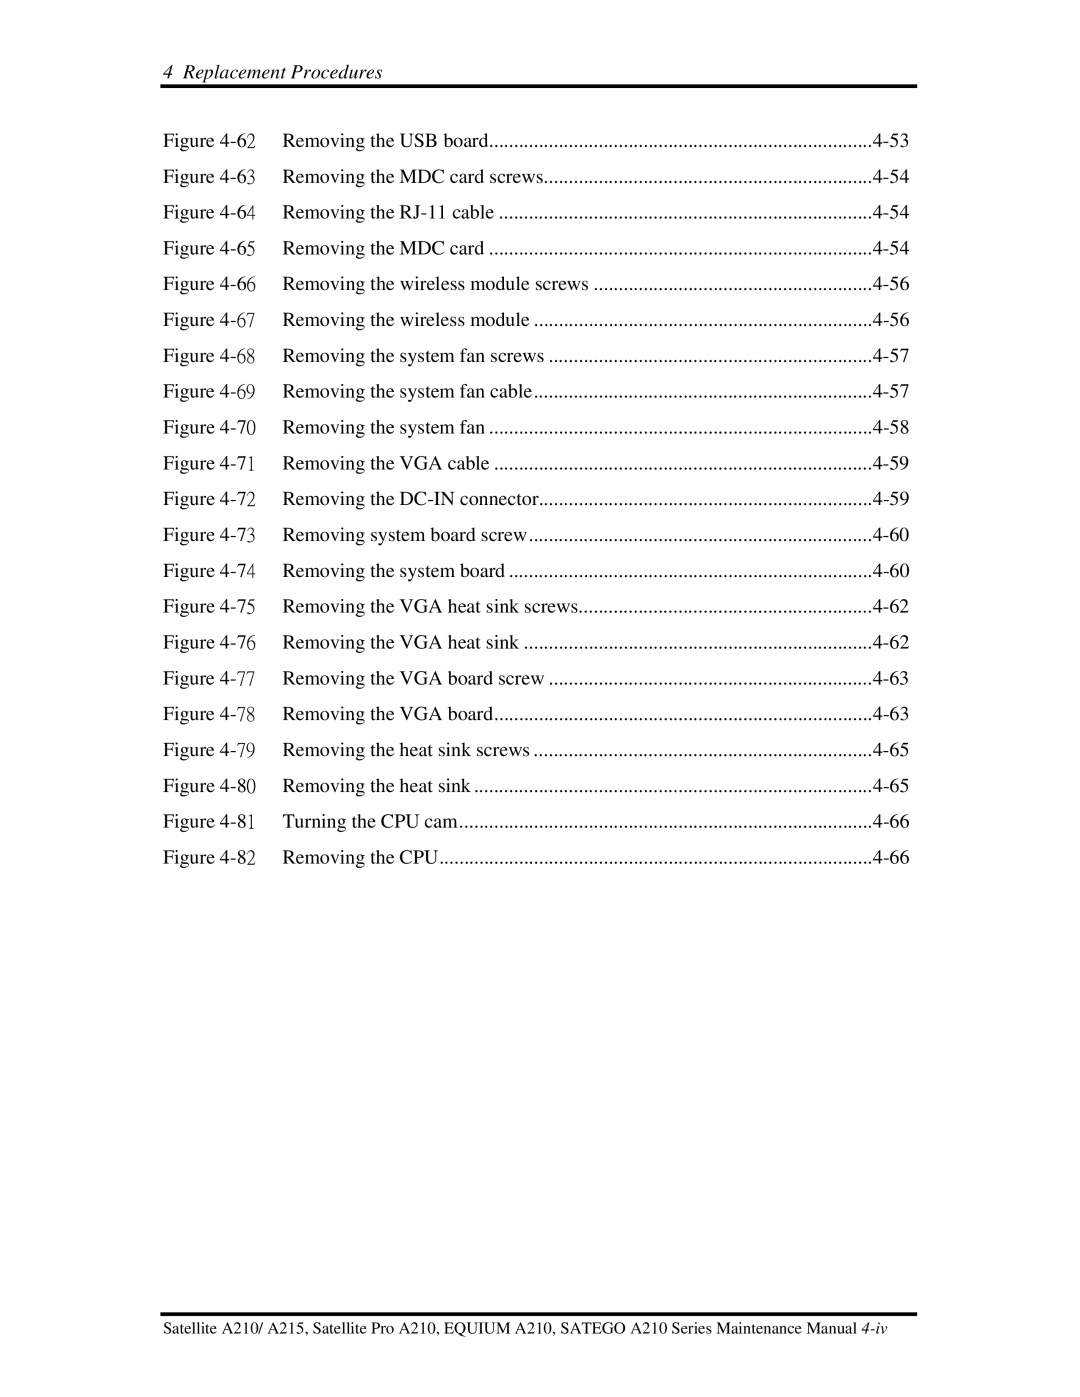
Figure 4-62Removing the USB board

4-53

Figure 4-63Removing the MDC card screws

4-54

Figure 4-64Removing the RJ-11 cable

4-54

Figure 4-65Removing the MDC card

4-54

Figure 4-66Removing the wireless module screws

4-56

Figure 4-67Removing the wireless module

4-56

Figure 4-68Removing the system fan screws

4-57

Figure 4-69Removing the system fan cable

4-57

Figure 4-70Removing the system fan

4-58

Figure 4-71Removing the VGA cable

4-59

Figure 4-72Removing the DC-IN connector

4-59

Figure 4-73Removing system board screw

4-60

Figure 4-74Removing the system board

4-60

Figure 4-75Removing the VGA heat sink screws

4-62

Figure 4-76Removing the VGA heat sink

4-62

Figure 4-77Removing the VGA board screw

4-63

Figure 4-78Removing the VGA board

4-63

Figure 4-79Removing the heat sink screws

4-65

Figure 4-80Removing the heat sink

4-65

Figure 4-81Turning the CPU cam

4-66

Figure 4-82Removing the CPU

4-66

Satellite A210/ A215, Satellite Pro A210, EQUIUM A210, SATEGO A210 Series Maintenance Manual 4-iv
Page 129
Image 129
Toshiba a210 manual 62Removing the USB board