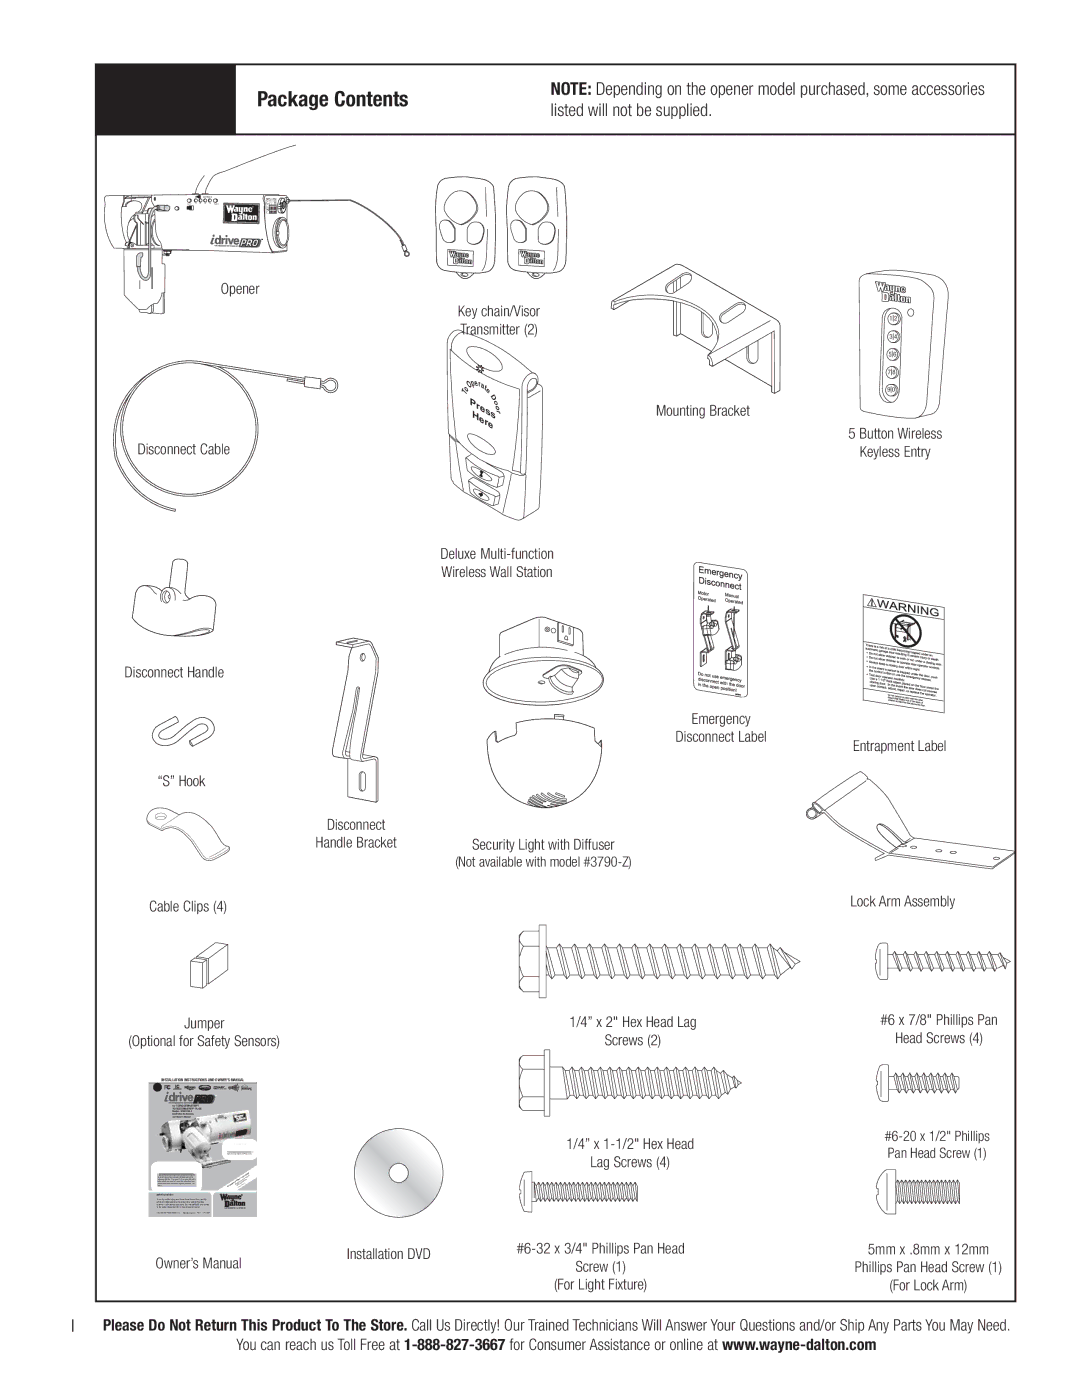
Package Contents
NOTE: Depending on the opener model purchased, some accessories listed will not be supplied.
![]()
![]() Controls
Controls
Opener
Key chain/Visor | ||
Transmitter (2) | ||
per |
| |
O | at |
|
o | e |
|
T | D |
|
Press |
| |
| o | |
| o | |
| Here | r |
|
| |
Disconnect Cable
1 2
3 4
5 6
7 8
9 0
Mounting Bracket
5 Button Wireless
Keyless Entry
Disconnect Handle
“S” Hook
Disconnect
Handle Bracket
Cable Clips (4)
Jumper
(Optional for Safety Sensors)
INSTALLATION INSTRUCTIONS AND OWNER’S MANUAL
for TORQUEMASTER /
TORQUEMASTER PLUS
Models:
Installation Instructions
and Owner’s Manual
CAUTION!!
Only for use without Photo Eyes on
USE OF THIS MANUAL
WHEN INSTALLING A NEW DOOR WITH AN IDRIVE :
If you just fi nished installing a new garage door along with an idrive opener, then proceed with these instructions beginning with Step 15 on page 21. If you were referred to these instructions as part of a new door installation, then proceed with these instructions beginning with Step 1 on page 7.
IMPORTANT NOTICE! |
|
To avoid possible injury, read the enclosed instructions carefully |
|
before installing/operating this garage door opener. Pay close |
|
attention to all warnings and notes. This manual MUST be attached |
|
to the wall in close proximity to the garage door opener. | GARAGE DOORS & OPENERS |
Deluxe
Wireless Wall Station
Emergency
Disconnect Label
Security Light with Diffuser
(Not available with model
1/4” x 2" Hex Head Lag
Screws (2)
1/4” x
Lag Screws (4)
Entrapment Label
Lock Arm Assembly
#6 x 7/8" Phillips Pan
Head Screws (4)
Copyright 2007
Owner’s Manual | Installation DVD | 5mm x .8mm x 12mm | ||
Screw (1) | Phillips Pan Head Screw (1) | |||
| ||||
|
| (For Light Fixture) | (For Lock Arm) |
IPlease Do Not Return This Product To The Store. Call Us Directly! Our Trained Technicians Will Answer Your Questions and/or Ship Any Parts You May Need.
You can reach us Toll Free at
