Model MRC44 | Page: 27 |
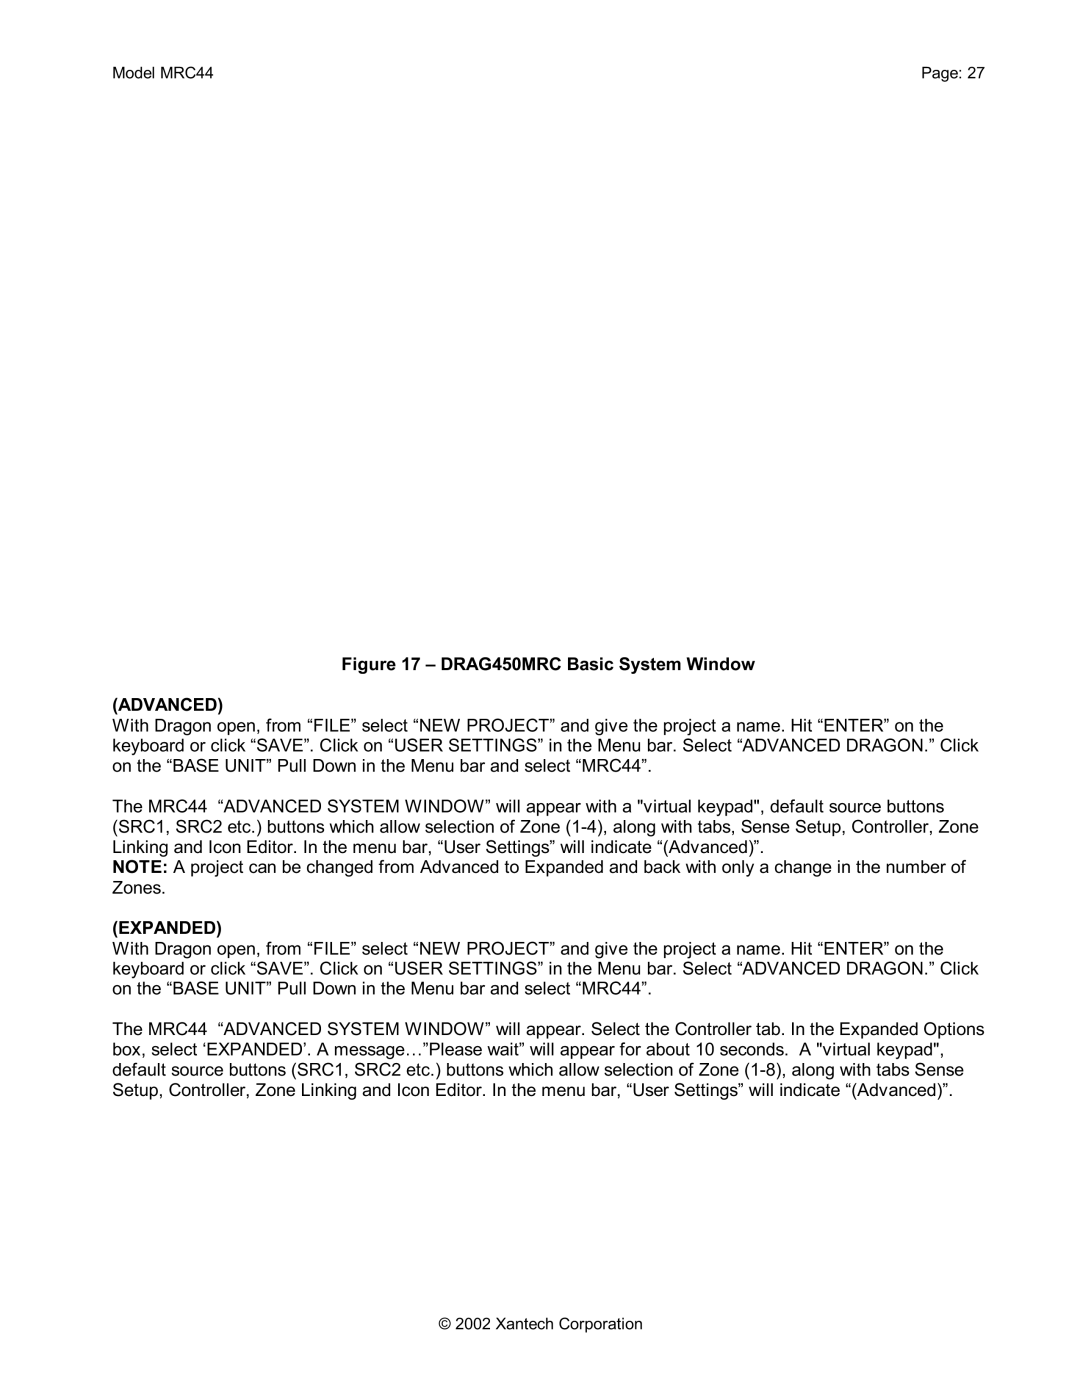
Figure 17 – DRAG450MRC Basic System Window
(ADVANCED)
With Dragon open, from “FILE” select “NEW PROJECT” and give the project a name. Hit “ENTER” on the keyboard or click “SAVE”. Click on “USER SETTINGS” in the Menu bar. Select “ADVANCED DRAGON.” Click on the “BASE UNIT” Pull Down in the Menu bar and select “MRC44”.
The MRC44 “ADVANCED SYSTEM WINDOW” will appear with a "virtual keypad", default source buttons (SRC1, SRC2 etc.) buttons which allow selection of Zone
NOTE: A project can be changed from Advanced to Expanded and back with only a change in the number of Zones.
(EXPANDED)
With Dragon open, from “FILE” select “NEW PROJECT” and give the project a name. Hit “ENTER” on the keyboard or click “SAVE”. Click on “USER SETTINGS” in the Menu bar. Select “ADVANCED DRAGON.” Click on the “BASE UNIT” Pull Down in the Menu bar and select “MRC44”.
The MRC44 “ADVANCED SYSTEM WINDOW” will appear. Select the Controller tab. In the Expanded Options box, select ‘EXPANDED’. A message…”Please wait” will appear for about 10 seconds. A "virtual keypad", default source buttons (SRC1, SRC2 etc.) buttons which allow selection of Zone
© 2002 Xantech Corporation