Model MRC44 | Page: 15 |
2.Installing the Mounting Bracket
a.Attach the ground wire to the ground lug to the rear of the
NOTE: A ground wire connected to Earth ground is required to protect against static discharge.
b.Run the supplied screws through the top (marked on the front of the bracket) of the mounting bracket into the
c.Pull the CAT5 cable through the hole in the wall.
d.Pull the CAT5 cable through the hole in the mounting bracket.
e.Slide the left or right side of the
f.Center the mounting bracket in the wall and tighten the screws until the bracket is firmly held in the wall. Over tightening will distort the bracket and prevent the Keypad from snapping tight against the wall. Under tightening will cause the Keypad to be loose against the wall.
g.If there is not enough room to slide the keypad in as described above, you can hold the
3.With the Controller/Amplifier turned off, connect the CAT5 cable to the appropriate RJ45 connector, using Figure 10 as a guide for CAT5 termination.
4.Add or remove jumpers on the rear of the MRC44
5.Firmly snap the MRC44 Keypad into the bracket that you have just installed (see Figure 6).
6.Confirm all Keypad operations.
MRC44 KEYPAD REMOVAL
POWER
CH | PAUSE | VOL |
|
|
CH |
| SELECT | |
REW | PLAY | ||
| |||
|
|
FF | VOL |
|
| STOP |
STATUS | MUTE |
1
2
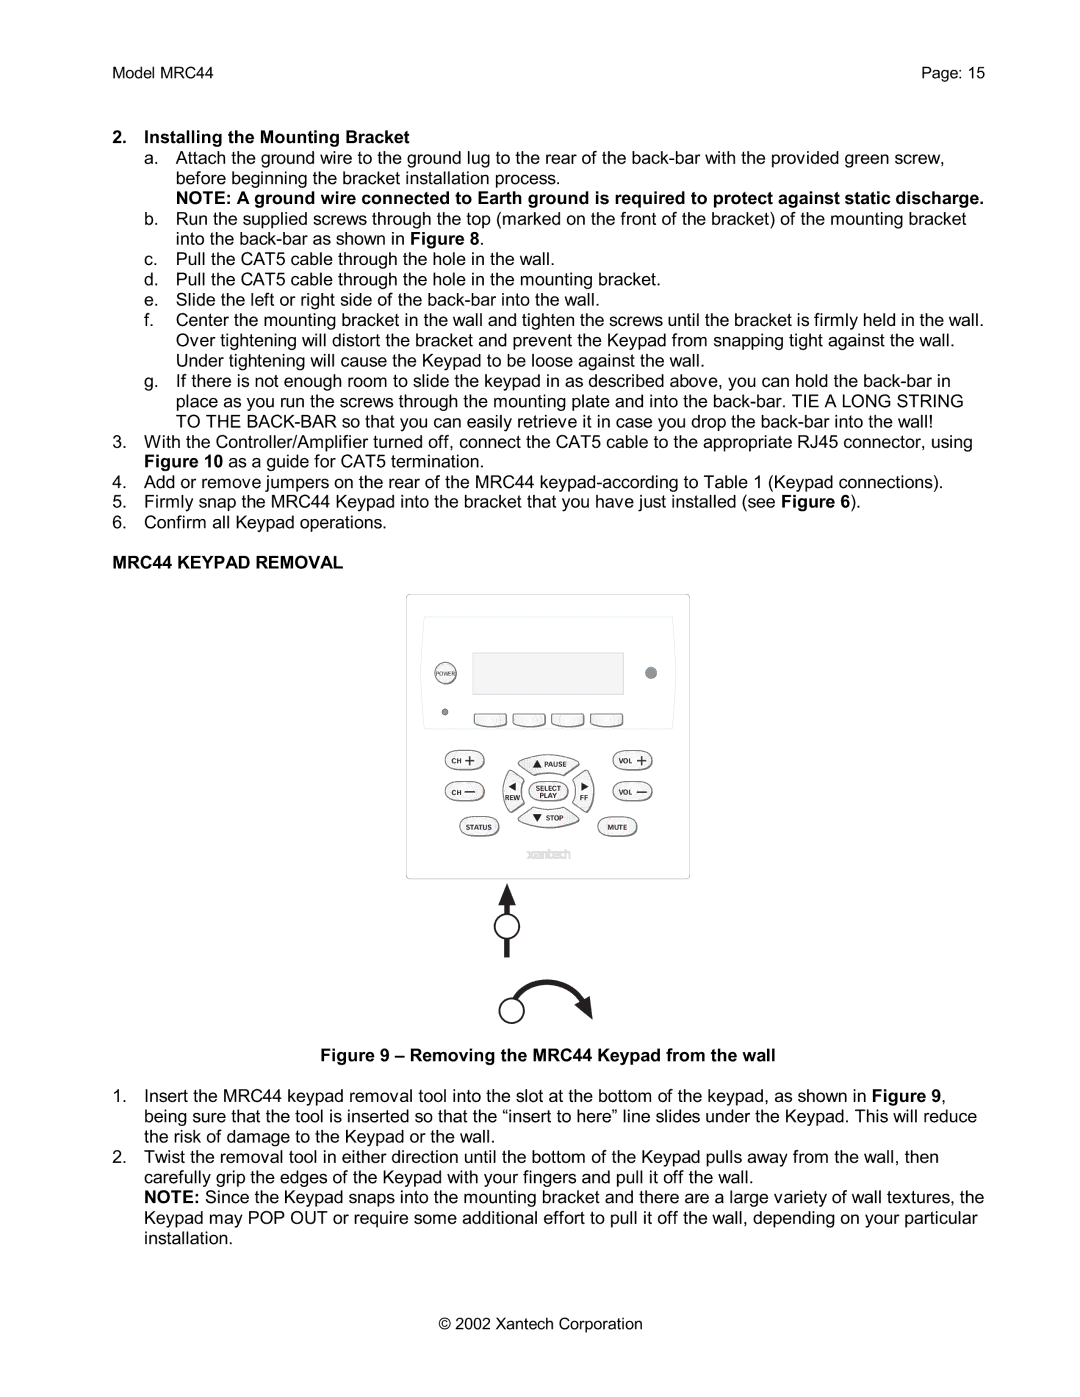
Figure 9 – Removing the MRC44 Keypad from the wall
1.Insert the MRC44 keypad removal tool into the slot at the bottom of the keypad, as shown in Figure 9, being sure that the tool is inserted so that the “insert to here” line slides under the Keypad. This will reduce the risk of damage to the Keypad or the wall.
2.Twist the removal tool in either direction until the bottom of the Keypad pulls away from the wall, then carefully grip the edges of the Keypad with your fingers and pull it off the wall.
NOTE: Since the Keypad snaps into the mounting bracket and there are a large variety of wall textures, the Keypad may POP OUT or require some additional effort to pull it off the wall, depending on your particular installation.
© 2002 Xantech Corporation