Page: 14 | Model MRC44 |
Keypad mounting for the MRC44 Keypad does not require a junction box. The MRC44 keypad can be mounted on drywall, lath & plaster, button board or other surfaces covering a hollow wall. Follow these simple procedures to install the provided MRC44 mounting bracket and keypad:
NOTE: Check local electrical codes. Some areas require a backbox in certain applications. For installations that require a backbox, see Xantech Part# MRCBOX. The MRC44 keypad will not fit in a standard
1.Cutting the hole
a.Mark the desired mounting location for the center of the keypad.
b.Using a level, make proper horizontal and vertical marks on surface to be cut, to properly orient template.
Figure 7 – MRC44 Keypad mounting template
c. Locate the provided template so that the mark is in the center of the hole, which is in the center of the template.
d. Rotate the template around the center until the template is level.
e. Press or hammer the template in place so that the holding tabs pierce the wall and hold the template in place.
f. Mark or scribe the outline of the template on the wall.
g. Remove the template and cut a clean hole through the wall along the outline of the template, being sure that your cut is on the outline. Any cut outside of the outline by more than ¼” may not be covered by the MRC44 Keypad.
1 2
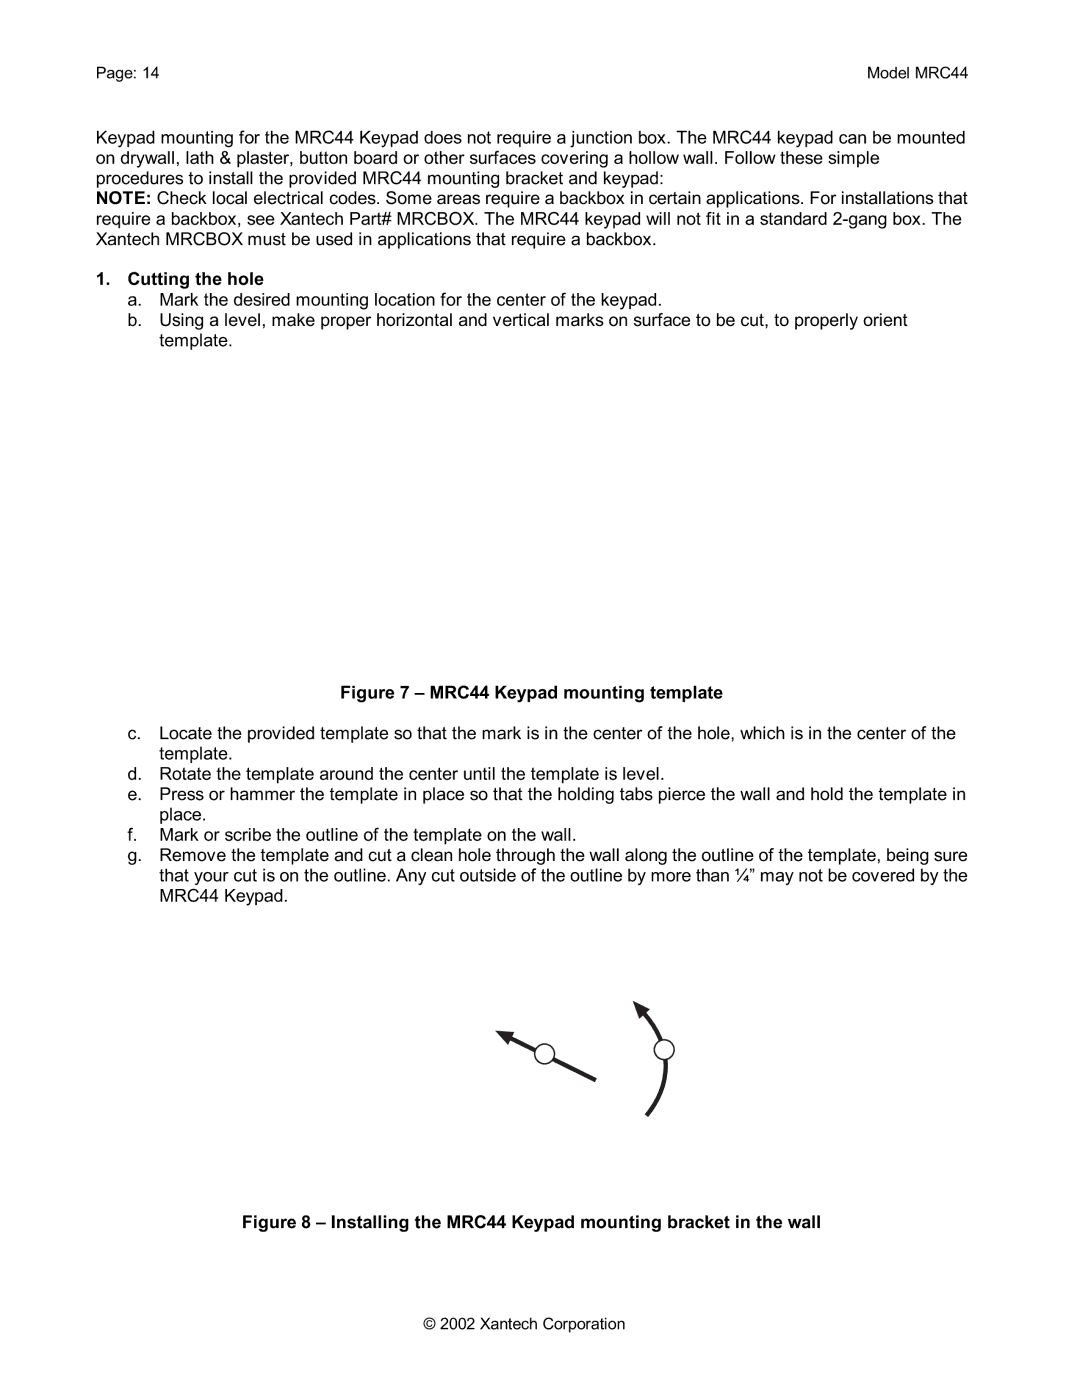
Figure 8 – Installing the MRC44 Keypad mounting bracket in the wall
© 2002 Xantech Corporation