47
To install an easy-swap hard drive:
1Remove the side panel from the chassis. Go to page 39 for instructions.
2Observe steps 2 through 5 of the previous section.
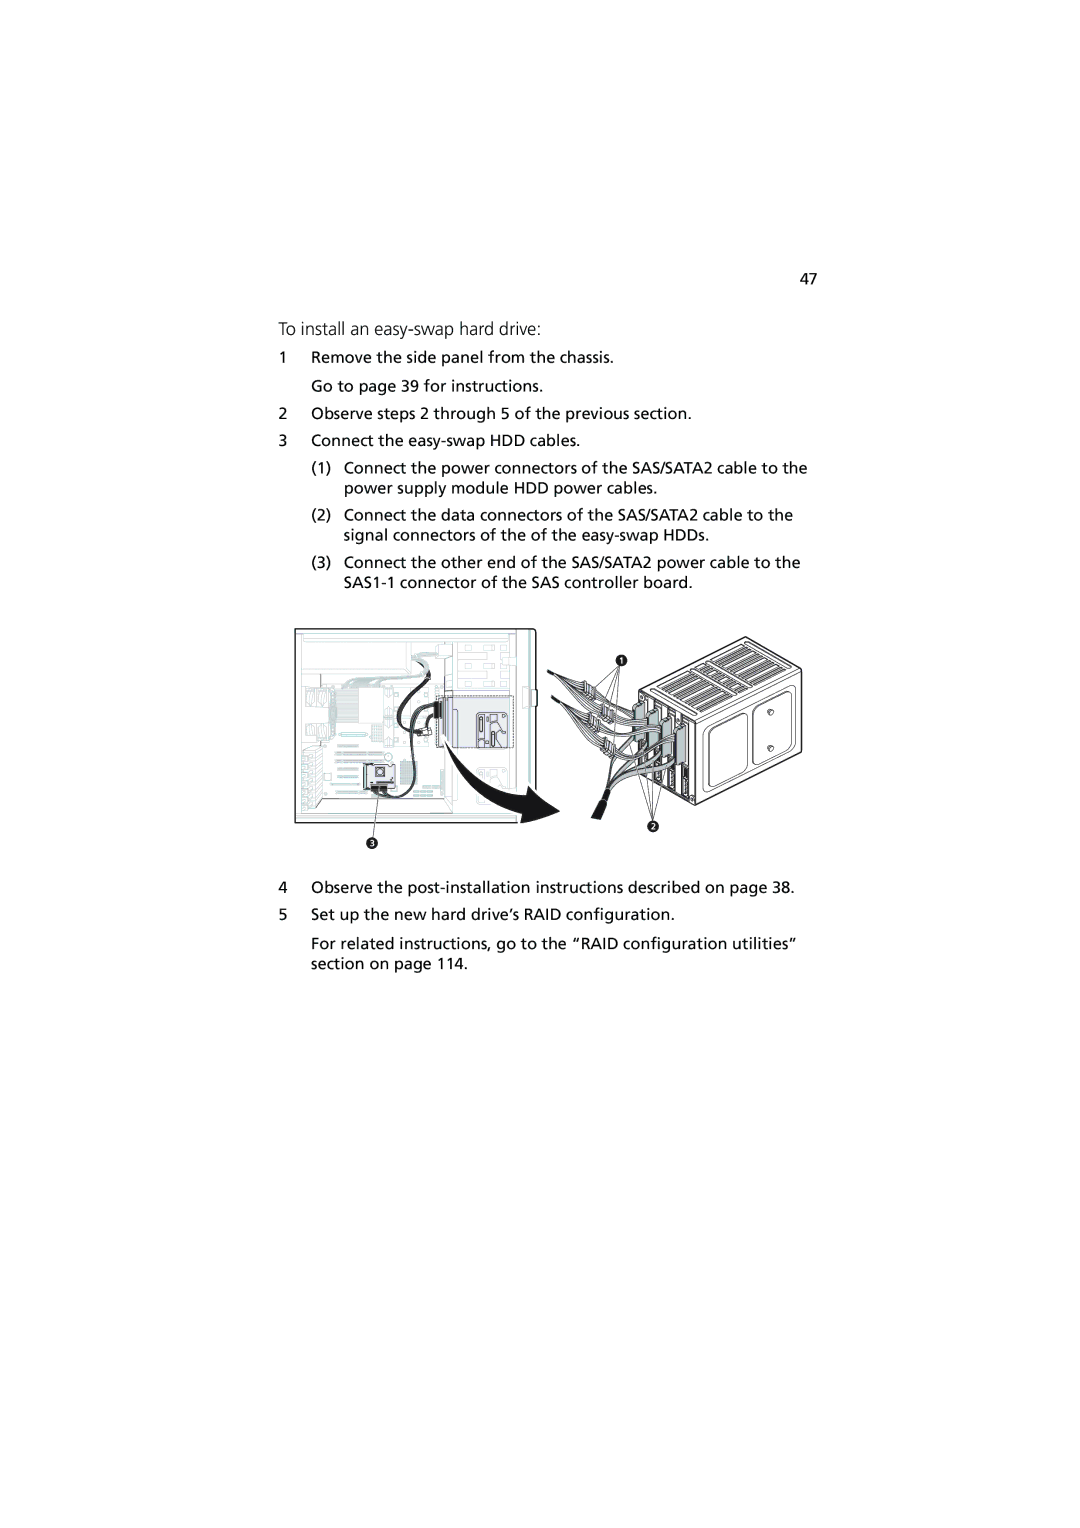
3Connect the
(1)Connect the power connectors of the SAS/SATA2 cable to the power supply module HDD power cables.
(2)Connect the data connectors of the SAS/SATA2 cable to the signal connectors of the of the
(3)Connect the other end of the SAS/SATA2 power cable to the
4Observe the
5Set up the new hard drive’s RAID configuration.
For related instructions, go to the “RAID configuration utilities” section on page 114.