Removing the Keyboard
![]()
![]() NOTE:
NOTE: ![]() NOTE:
NOTE:
The keyboard is easily warped or damaged during the removal process. Take care not to use excessive force when removing.
1.Perform the “Removing the Lower Case” procedure described on page
2.Perform the “Removing the Battery Pack” procedure described on page
3.Perform the “Removing the Left and Right Speakers” procedure described on page
4.Perform the “Removing the WLAN Module” procedure described on page
5.Perform the “Removing the
6.Perform the “Removing the HDD Module” procedure described on page
7.Perform the “Removing the Card Reader Board” procedure described on page
8.Perform the “Removing the Mainboard” procedure described on page
9.Perform the “Removing the WLAN Board” procedure described on page
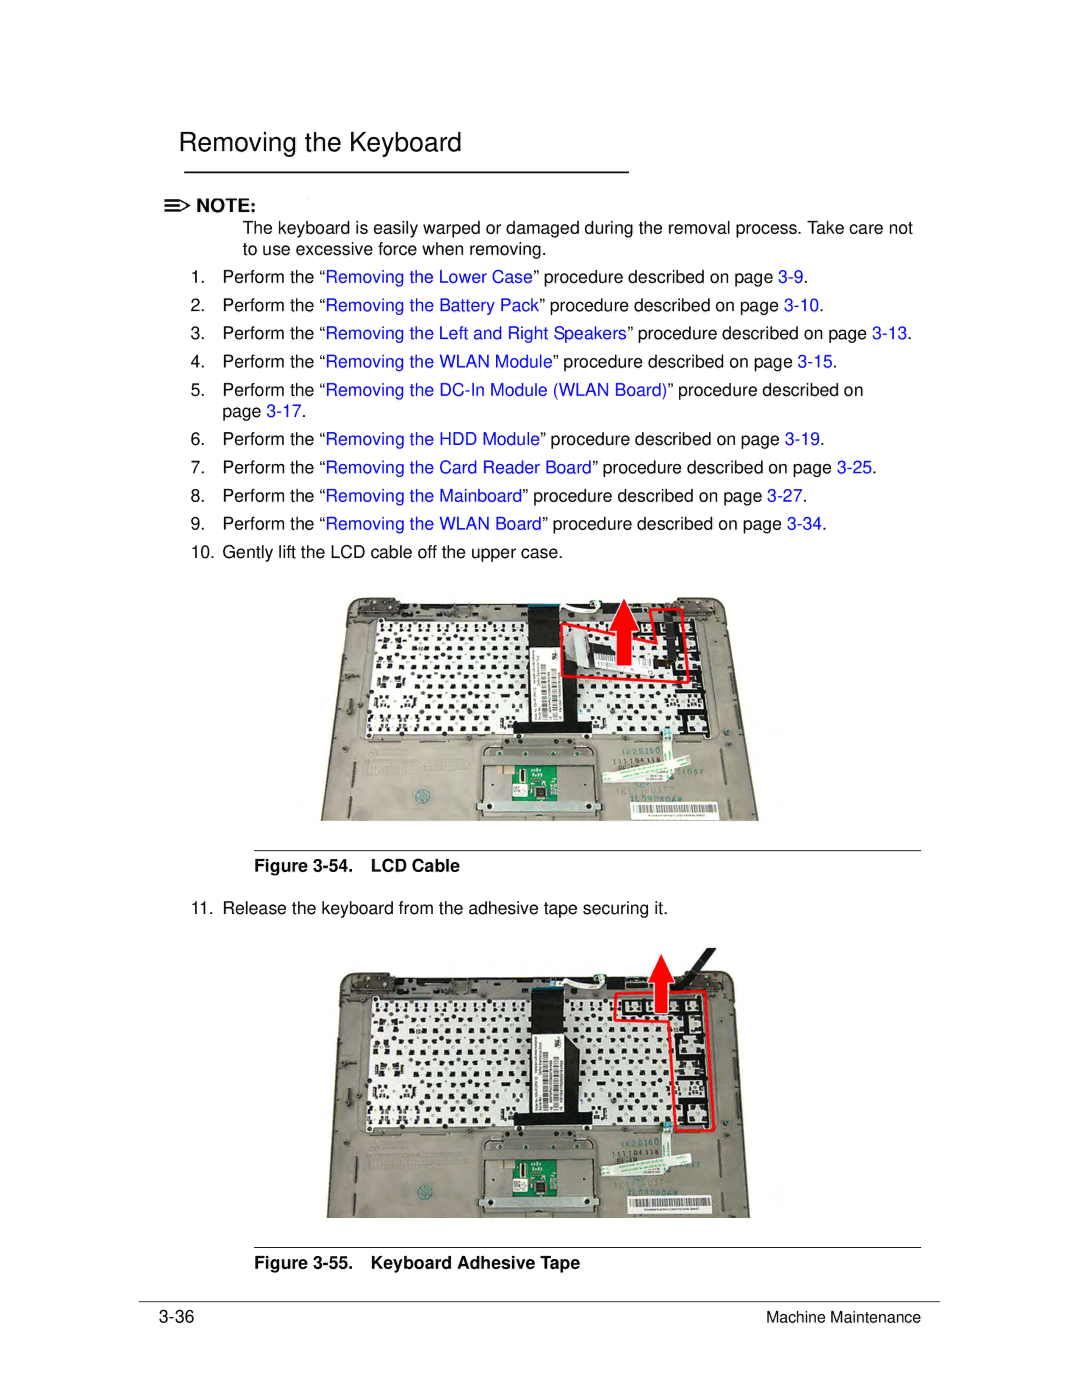
10.Gently lift the LCD cable off the upper case.
Figure 3-54. LCD Cable
11. Release the keyboard from the adhesive tape securing it.
Figure 3-55. Keyboard Adhesive Tape
Machine Maintenance |