5 Adjust the volume.

The source sound will play at the volume level set in this step when the power is turned on by the timer.

If the volume level is set to 21 or higher, however, it will automatically be set to 20 when the power is turned on.

6 Prepare the source.

To listen to a CD, load the disc to be played first on tray 1. To listen to a tape, insert the tape into Deck 1 or 2.

To listen to the radio, tune into a station.

7 Press POWER to turn off the power.

O remains on the disriav after the Dower is turned off (timer standby mode) if the power-economizing mode is OF~

When the timer-on time is reached, the unit turns on and begins play with the selected source.

m

You can change the source that was selected in step 1 by pressing one of the function buttons before pressing ENTER or II in step 3.

If the power-economizing mode is ON, @ is not displayed in the timer standby mode.

To check the timer setting

Press TIMER.

The selected source, the timer-on time, and the duration for the timer-activated period will be displayed for 4 seconds.

To change any of the previous setting

Carry out from step 1.

However, if you do not change the timer-on time, in step 3 just press ENTER twice and continue from step 4.

To cancel the timer standby mode temporarily

Press TIMER repeatedly until @ disappears and “DOFF is displayed.

To restore the timer standby mode, press TIMER once or twice to display 0 or @REC.

Using the unit while the timer is set

You can use the unit normally after setting the timer. Before turning off the power, carry out step 5 and 6.

Timer playback and timer recording will not begin unless the power is turned off.

Connected equipment cannot be turned on and off by the built- in timer of this unit. Use an external timer.

Timer recording is applicable for TUNER and VIDEO/AUX (with an external timer) sources only.

PressTIMER repeatedly until @REC appears on the display, then press ENTER within 6 seconds.

Carry out the steps of “SETTINGTHE TIMER” from step 3 and inserf the tape to be recorded on into Deck 2 after step 6.

2,4

~


.... . .. .

..-

—-Ll .

,,


‘-


._-.1/

~:.


Preparation

Connect the supplied stereo turntable to the main unit. (See page 4)

Set EQUALIZER AMP. selector on the turntable to ON position. (Refer to the operating instructions of the turntable for details.)

1 Press PHONO on the main unit.

“PHONO appears on the display.

2 Adjust the volume to minimum.

Turn VOLUME counterclockwise until “VOL00” is displayed.

3 Play the turntable.

Refer to the operating instructions of the turntable for details.

4 Adjust the volume according to your preference.

26 ENGLISH

Page 26
Image 26
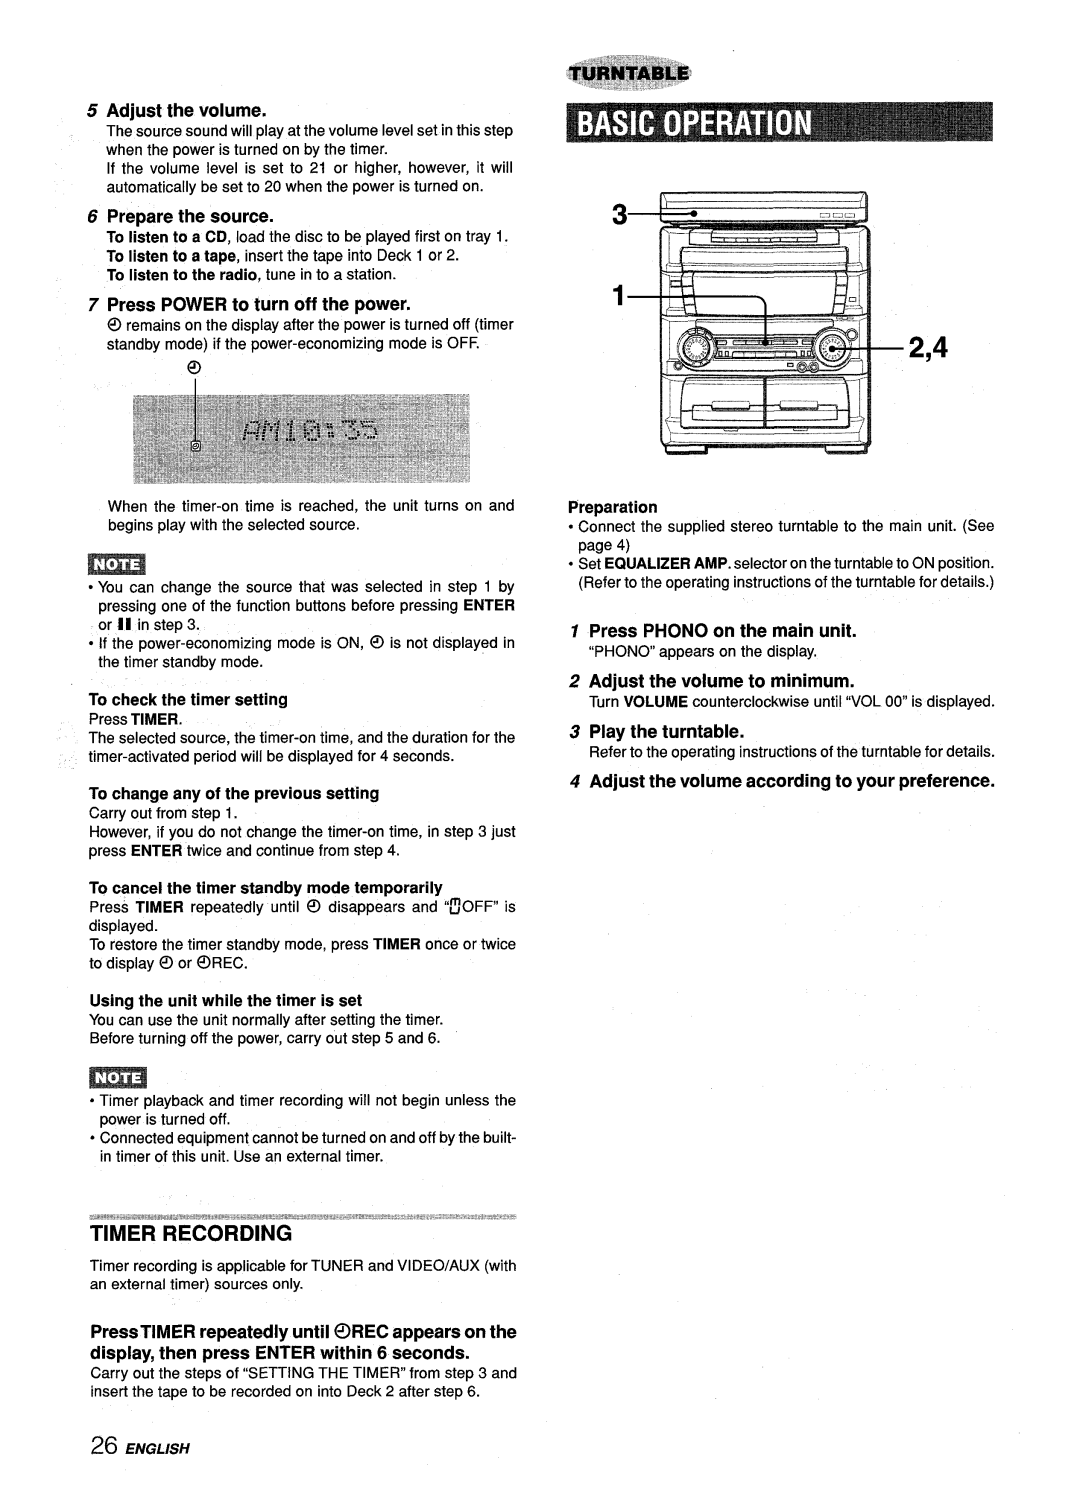
Aiwa Z-L70 manual Adjust the volume, Prepare the source, Press Power to turn off the power, Press Phono on the main unit

Z-L70 specifications

The Aiwa Z-L70 is a remarkable cassette deck, representing the pinnacle of audio technology in the 1990s. This compact and stylish device boasts a range of features that make it a standout choice for audiophiles and casual listeners alike. With its sleek design and innovative technology, the Aiwa Z-L70 has remained a beloved piece of equipment for many.

One of the key features of the Aiwa Z-L70 is its Dolby noise reduction system, which significantly enhances sound quality by minimizing tape hiss and distortion. This technology ensures that recordings maintain their clarity, providing a richer auditory experience. Additionally, the deck is equipped with a metal tape capability, allowing users to take full advantage of high-quality tape formulations that contribute to superior sound performance.

Another notable characteristic of the Z-L70 is its dual-capstan mechanism. This design feature enhances tape transport stability, which helps in achieving precise playback and recording performance. The dual-capstan system minimizes wow and flutter, ensuring that audio remains consistent and true to the original recording.

The Aiwa Z-L70 also includes a comprehensive set of features that cater to both experienced users and newcomers. It has a highly intuitive user interface, making it easy to navigate tape functions such as play, pause, stop, rewind, and fast forward. For those keen on creating their own tapes, the auto-reverse feature allows for uninterrupted playback and recording, enabling a seamless listening experience.

Furthermore, the Z-L70 is equipped with a built-in speaker, which makes it convenient for impromptu listening sessions without the need for external amplification. The addition of an audio level meter ensures that users can easily monitor levels during tape playback, enhancing the recording process and helping to avoid distortion.

Its overall build quality is another aspect worth noting. The Aiwa Z-L70 is designed with durability in mind, featuring a solid chassis that protects the internal components from physical damage. The combination of robust construction and high-quality materials ensures that this cassette deck can withstand everyday use while delivering exceptional audio fidelity.

In conclusion, the Aiwa Z-L70 is a cassette deck that embodies the best of 1990s audio technology, with features that emphasize sound quality and user-friendliness. Its Dolby noise reduction, dual-capstan mechanism, and durable design are just a few aspects that make it a valued addition to any audio setup, allowing users to enjoy their favorite tapes with remarkable clarity and depth.