4Follow the instructions on the screen until a message tells you that you’re finished.
Insert a new disk whenever the screen messages tell you to. Do not use the Disk Tools floppy disk that came with your computer.
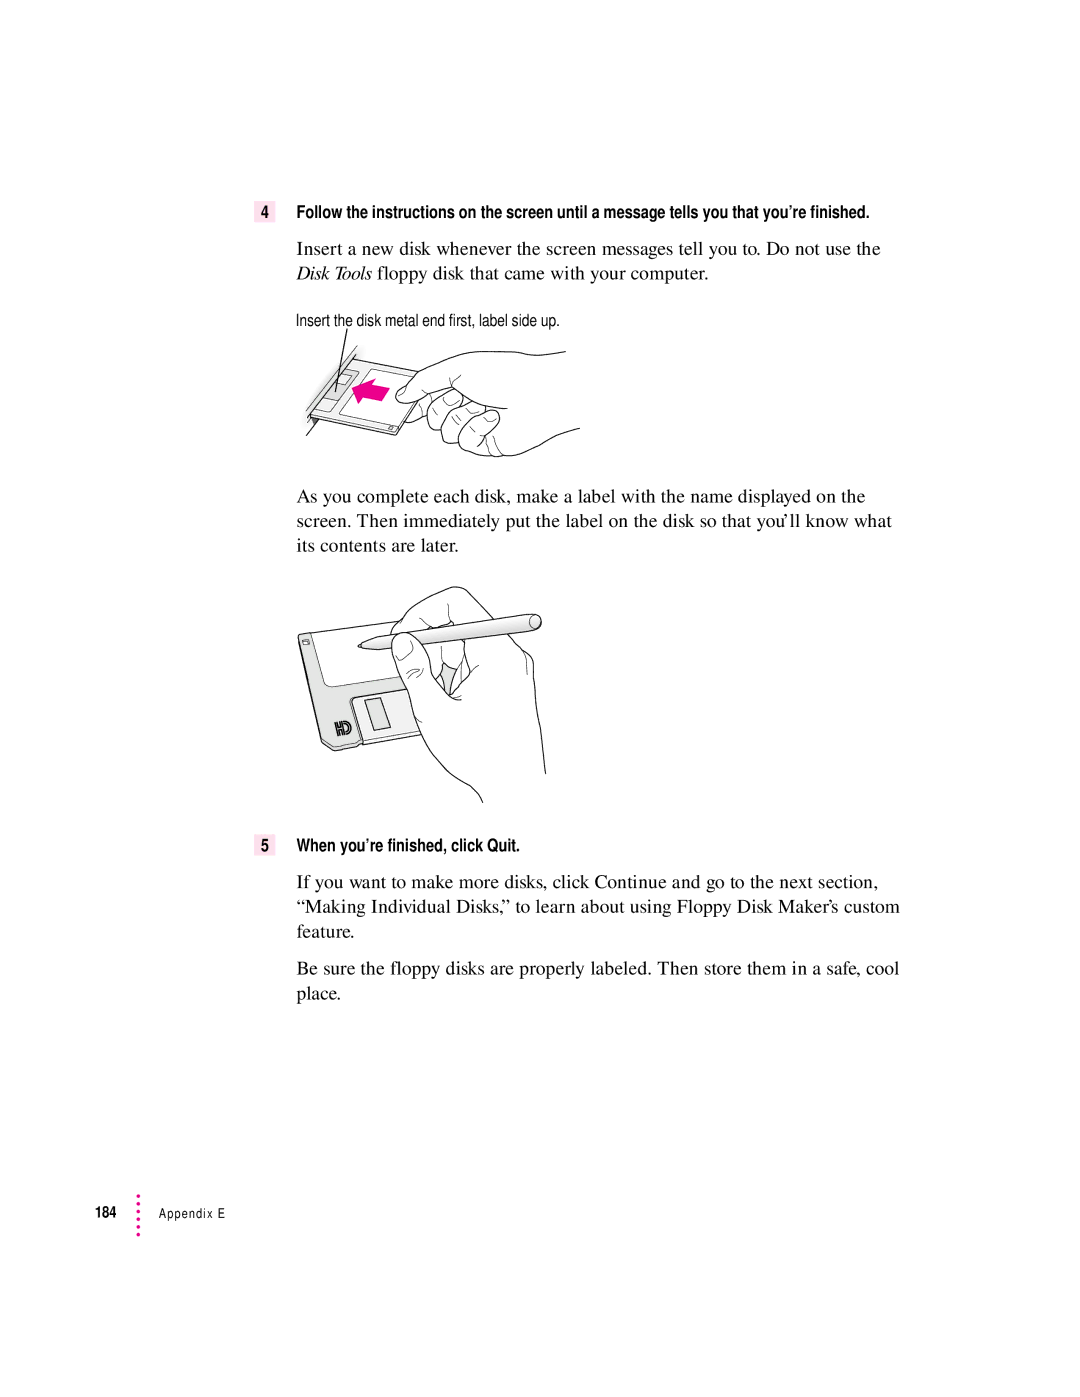
Insert the disk metal end first, label side up.
As you complete each disk, make a label with the name displayed on the screen. Then immediately put the label on the disk so that you’ll know what its contents are later.
5When you’re finished, click Quit.
If you want to make more disks, click Continue and go to the next section, “Making Individual Disks,” to learn about using Floppy Disk Maker’s custom feature.
Be sure the floppy disks are properly labeled. Then store them in a safe, cool place.
184 ![]() Appendix E
Appendix E