Chapter 9. Wireless Screen
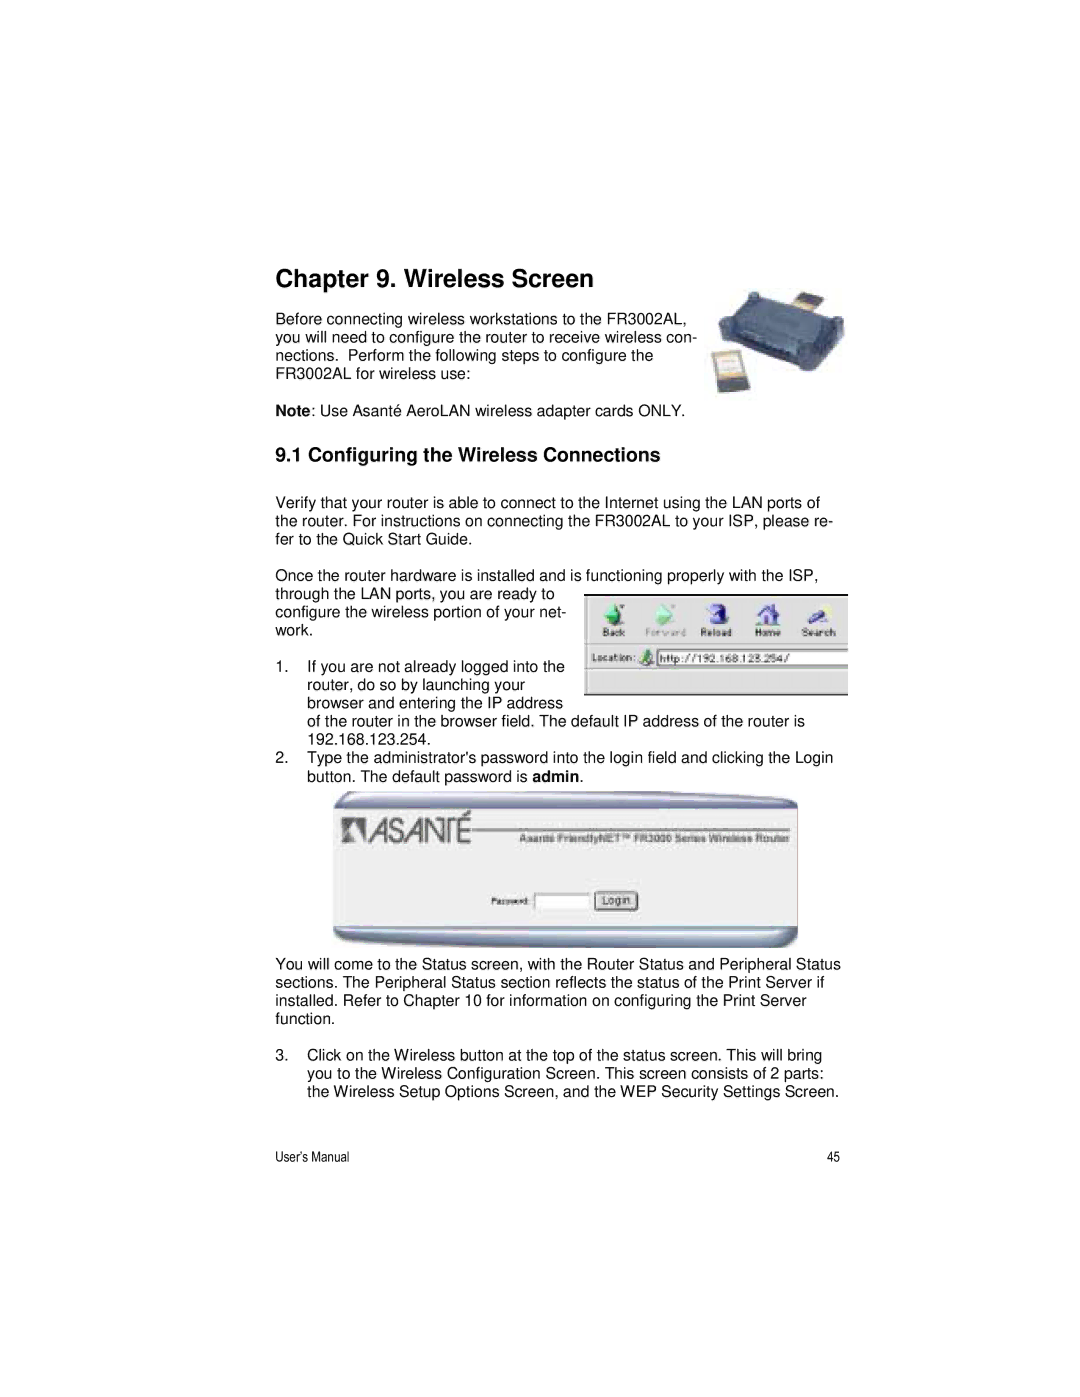
Before connecting wireless workstations to the FR3002AL, you will need to configure the router to receive wireless con- nections. Perform the following steps to configure the FR3002AL for wireless use:
Note: Use Asanté AeroLAN wireless adapter cards ONLY.
9.1 Configuring the Wireless Connections
Verify that your router is able to connect to the Internet using the LAN ports of the router. For instructions on connecting the FR3002AL to your ISP, please re- fer to the Quick Start Guide.
Once the router hardware is installed and is functioning properly with the ISP, through the LAN ports, you are ready to
configure the wireless portion of your net- work.
1.If you are not already logged into the router, do so by launching your browser and entering the IP address
of the router in the browser field. The default IP address of the router is 192.168.123.254.
2.Type the administrator's password into the login field and clicking the Login button. The default password is admin.
You will come to the Status screen, with the Router Status and Peripheral Status sections. The Peripheral Status section reflects the status of the Print Server if installed. Refer to Chapter 10 for information on configuring the Print Server function.
3.Click on the Wireless button at the top of the status screen. This will bring you to the Wireless Configuration Screen. This screen consists of 2 parts: the Wireless Setup Options Screen, and the WEP Security Settings Screen.
User’s Manual | 45 |
