Chapter 7. The Java Client
The Button Bar
The buttons on the Button Bar are toggles. Their actions are described in the table below:
Button | Action |
Enable/Disable Chat. When disabled, messages posted to the board are not displayed. The button is shadowed when Chat is disabled. The icon displays next to the user's name in the User List panel when the user has disabled Chat.
Occupy/Release Keyboard/Video/Mouse. When you Occupy the KVM, other users cannot see the video, and cannot input keyboard or mouse data. The button is shadowed when the KVM is occupied. The icon displays next to the user's name in the User List panel when the user has occupied the KVM.
Occupy/Release Keyboard/Mouse. When you Occupy the KM, other users can see the video, but cannot input keyboard or mouse data. The button is shadowed when the KM is occupied. The icon displays next to the user's name in the User List panel when the user has occupied the KM.
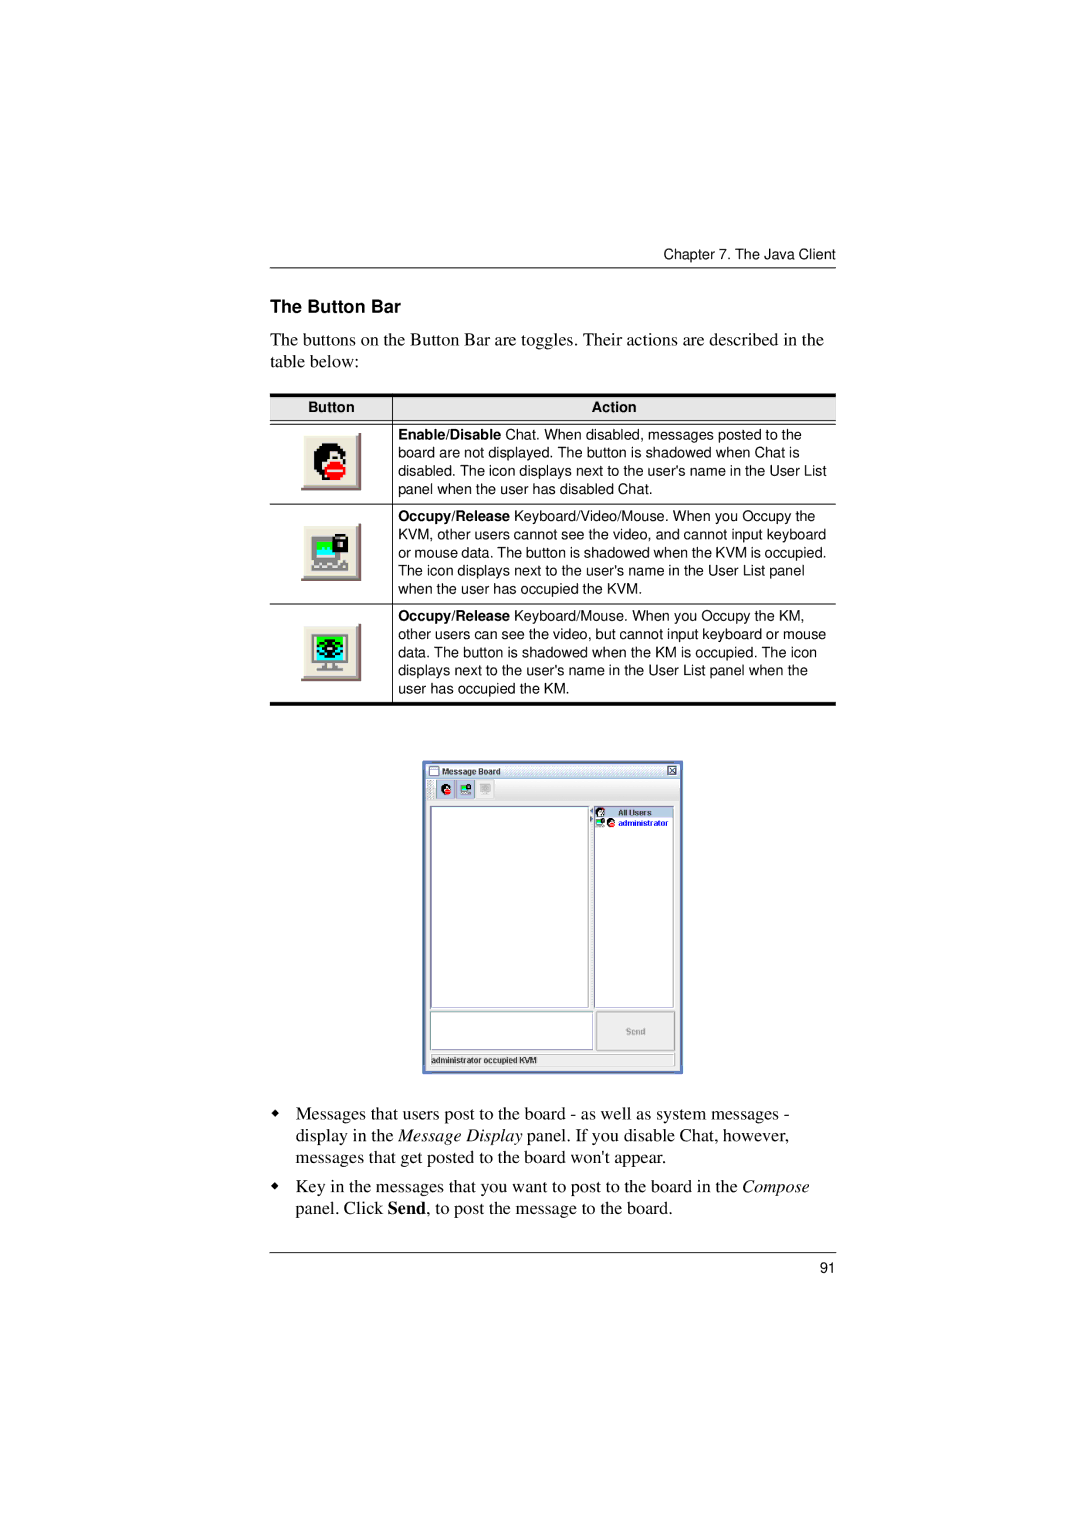
Messages that users post to the board - as well as system messages - display in the Message Display panel. If you disable Chat, however, messages that get posted to the board won't appear.
Key in the messages that you want to post to the board in the Compose panel. Click Send, to post the message to the board.
91