Instruction book
2.Use the ↓ key to scroll until the option "Clock function" is followed by a horizontal arrow. Press the tabulator key (5), following screen appears:
Clock Function
|
| Not activated → |
Menu | Modify | Delete |
F1 | F2 | F3 |
3. Press the tabulator key (5), following screen appears:
Monday |
| → |
Tuesday |
|
|
Wednesday |
| ↓ |
Menu |
| Delete |
F1 | F2 | F3 |
4.Scroll through the display until "Saturday" is followed by a horizontal arrow. Press the tabulator key (5). If necessary, scroll through the compressor start/stop/pressure band commands until the command to be modified is followed by symbol ┤ on the screen. Press the key "Modify", the first two digits of the command start blinking. Modify as required using the scroll keys, i.e. in the example above change "18" into "17" using the ↓ key.
5.If necessary, press the tabulator key (5) to go to the next field to be modified, the minutes indication and the start/stop/pressure band indication.
6.Press the key "Program" to program the new command or the key "Cancel" to quit without reprogramming.
8.11.4 To add a command
Adding a command at the end of an existing list
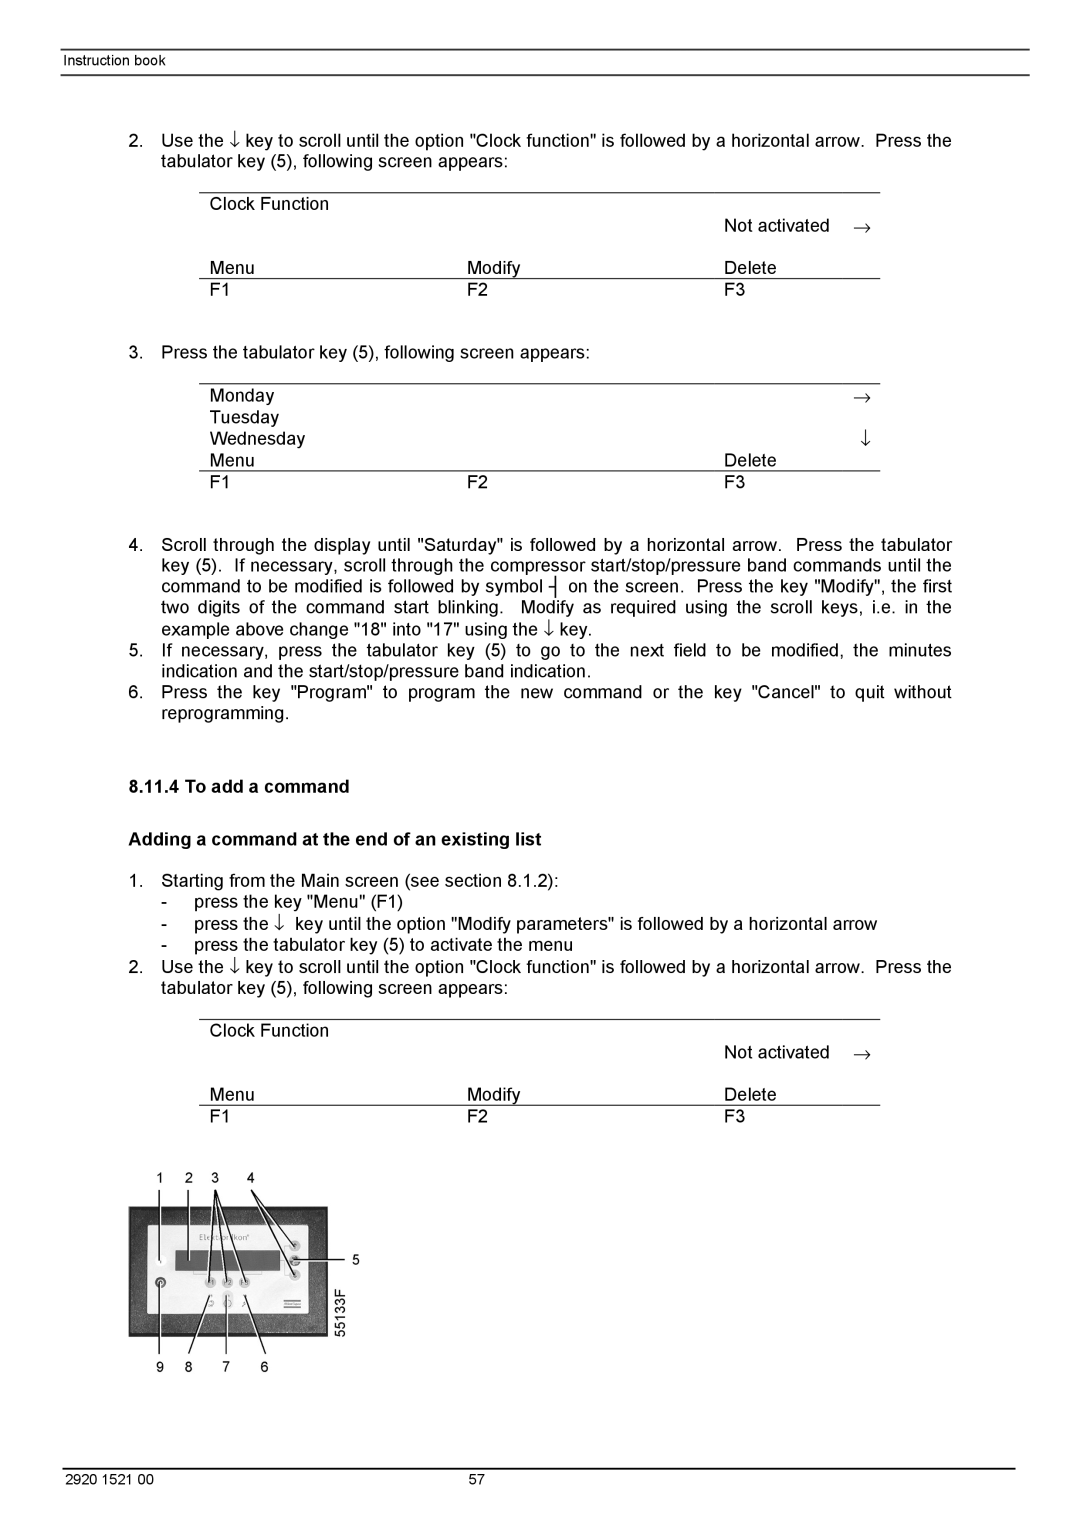
1.Starting from the Main screen (see section 8.1.2):
-press the key "Menu" (F1)
-press the ↓ key until the option "Modify parameters" is followed by a horizontal arrow
-press the tabulator key (5) to activate the menu
2.Use the ↓ key to scroll until the option "Clock function" is followed by a horizontal arrow. Press the tabulator key (5), following screen appears:
Clock Function
|
| Not activated → |
Menu | Modify | Delete |
F1 | F2 | F3 |
2920 1521 00 | 57 |