12 |
| Installing Your Camera on a Network | AXIS 2120 User’s Manual |
Installing Your Camera on a Network
•Macintosh users - Please refer to Notes for Macintosh Users, on page 61.
•Easy installation - Use The AXIS IP Installer. See Using the AXIS IP Installer, on page 60.
•Quick installation- Follow the instructions below to install the AXIS 2120 on an Ethernet network.
Important!
•For details on how to install the AXIS 2120 to a modem, see Installing Your Camera to a Modem, on page 15.
•If you are using your AXIS 2120 in an outdoor application, the unit must be housed in an outdoor enclosure. Please see the Axis Website at: www.axis.com for details of suppliers.
•Do not use the default or IP address featured in the following examples when installing your AXIS 2120. Acquire an unused IP address from your Network Administrator.
•Server Privileges: Although no special privileges are required for Windows 95/98/ME, you do need Administra- tor privileges for Windows NT/2000, and Root privileges on UNIX.
Quick Installation Procedure
Follow the instructions below to quickly install the AXIS 2120 onto an Ethernet network:
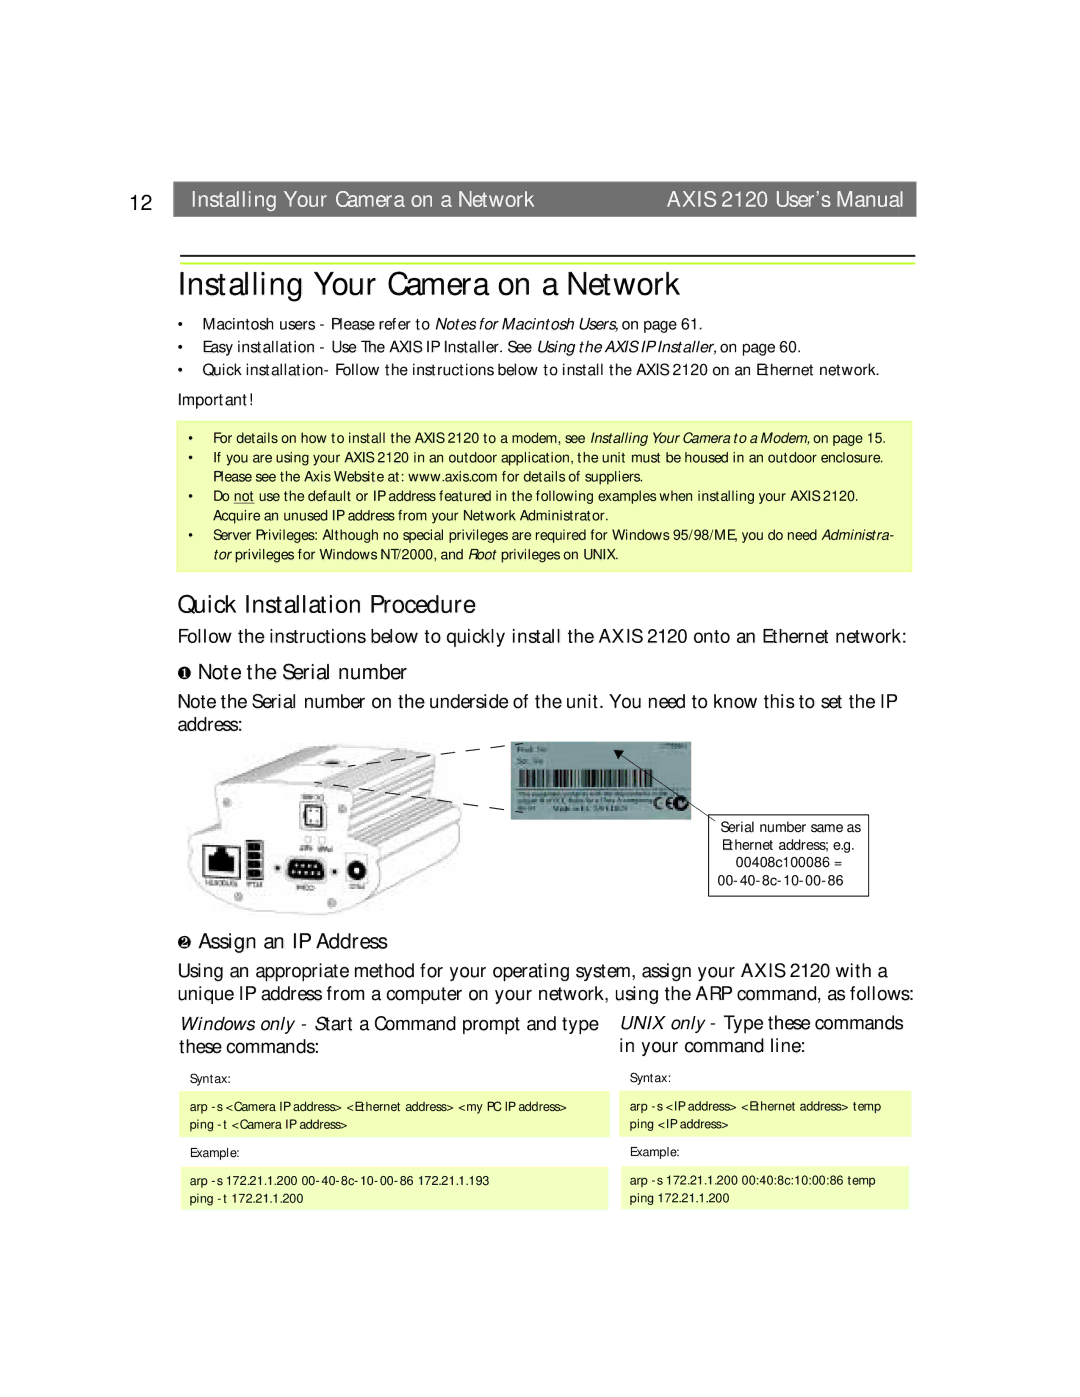
❶Note the Serial number
Note the Serial number on the underside of the unit. You need to know this to set the IP address:
Serial number same as Ethernet address; e.g.
00408c100086 =
❷Assign an IP Address
Using an appropriate method for your operating system, assign your AXIS 2120 with a unique IP address from a computer on your network, using the ARP command, as follows:
Windows only - Start a Command prompt and type these commands:
Syntax:
arp
Example:
arp
UNIX only - Type these commands in your command line:
Syntax:
arp
Example:
arp