AXIS 2120 User’s Manual | Choosing Your Application | 37 |
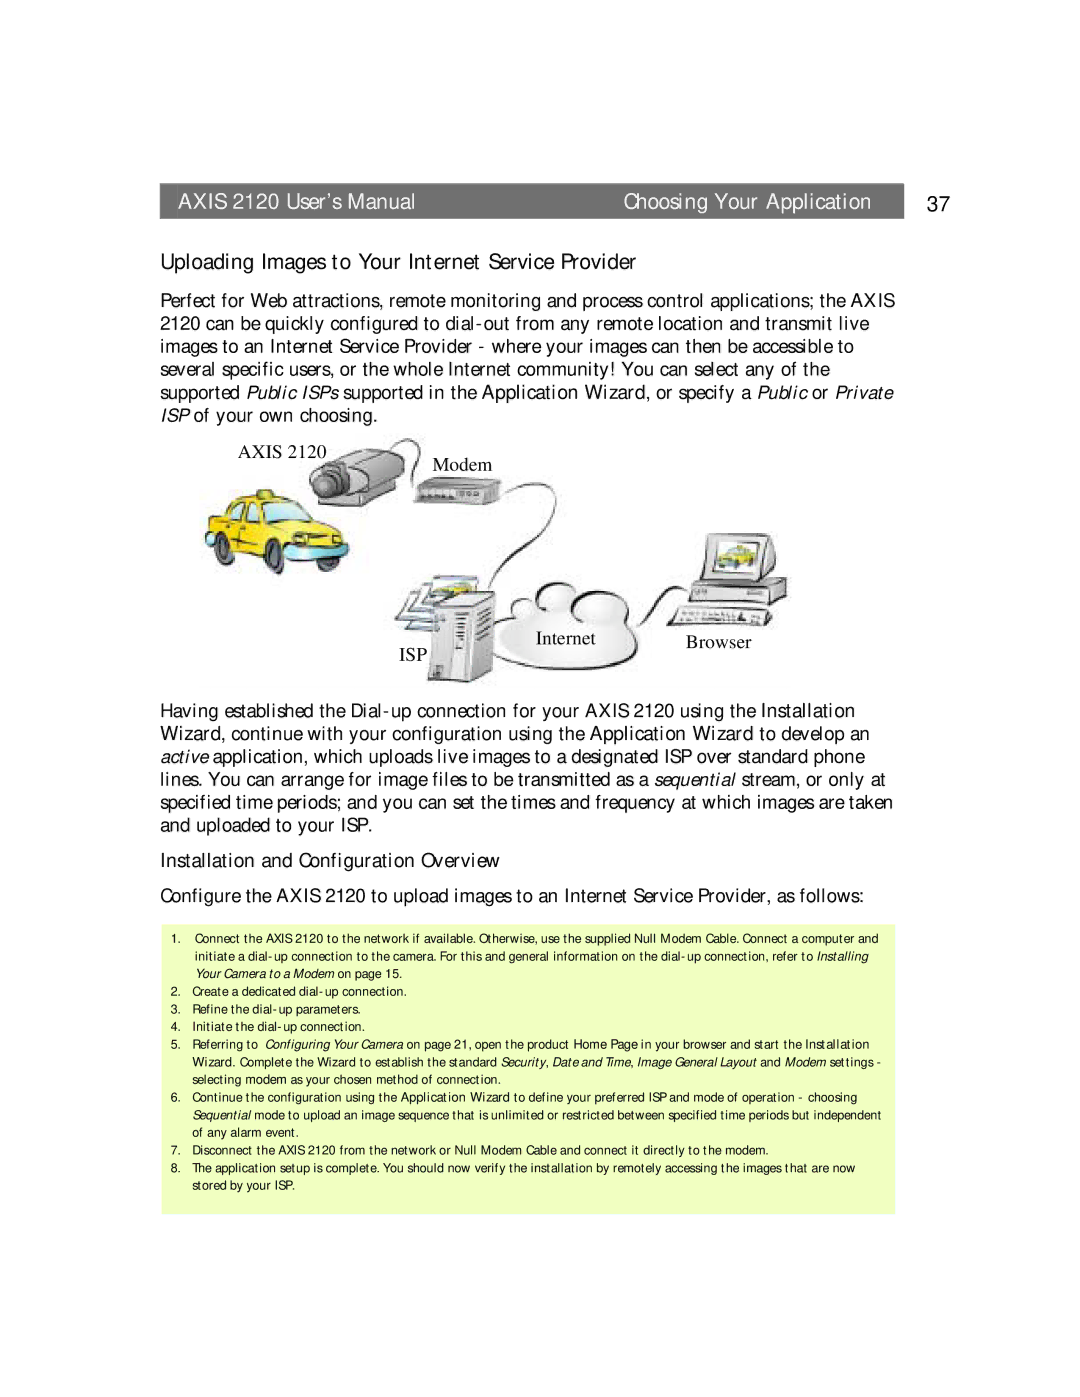
Uploading Images to Your Internet Service Provider
Perfect for Web attractions, remote monitoring and process control applications; the AXIS 2120 can be quickly configured to
AXIS 2120 | Modem |
|
Internet | Browser |
ISP |
|
Having established the
Installation and Configuration Overview
Configure the AXIS 2120 to upload images to an Internet Service Provider, as follows:
1.Connect the AXIS 2120 to the network if available. Otherwise, use the supplied Null Modem Cable. Connect a computer and initiate a
2.Create a dedicated
3.Refine the
4.Initiate the
5.Referring to Configuring Your Camera on page 21, open the product Home Page in your browser and start the Installation Wizard. Complete the Wizard to establish the standard Security, Date and Time, Image General Layout and Modem settings - selecting modem as your chosen method of connection.
6.Continue the configuration using the Application Wizard to define your preferred ISP and mode of operation - choosing Sequential mode to upload an image sequence that is unlimited or restricted between specified time periods but independent of any alarm event.
7.Disconnect the AXIS 2120 from the network or Null Modem Cable and connect it directly to the modem.
8.The application setup is complete. You should now verify the installation by remotely accessing the images that are now stored by your ISP.