|
|
|
| Date: | ||
|
|
|
| Revision: |
| 0 |
|
|
|
| Form: | 2396 | |
|
|
|
|
| ||
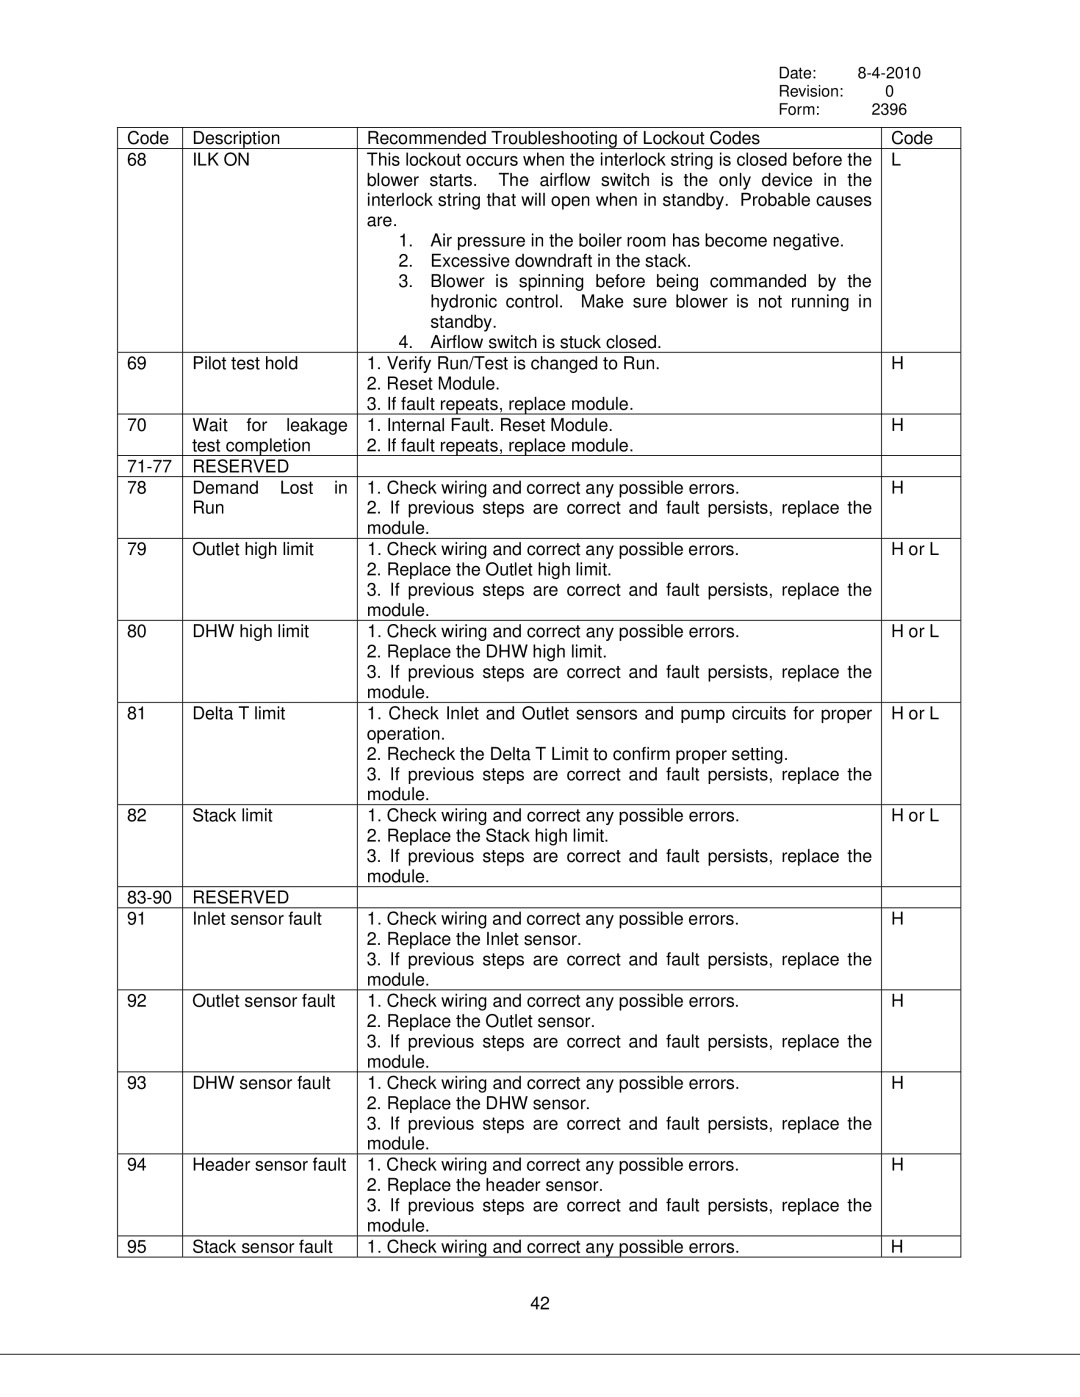
Code | Description | Recommended Troubleshooting of Lockout Codes |
| Code | ||
68 | ILK ON |
| This lockout occurs when the interlock string is closed before the | L | ||
|
|
| blower starts. The airflow switch is the only device in the |
| ||
|
|
| interlock string that will open when in standby. Probable causes |
| ||
|
|
| are. |
|
| |
|
|
|
| 1. Air pressure in the boiler room has become negative. |
|
|
|
|
|
| 2. Excessive downdraft in the stack. |
|
|
|
|
|
| 3. Blower is spinning before being commanded by the |
| |
|
|
|
| hydronic control. Make sure blower is not running in |
| |
|
|
|
| standby. |
|
|
|
|
|
| 4. Airflow switch is stuck closed. |
|
|
69 | Pilot test hold | 1. Verify Run/Test is changed to Run. |
| H | ||
|
|
| 2. | Reset Module. |
|
|
|
|
| 3. | If fault repeats, replace module. |
|
|
70 | Wait for | leakage | 1. Internal Fault. Reset Module. |
| H | |
| test completion | 2. If fault repeats, replace module. |
|
| ||
RESERVED |
|
|
|
| ||
78 | Demand | Lost in | 1. Check wiring and correct any possible errors. |
| H | |
| Run |
| 2. If previous steps are correct and fault persists, replace the |
| ||
|
|
| module. |
|
| |
79 | Outlet high limit | 1. Check wiring and correct any possible errors. |
| H or L | ||
|
|
| 2. | Replace the Outlet high limit. |
|
|
|
|
| 3. | If previous steps are correct and fault persists, replace the |
| |
|
|
| module. |
|
| |
80 | DHW high limit | 1. Check wiring and correct any possible errors. |
| H or L | ||
|
|
| 2. | Replace the DHW high limit. |
|
|
|
|
| 3. | If previous steps are correct and fault persists, replace the |
| |
|
|
| module. |
|
| |
81 | Delta T limit | 1. Check Inlet and Outlet sensors and pump circuits for proper | H or L | |||
|
|
| operation. |
|
| |
|
|
| 2. | Recheck the Delta T Limit to confirm proper setting. |
|
|
|
|
| 3. | If previous steps are correct and fault persists, replace the |
| |
|
|
| module. |
|
| |
82 | Stack limit |
| 1. Check wiring and correct any possible errors. |
| H or L | |
|
|
| 2. | Replace the Stack high limit. |
|
|
|
|
| 3. | If previous steps are correct and fault persists, replace the |
| |
|
|
| module. |
|
| |
RESERVED |
|
|
|
| ||
91 | Inlet sensor fault | 1. Check wiring and correct any possible errors. |
| H | ||
|
|
| 2. | Replace the Inlet sensor. |
|
|
|
|
| 3. | If previous steps are correct and fault persists, replace the |
| |
|
|
| module. |
|
| |
92 | Outlet sensor fault | 1. Check wiring and correct any possible errors. |
| H | ||
|
|
| 2. | Replace the Outlet sensor. |
|
|
|
|
| 3. | If previous steps are correct and fault persists, replace the |
| |
|
|
| module. |
|
| |
93 | DHW sensor fault | 1. Check wiring and correct any possible errors. |
| H | ||
|
|
| 2. | Replace the DHW sensor. |
|
|
|
|
| 3. | If previous steps are correct and fault persists, replace the |
| |
|
|
| module. |
|
| |
94 | Header sensor fault | 1. Check wiring and correct any possible errors. |
| H | ||
|
|
| 2. | Replace the header sensor. |
|
|
|
|
| 3. | If previous steps are correct and fault persists, replace the |
| |
|
|
| module. |
|
| |
95 | Stack sensor fault | 1. Check wiring and correct any possible errors. |
| H | ||
|
|
|
| 42 |
|
|
