SmartBase MPC600F/400
Page
Controlling the machine from your PC
Using Your Documentation
Copyright
Trademarks
Contents
Summary of Settings
Type Conventions Used in This Guide
Page
Operation Panel
Introduction
Customer Support
Redial/Pause Coded Dial Hook
Standby Display
Registering Information
Guidelines for entering Numbers, Letters, and Symbols
Method 1 Using the Operation Panel
Method 2 Using the MultiPASS Suite Software
To Delete the Last Letter/Number
Continue entering other letters using the numeric buttons
Continue entering other numbers using the numeric buttons
Correcting a Mistake
Registering Sender Information
What is Sender Information?
Press Menu Use or
Press OK Press Stop/Reset to return to standby mode
Entering the Date and Time
Registering Your Fax/Telephone Number and Name
Machine prints the USER’S Data List
If you are unsure how to enter characters, → p
Hold to delete the previous entry and re-enter
Press Menu Use or to select FAX Settings
Setting the Telephone Line Type
Dialling Through a Switchboard
If you selected Prefix in step
If you selected Hooking or Earth Connection in step
Page
Speed Dialling Methods
What is Speed Dialling?
Speed Dialling
Number max characters, including spaces
One-Touch Speed Dialling
Registering Numbers for One-Touch Speed Dialling
Use the numeric buttons to enter the name that goes with
To Change a One-Touch Speed Dialling Entry
Changing/Deleting a One-Touch Speed Dialling Entry
To Delete a One-Touch Speed Dialling Entry
Coded Speed Dialling
Registering Numbers for Coded Speed Dialling
Use the numeric buttons to enter the fax/telephone number
Changing/Deleting a Coded Speed Dialling Entry
You want to register max digits, including spaces
Pauses
To Delete a Coded Speed Dialling Entry
To Change a Coded Speed Dialling Entry
To register a group under a coded speed dialling code
Group Dialling
Creating Groups
To register a group under a one-touch speed dialling button
Press Coded Dial, then use the numeric buttons to enter
To enter a destination registered for coded speed dialling
You can select from the following
Speed Dialling Lists
Printing Speed Dialling Lists
To select the list you want to print
Samples of the lists are shown below
Touch SPD Dial List
Preparing to Send a Fax
Adjusting the Quality of Your Faxes
Setting Colour or Black & White Transmission
Sending Faxes
Use or to select the resolution
Setting the Scanning Resolution
Setting the Scanning Contrast
Dialling Methods
When the Fax Number is Not Registered in the Machine
When the Fax Number is Registered in the Machine
When You Dial from Your PC
Coded Speed Dialling
One-Touch Speed Dialling
PC Dialling
Group Dialling
Press Start to begin scanning for sending
Sending Methods
Memory Sending
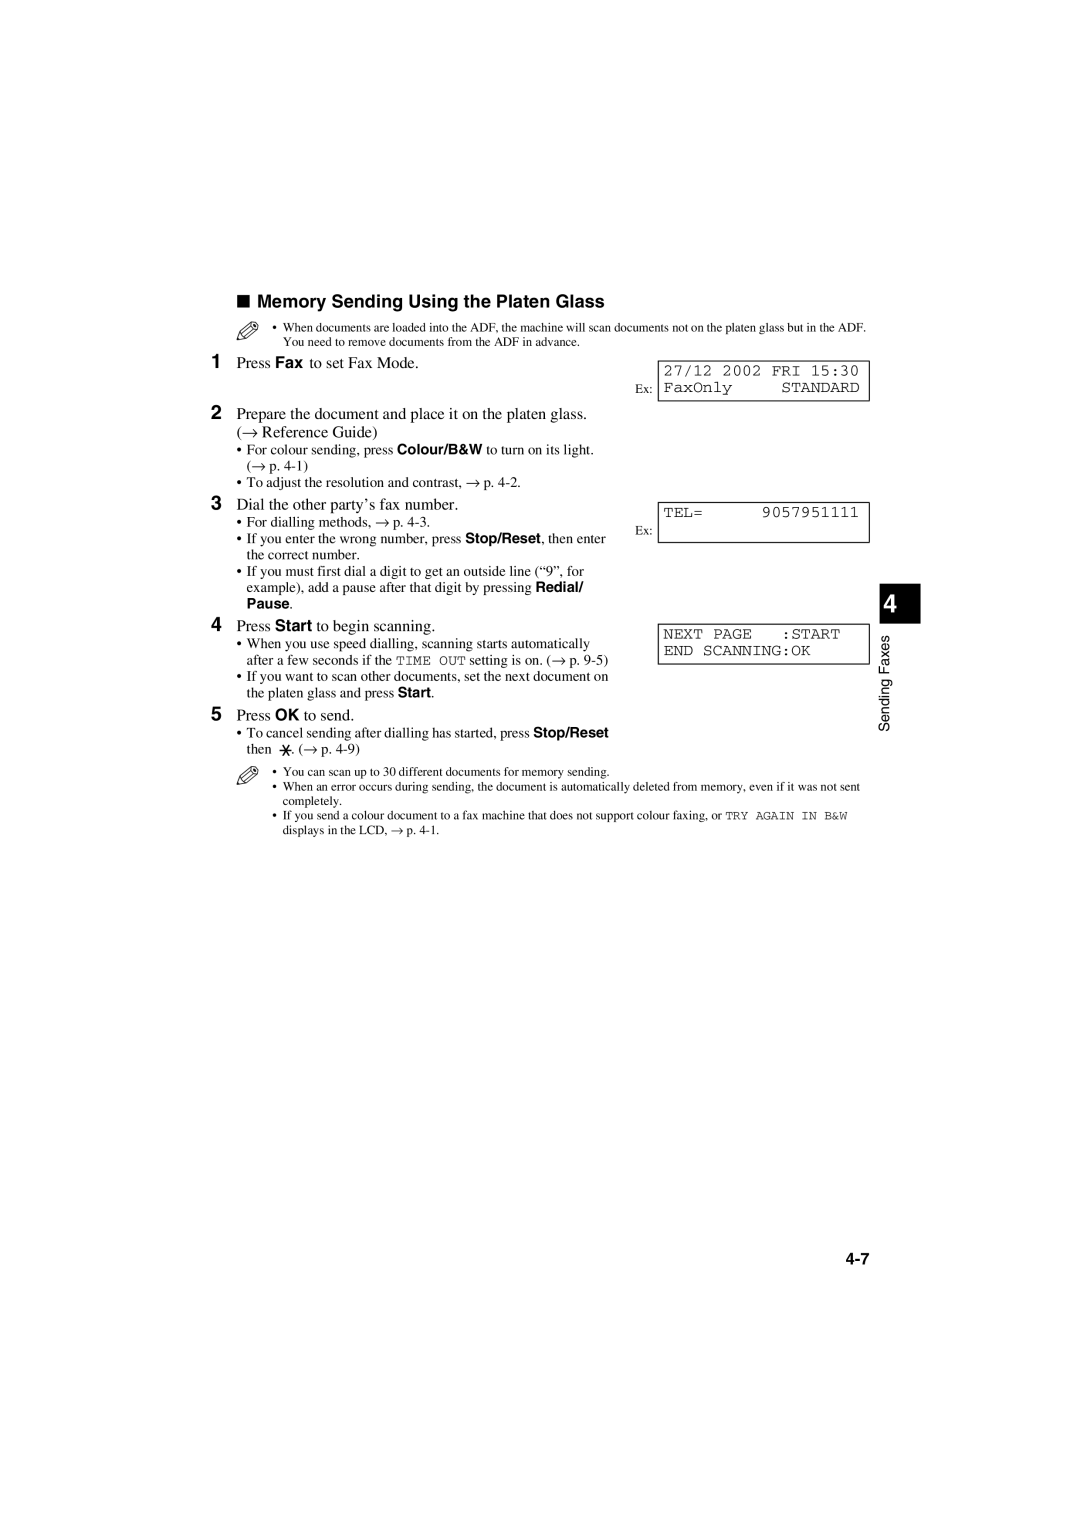
Dial the other party’s fax number
Press OK to send
Press Fax to set Fax Mode
Press Start to begin scanning
Machine begins sending the document
Manual Sending Via the Handset
Press Hook
You can also lift the handset instead of pressing Hook
While a document is scanning
Cancelling Sending
Cancelling Memory Sending
Cancelling Manual Sending Via the Handset
Manual Redialling
Redialling When the Line is Busy
Cancelling Manual Redialling
Cancelling Automatic Redialling
Coded speed dialling
Sequential Broadcasting
Sending a Document to More Than One Destination
One-touch speed dialling
Page
Press Menu Use or to select Memory Reference Press OK twice
Delayed Sending
Documents Stored in Memory
Printing a List of Documents in Memory
Machine prints the document
Printing a Document in Memory
Press to delete the document
Deleting a Document from Memory
Checking a Document’s Details
Page
Different Ways to Receive a Fax
Receive Mode Main Use Operation Requirements
Receiving Faxes
What Happens When FAX/TEL Auto SW is Selected
Setting the Options for FAX/TEL Auto SW
To set FAX/TEL Auto SW, → Quick Start Guide
Make sure FaxTel is displayed in the LCD
If you hear a slow beep tone or silence
Receiving Faxes Manually
Make sure Manual is displayed in the LCD
If you hear a person’s voice
Polling Receiving
When Your PC is Off
Receiving Faxes to the MultiPASS Suite
Receiving While Performing Other Tasks
Receiving Faxes in Memory When a Problem Occurs
Cancelling Receiving
Cancelling Polling Receiving
Dialling an Overseas Number With Pauses
Special Features
Special Dialling
Confirming a Dial Tone
Switching Temporarily to Tone Dialling
Press Fax to set Fax Mode Press Hook
When you have finished, press Hook to disconnect the call
Continue with the operation you are performing
Dialling Through a Switchboard
Restricting Use of Your Machine
Enabling Restriction of Your Machine
If you did not register a password, ignore this step
Cancelling Restriction of Your Machine
Press Menu Use or to select System Settings Press OK twice
Follow this procedure to cancel restriction of your machine
Report or List Description Details
Reports and Lists
Summary of Reports and Lists
Press Menu Use or to select REPORTS/LISTS Press OK twice
Activity Report
Slerexe Company Limited
TX Transmission Report
Multi TX/RX Transaction Report
RX Reception Report
Cause Action
Troubleshooting
LCD Messages
Message Error Code Cause Action
Faxes sent from the machine are spotted or dirty
Faxing Problems
Sending Problems
You cannot send a fax
Cannot receive a fax automatically
Receiving Problems
Cannot send using Error Correction Mode ECM
Errors occur frequently while sending
Faxes do not print
Cannot receive using Error Correction Mode ECM
Cannot receive a document manually
Print quality is poor
Telephone disconnects while you are talking
Telephone Problems
Errors occur frequently while receiving
You cannot dial
If You Cannot Solve the Problem
If a Power Cut Occurs
Page
Following illustrates the menu items in hierarchical order
Summary of Settings
Accessing the Menus
Understanding the Menu System
Name
Menus in FAX Mode
Settings
Name Description Settings
Registers information on One-Touch Speed Dialling. → p
Prints the Coded Speed Dial LIST. → p
Prints the Group Dial LIST. → p
Prints the USER’S Data LIST. → p
Selects the line monitor volume sound during Off
Enables/disables printing of the sender Information → p
Enables/disables the off hook alarm that alerts
Sets the volume of the machine sounds
Press Redial/Pause
Faxing capability. → p
Enables/disables Error Correction Mode ECM During reception
When the machine is set to Manual Mode
Mode after it rings for a specified time
Selects the direction of the reduction
Enables/disables remote receiving. → p
If you selects on above, selects the remote Receiving ID
Paper loaded in the multi-purpose tray
Page
Telephone
Specifications
Facsimile
Page
Index
Fax
Dialling
Speed See Speed dialling
Document
Messages, LCD See also individual message
Problems
Memory sending
Menus See also individual menu names
Registering
Timer See Delayed sending
Receiving See also individual receive modes
Redialling
Telephone
Timer sending See Delayed sending