Detail Settings
|
|
|
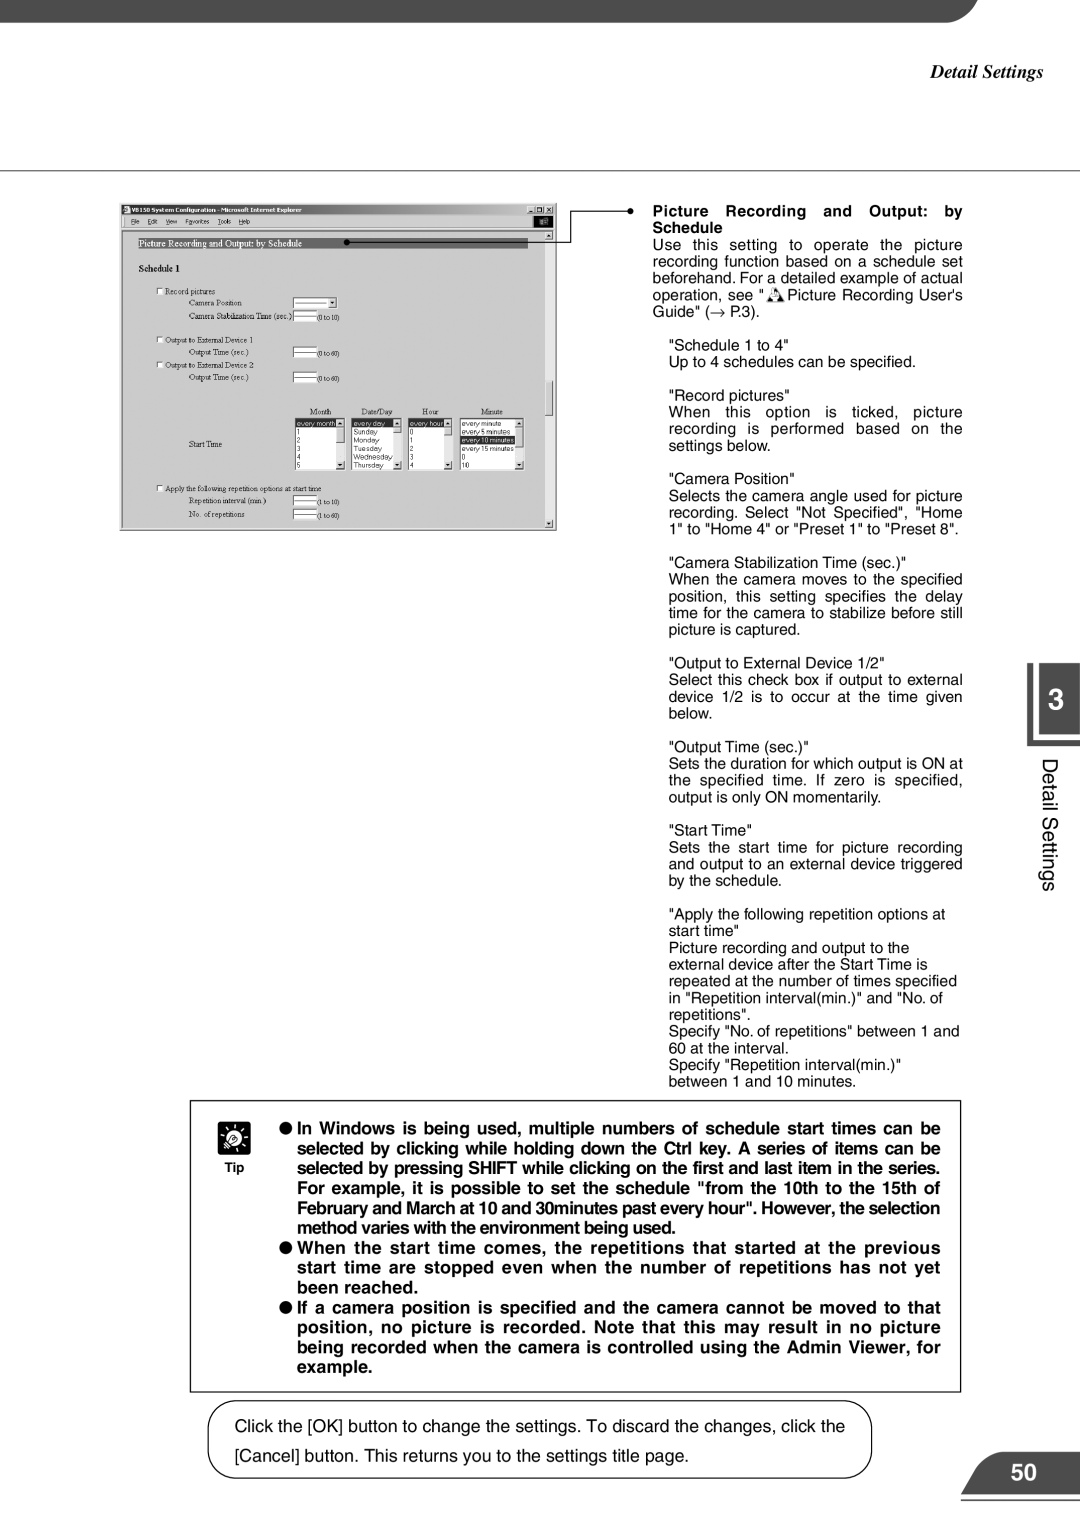
| Picture Recording and Output: by |
|
|
|
| Schedule |
|
|
|
| Use this setting to operate the picture |
|
|
| ||
|
|
|
| recording function based on a schedule set |
|
|
|
| beforehand. For a detailed example of actual |
|
|
|
| operation, see "dPicture Recording User's |
|
|
|
| Guide" (→ P.3). |
|
|
|
| "Schedule 1 to 4" |
|
|
|
| Up to 4 schedules can be specified. |
|
|
|
| "Record pictures" |
|
|
|
| When this option is ticked, picture |
|
|
|
| recording is performed based on the |
|
|
|
| settings below. |
|
|
|
| "Camera Position" |
|
|
|
| Selects the camera angle used for picture |
|
|
|
| recording. Select "Not Specified", "Home |
|
|
|
| 1" to "Home 4" or "Preset 1" to "Preset 8". |
|
|
|
| "Camera Stabilization Time (sec.)" |
|
|
|
| When the camera moves to the specified |
|
|
|
| position, this setting specifies the delay |
|
|
|
| time for the camera to stabilize before still |
|
|
|
| picture is captured. |
|
|
|
| "Output to External Device 1/2" |
|
|
|
| Select this check box if output to external |
|
|
|
| device 1/2 is to occur at the time given |
|
|
|
| below. |
|
|
|
| "Output Time (sec.)" |
|
|
|
| Sets the duration for which output is ON at |
|
|
|
| the specified time. If zero is specified, |
|
|
|
| output is only ON momentarily. |
|
|
|
| "Start Time" |
|
|
|
| Sets the start time for picture recording |
|
|
|
| and output to an external device triggered |
|
|
|
| by the schedule. |
|
|
|
| "Apply the following repetition options at |
|
|
|
| start time" |
|
|
|
| Picture recording and output to the |
|
|
|
| external device after the Start Time is |
|
|
|
| repeated at the number of times specified |
|
|
|
| in "Repetition interval(min.)" and "No. of |
|
|
|
| repetitions". |
|
|
|
| Specify "No. of repetitions" between 1 and |
|
|
|
| 60 at the interval. |
|
|
|
| Specify "Repetition interval(min.)" |
|
|
|
| between 1 and 10 minutes. |
|
| |||
e | ● In Windows is being used, multiple numbers of schedule start times can be | |||
selected by clicking while holding down the Ctrl key. A series of items can be | ||||
Tip | selected by pressing SHIFT while clicking on the first and last item in the series. | |||
| For example, it is possible to set the schedule "from the 10th to the 15th of | |||
| February and March at 10 and 30minutes past every hour". However, the selection | |||
| method varies with the environment being used. | |||
| ● When the start time comes, the repetitions that started at the previous | |||
| start time are stopped even when the number of repetitions has not yet | |||
| been reached. | |||
| ● If a camera position is specified and the camera cannot be moved to that | |||
| position, no picture is recorded. Note that this may result in no picture | |||
| being recorded when the camera is controlled using the Admin Viewer, for | |||
| example. | |||
|
|
|
|
|
Click the [OK] button to change the settings. To discard the changes, click the
[Cancel] button. This returns you to the settings title page.
3
Detail Settings
50
