GETTING ACQUAINTED
4.Use [+] and
Example: October 18, 2000
Year/Month/Day: 00/10/18
Day/Month/Year: 18/10/00
Month/Day/Year: 10/18/00
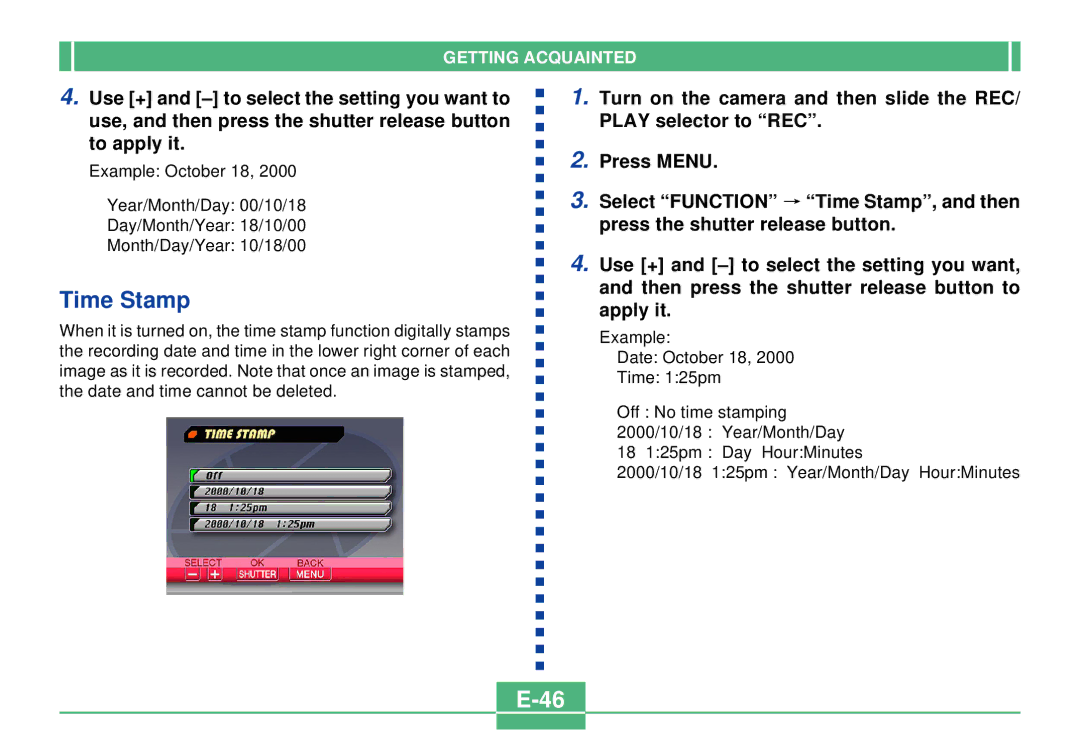
Time Stamp
When it is turned on, the time stamp function digitally stamps the recording date and time in the lower right corner of each image as it is recorded. Note that once an image is stamped, the date and time cannot be deleted.
1.Turn on the camera and then slide the REC/ PLAY selector to “REC”.
2.Press MENU.
3.Select “FUNCTION” ![]() “Time Stamp”, and then press the shutter release button.
“Time Stamp”, and then press the shutter release button.
4.Use [+] and
Example:
Date: October 18, 2000
Time: 1:25pm
Off : No time stamping
2000/10/18 : Year/Month/Day
18 1:25pm : Day Hour:Minutes
2000/10/18 1:25pm : Year/Month/Day Hour:Minutes