OTHER RECORDING FUNCTIONS
Selecting White Balance
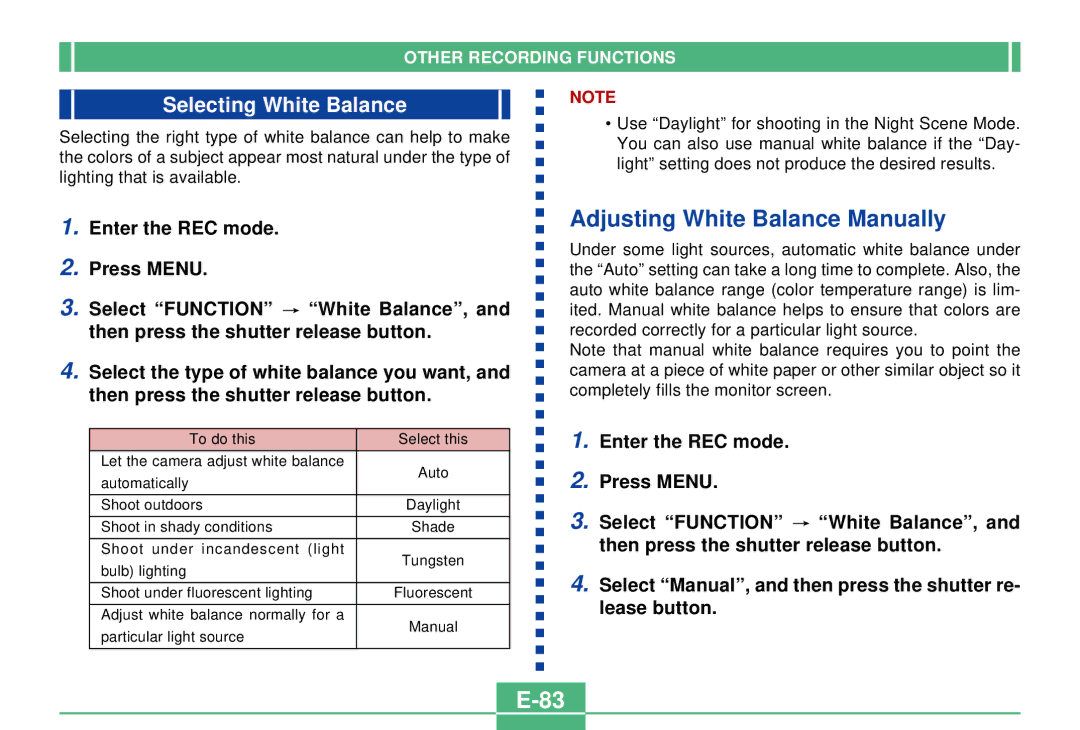
Selecting the right type of white balance can help to make the colors of a subject appear most natural under the type of lighting that is available.
NOTE
•Use “Daylight” for shooting in the Night Scene Mode. You can also use manual white balance if the “Day- light” setting does not produce the desired results.
1.Enter the REC mode.
2.Press MENU.
3.Select “FUNCTION” ![]() “White Balance”, and then press the shutter release button.
“White Balance”, and then press the shutter release button.
4.Select the type of white balance you want, and then press the shutter release button.
To do this | Select this | |
Let the camera adjust white balance | Auto | |
automatically | ||
| ||
|
| |
Shoot outdoors | Daylight | |
|
| |
Shoot in shady conditions | Shade | |
|
| |
Shoot under incandescent (light | Tungsten | |
bulb) lighting | ||
| ||
|
| |
Shoot under fluorescent lighting | Fluorescent | |
|
| |
Adjust white balance normally for a | Manual | |
particular light source | ||
| ||
|
|
Adjusting White Balance Manually
Under some light sources, automatic white balance under the “Auto” setting can take a long time to complete. Also, the auto white balance range (color temperature range) is lim- ited. Manual white balance helps to ensure that colors are recorded correctly for a particular light source.
Note that manual white balance requires you to point the camera at a piece of white paper or other similar object so it completely fills the monitor screen.
1.Enter the REC mode.
2.Press MENU.
3.Select “FUNCTION” ![]() “White Balance”, and then press the shutter release button.
“White Balance”, and then press the shutter release button.
4.Select “Manual”, and then press the shutter re- lease button.
