Chapter 6 Enrolling and Managing Certificates
Importing a Certificate
Importing a Certificate
A network administrator might place a certificate in a file. This certificate must be imported in to the certificate store before you can use it for authenticating the VPN Client to a VPN device.
To import a certificate from a file
Step 1 Click the Certificates tab.
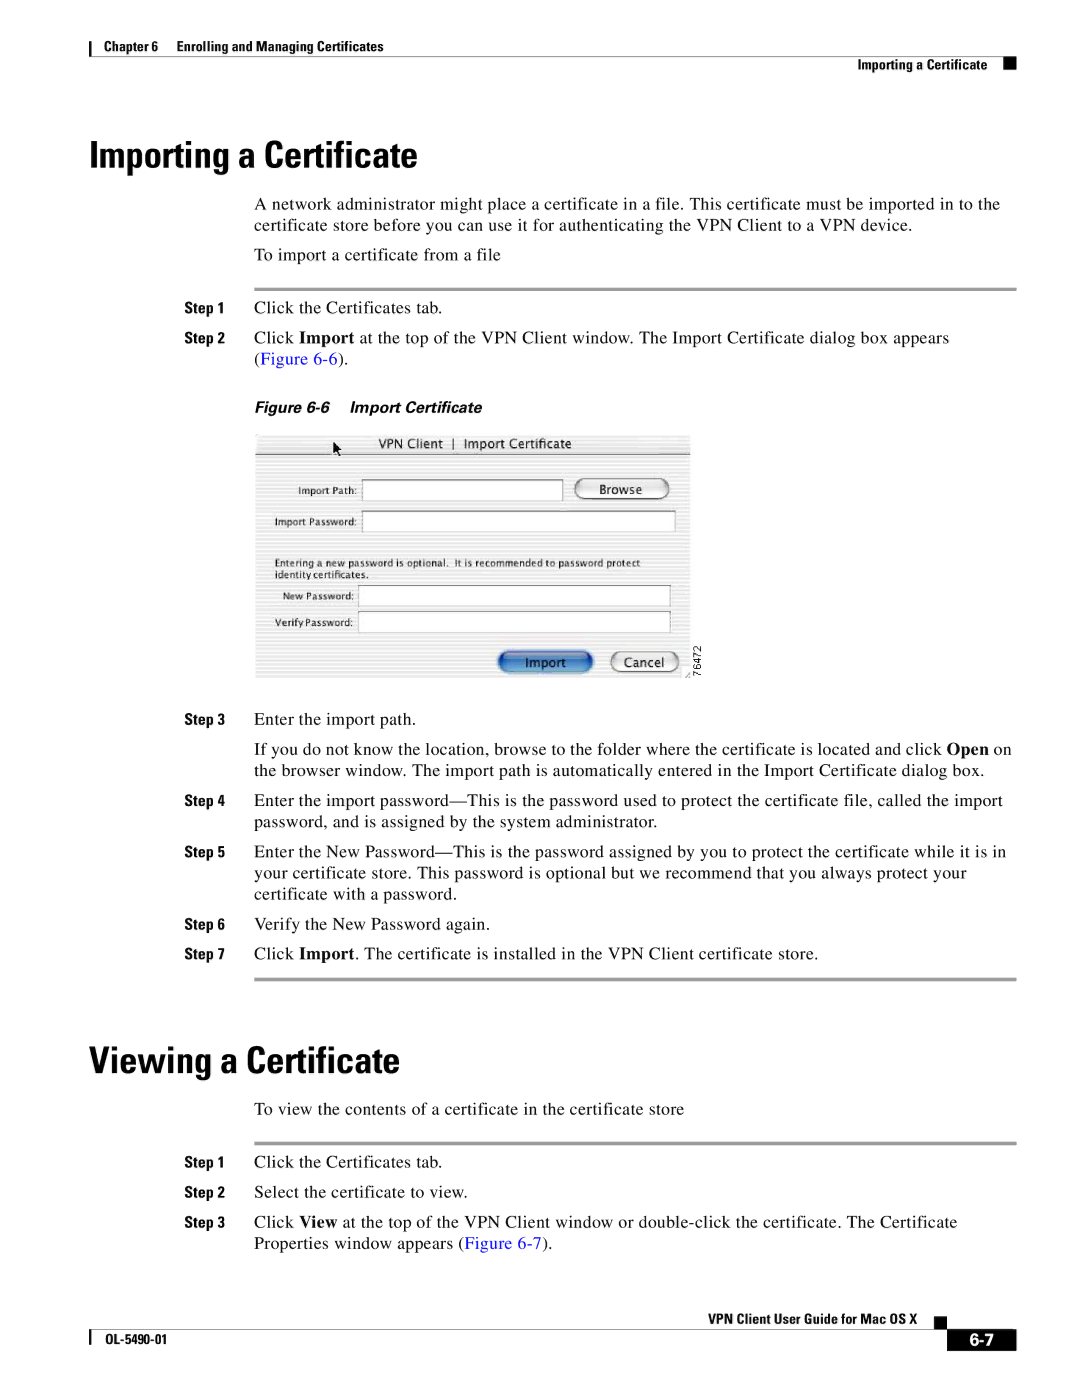
Step 2 Click Import at the top of the VPN Client window. The Import Certificate dialog box appears (Figure
Figure 6-6 Import Certificate
Step 3 Enter the import path.
If you do not know the location, browse to the folder where the certificate is located and click Open on the browser window. The import path is automatically entered in the Import Certificate dialog box.
Step 4 Enter the import
Step 5 Enter the New
Step 6 Verify the New Password again.
Step 7 Click Import. The certificate is installed in the VPN Client certificate store.
Viewing a Certificate
To view the contents of a certificate in the certificate store
Step 1 Click the Certificates tab.
Step 2 Select the certificate to view.
Step 3 Click View at the top of the VPN Client window or
VPN Client User Guide for Mac OS X
|
| ||
|
|