5.
6.
Choose your connection and right click, then select “Properties”.
Select “Internet Protocol Version 4 (TCP/IPv4) and then click “Properties”.
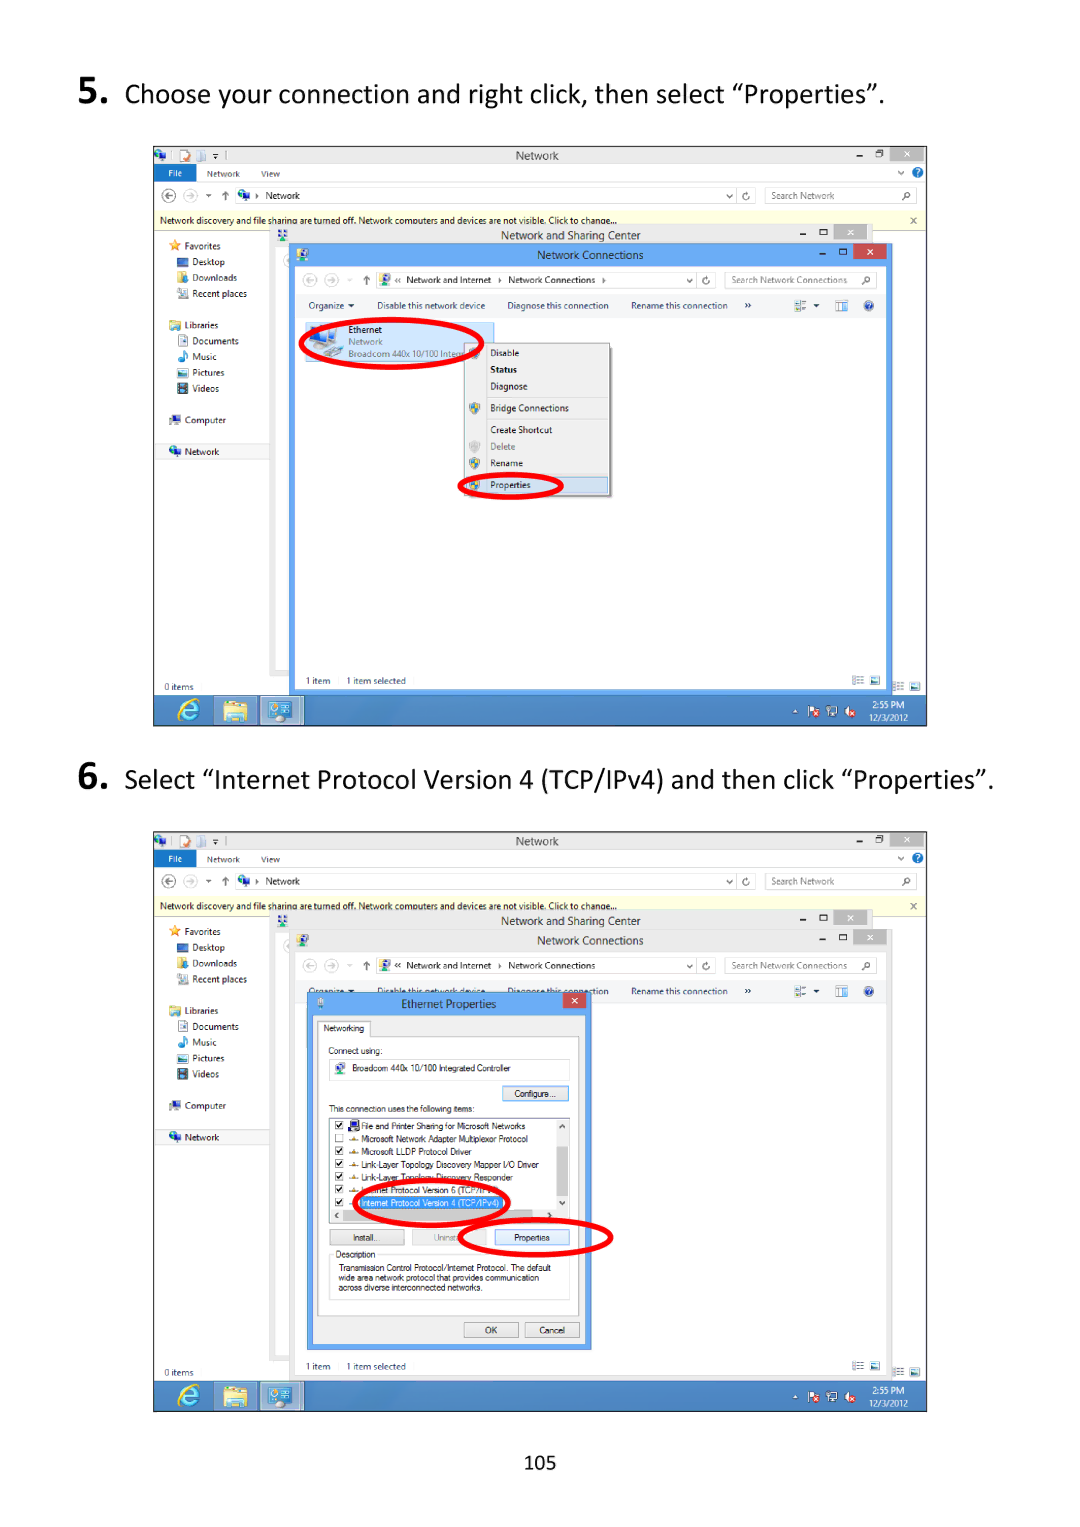
5.
6.
Choose your connection and right click, then select “Properties”.
Select “Internet Protocol Version 4 (TCP/IPv4) and then click “Properties”.