MAC Filtering:
Enable MAC | Check the box to enable MAC filtering and |
Filtering | select whether to “Deny” or “Allow” access for |
| specified MAC address. |
Client PC MAC | Enter a MAC address of computer or network |
Address | device manually without dashes or colons e.g. |
| for MAC address ‘aa‐bb‐cc‐dd‐ee‐ff’ enter |
| ‘aabbccddeeff’. |
Computer Name | Select a computer name from the drop‐down |
| list and click “<<” to add its MAC address into |
| the “Client PC Mac Address” field. |
| Click “Refresh’ in the drop‐down menu to |
| refresh the list of available MAC addresses. If |
| the address you wish to add is not listed, enter |
| it manually. |
Comment | Enter a comment for reference/identification |
| consisting of up to 16 alphanumerical |
| characters. |
Add | Click “Add” to add the MAC address to the |
| MAC address filtering table. |
Clear | Clear all fields. |
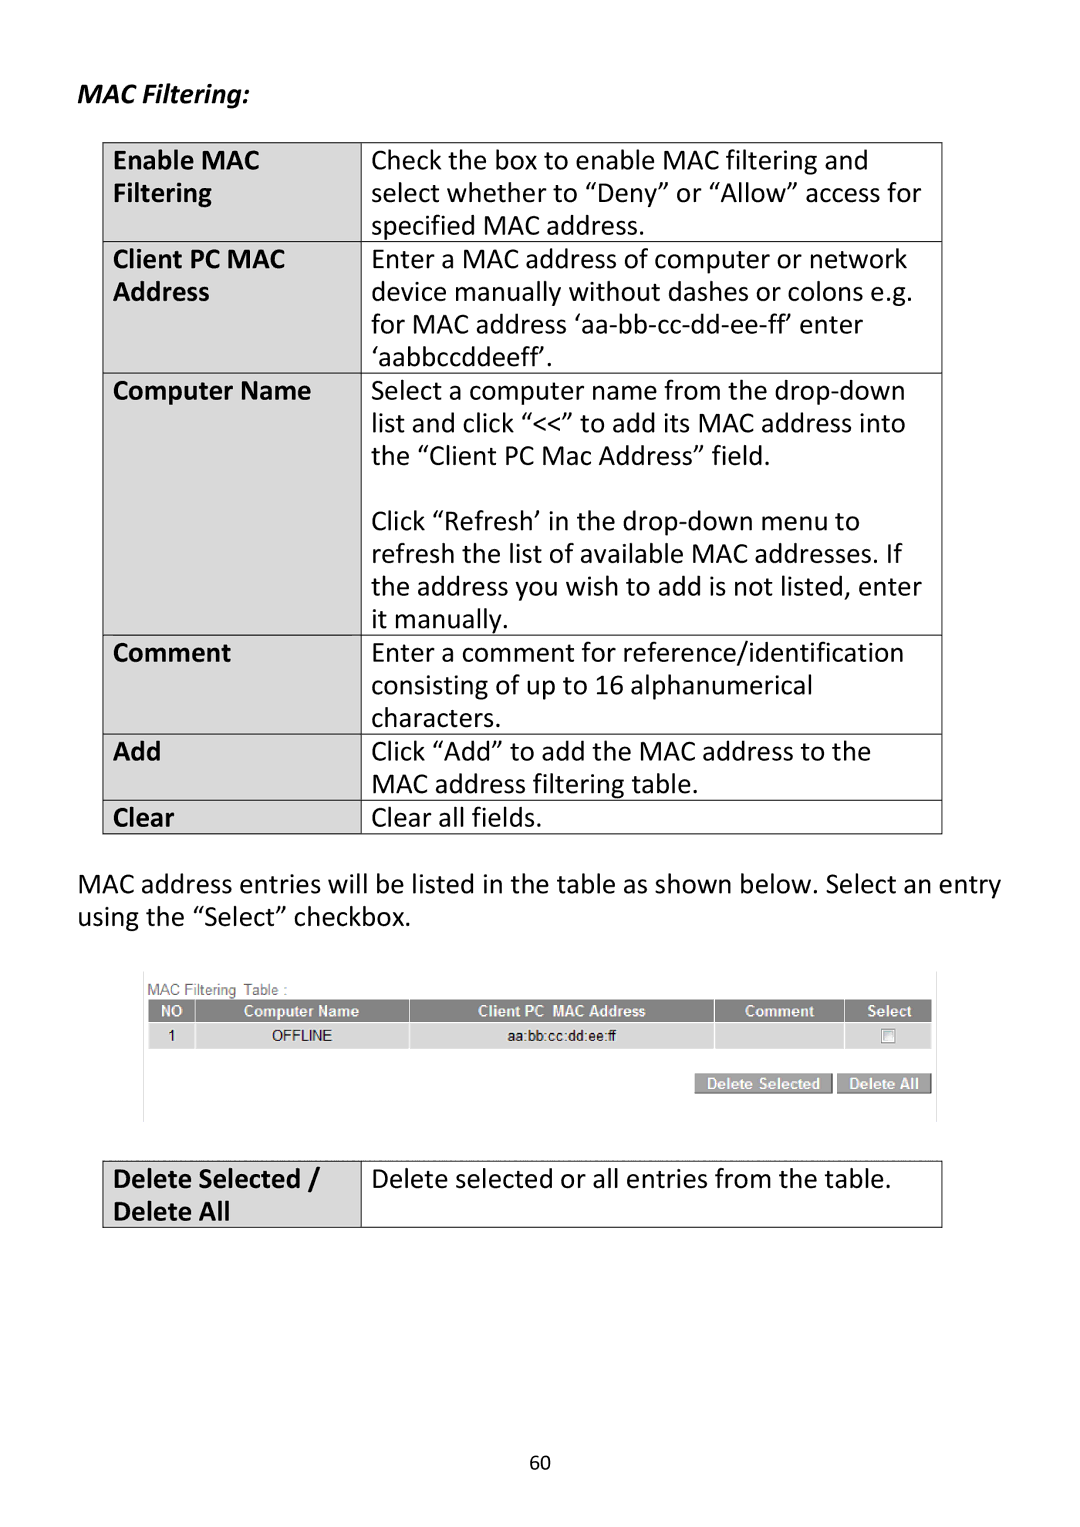
MAC address entries will be listed in the table as shown below. Select an entry using the “Select” checkbox.
Delete Selected / Delete All
Delete selected or all entries from the table.
60