IV‐1‐3. How to Find Your Network Security Key
To find your network security key, please follow the instructions appropriate for your operating system.
If you are using Windows XP or earlier, please contact your ISP or router manufacturer to find your network security key.
IV‐1‐3‐1. Windows 7 & Vista
1. Open “Control Panel” and click on “Network and Internet” in the top menu.
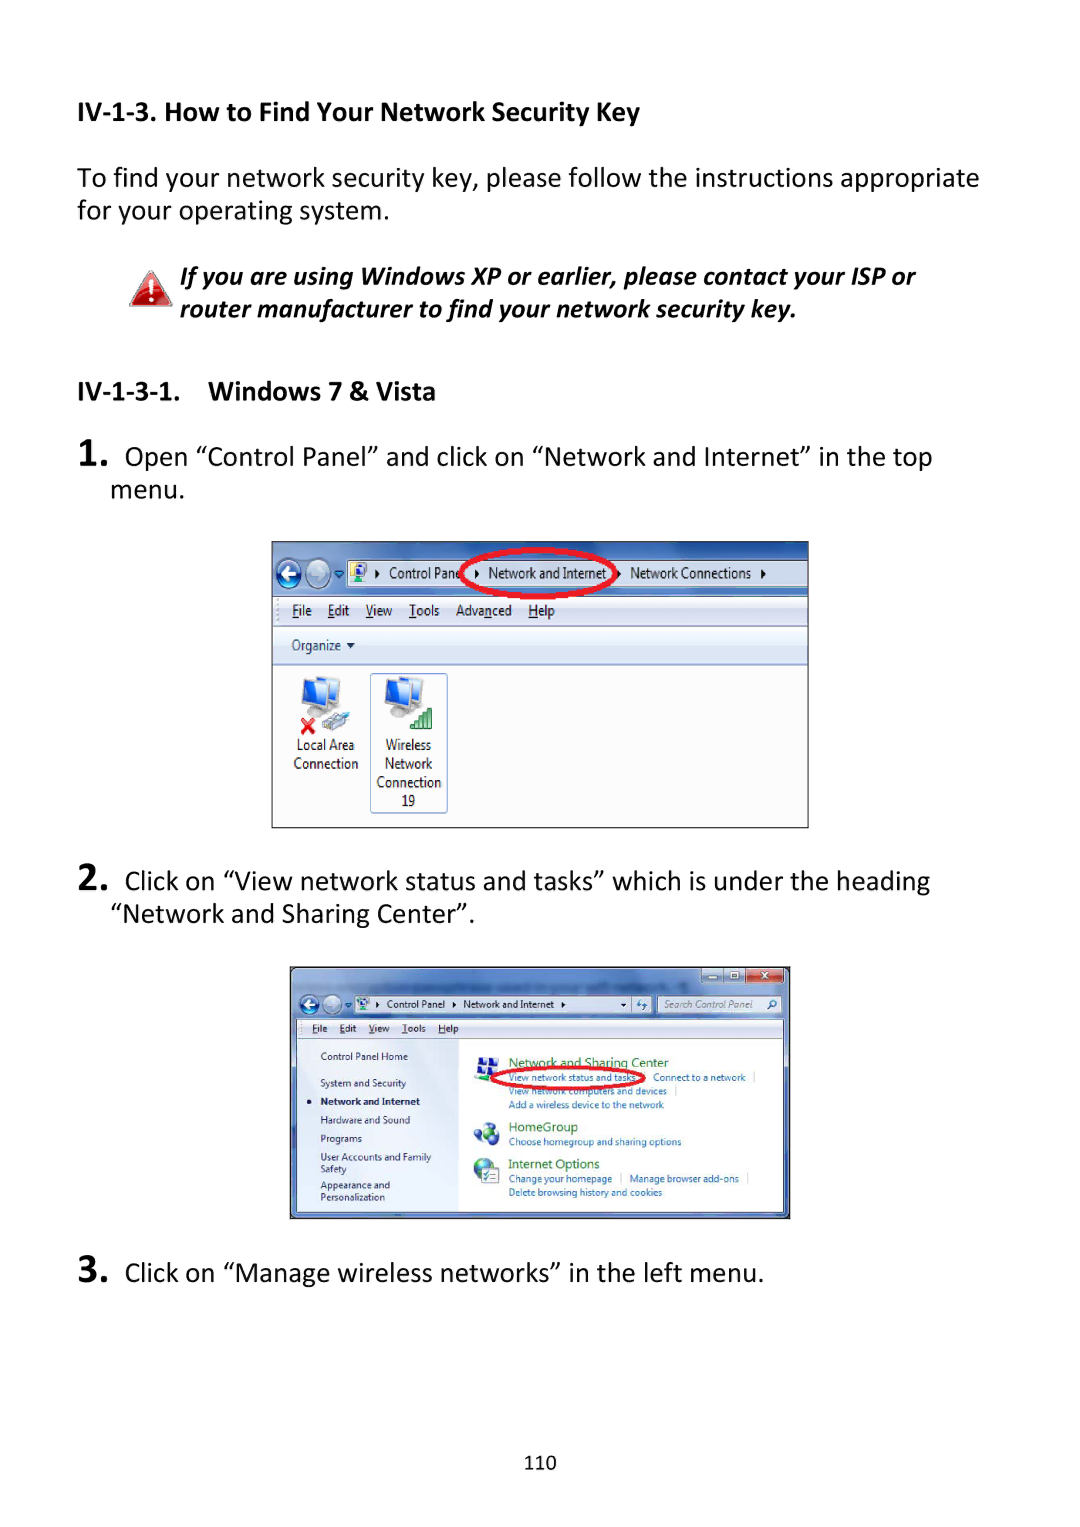
2. Click on “View network status and tasks” which is under the heading “Network and Sharing Center”.
3. Click on “Manage wireless networks” in the left menu.
110