|
| General Information | 1 |
|
| Safety Symbols and Terms | |
|
|
|
|
The | CAUTION | heading used in this manual explains hazards that could damage the instrument. |
|
|
|
Such damage may invalidate the warranty.
1.5 Manual Addenda
Any improvements or changes concerning the instrument or manual will be explained in an addendum included with the manual. Be sure to note these changes and incorporate them into the manual.
1.6 Specifications
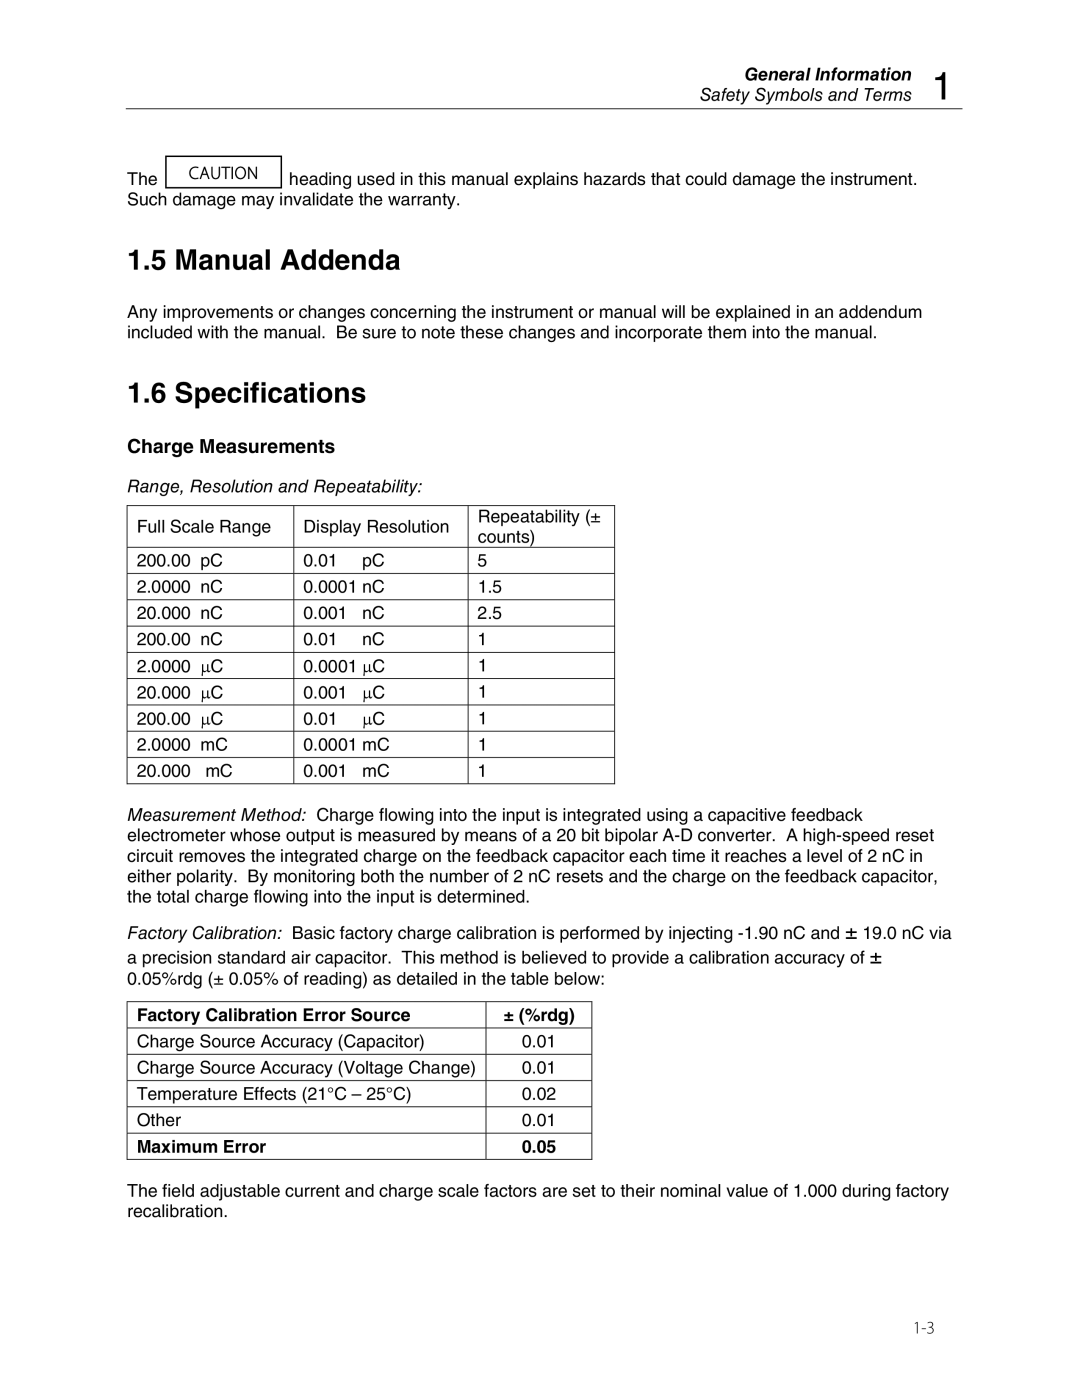
Charge Measurements
Range, Resolution and Repeatability:
Full Scale Range | Display Resolution | Repeatability (± | |||
counts) | |||||
|
|
|
| ||
200.00 | pC | 0.01 | pC | 5 | |
|
|
|
| ||
2.0000 | nC | 0.0001 nC | 1.5 | ||
|
|
|
|
| |
20.000 | nC | 0.001 | nC | 2.5 | |
|
|
|
|
| |
200.00 | nC | 0.01 | nC | 1 | |
|
|
|
|
| |
2.0000 | μC | 0.0001 | μC | 1 | |
|
|
|
|
| |
20.000 | μC | 0.001 | μC | 1 | |
|
|
|
|
| |
200.00 | μC | 0.01 | μC | 1 | |
2.0000 | mC | 0.0001 mC | 1 | ||
|
|
|
|
| |
20.000 | mC | 0.001 | mC | 1 | |
|
|
|
|
| |
Measurement Method: Charge flowing into the input is integrated using a capacitive feedback electrometer whose output is measured by means of a 20 bit bipolar
Factory Calibration: Basic factory charge calibration is performed by injecting
Factory Calibration Error Source | ± (%rdg) |
|
|
Charge Source Accuracy (Capacitor) | 0.01 |
|
|
Charge Source Accuracy (Voltage Change) | 0.01 |
|
|
Temperature Effects (21°C – 25°C) | 0.02 |
|
|
Other | 0.01 |
|
|
Maximum Error | 0.05 |
|
|
The field adjustable current and charge scale factors are set to their nominal value of 1.000 during factory recalibration.
