7-2: REPLACE INTERFACE BOARD
1.Unplug all power cords. Perform Procedure
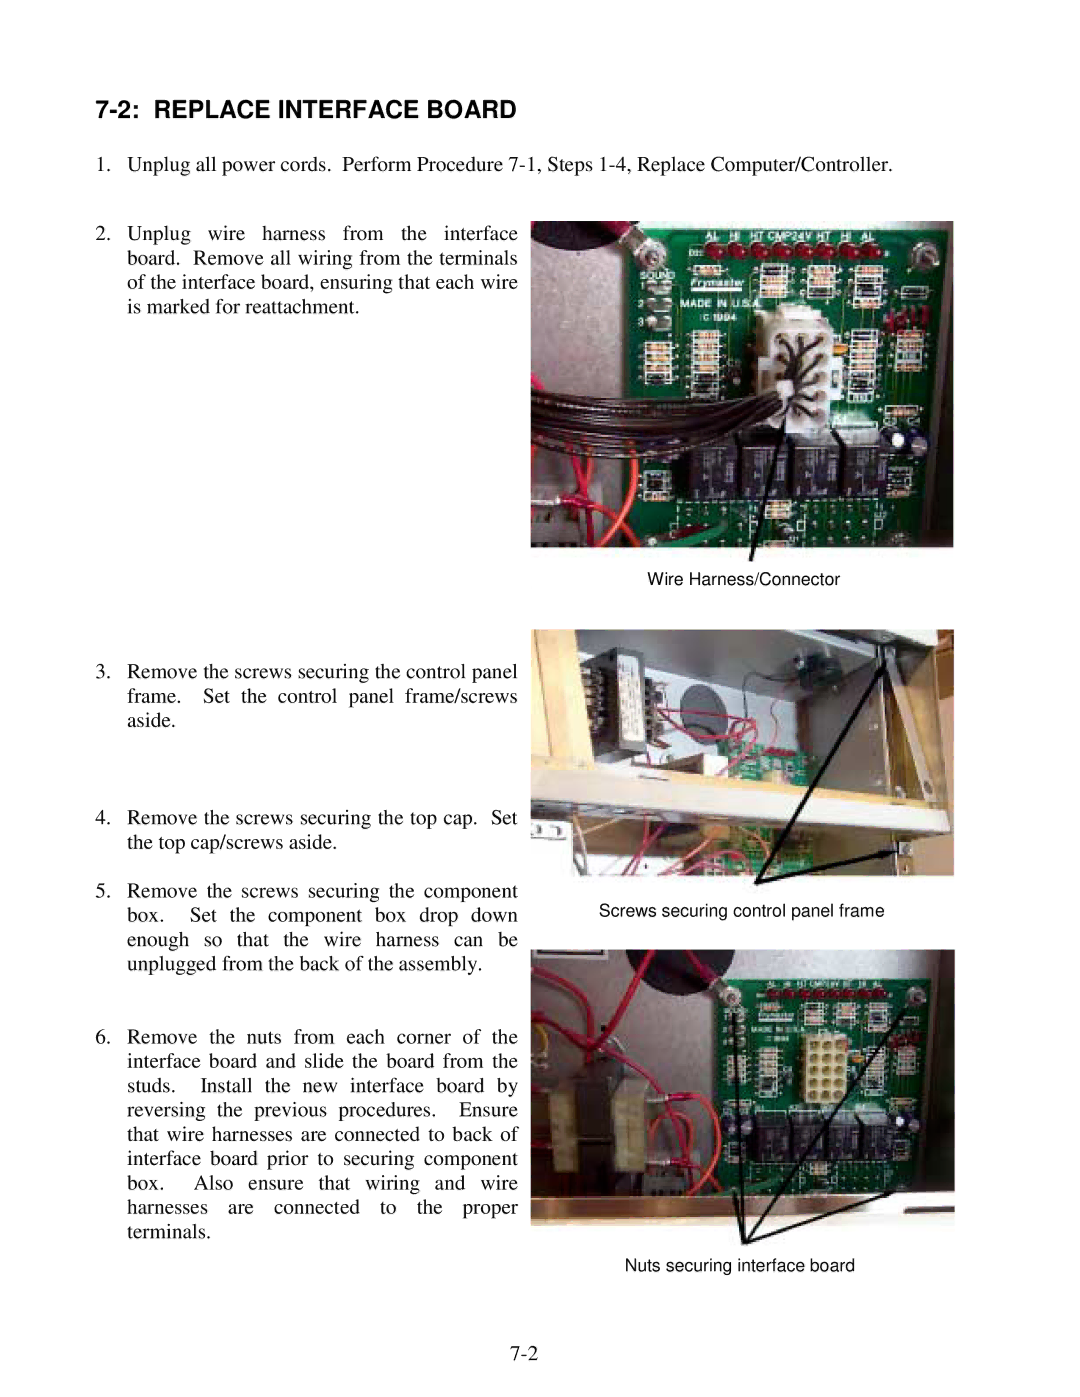
2.Unplug wire harness from the interface board. Remove all wiring from the terminals of the interface board, ensuring that each wire is marked for reattachment.
Wire Harness/Connector
3.Remove the screws securing the control panel frame. Set the control panel frame/screws aside.
4.Remove the screws securing the top cap. Set the top cap/screws aside.
5.Remove the screws securing the component box. Set the component box drop down enough so that the wire harness can be unplugged from the back of the assembly.
6.Remove the nuts from each corner of the interface board and slide the board from the studs. Install the new interface board by reversing the previous procedures. Ensure that wire harnesses are connected to back of interface board prior to securing component box. Also ensure that wiring and wire harnesses are connected to the proper terminals.
Screws securing control panel frame
Nuts securing interface board