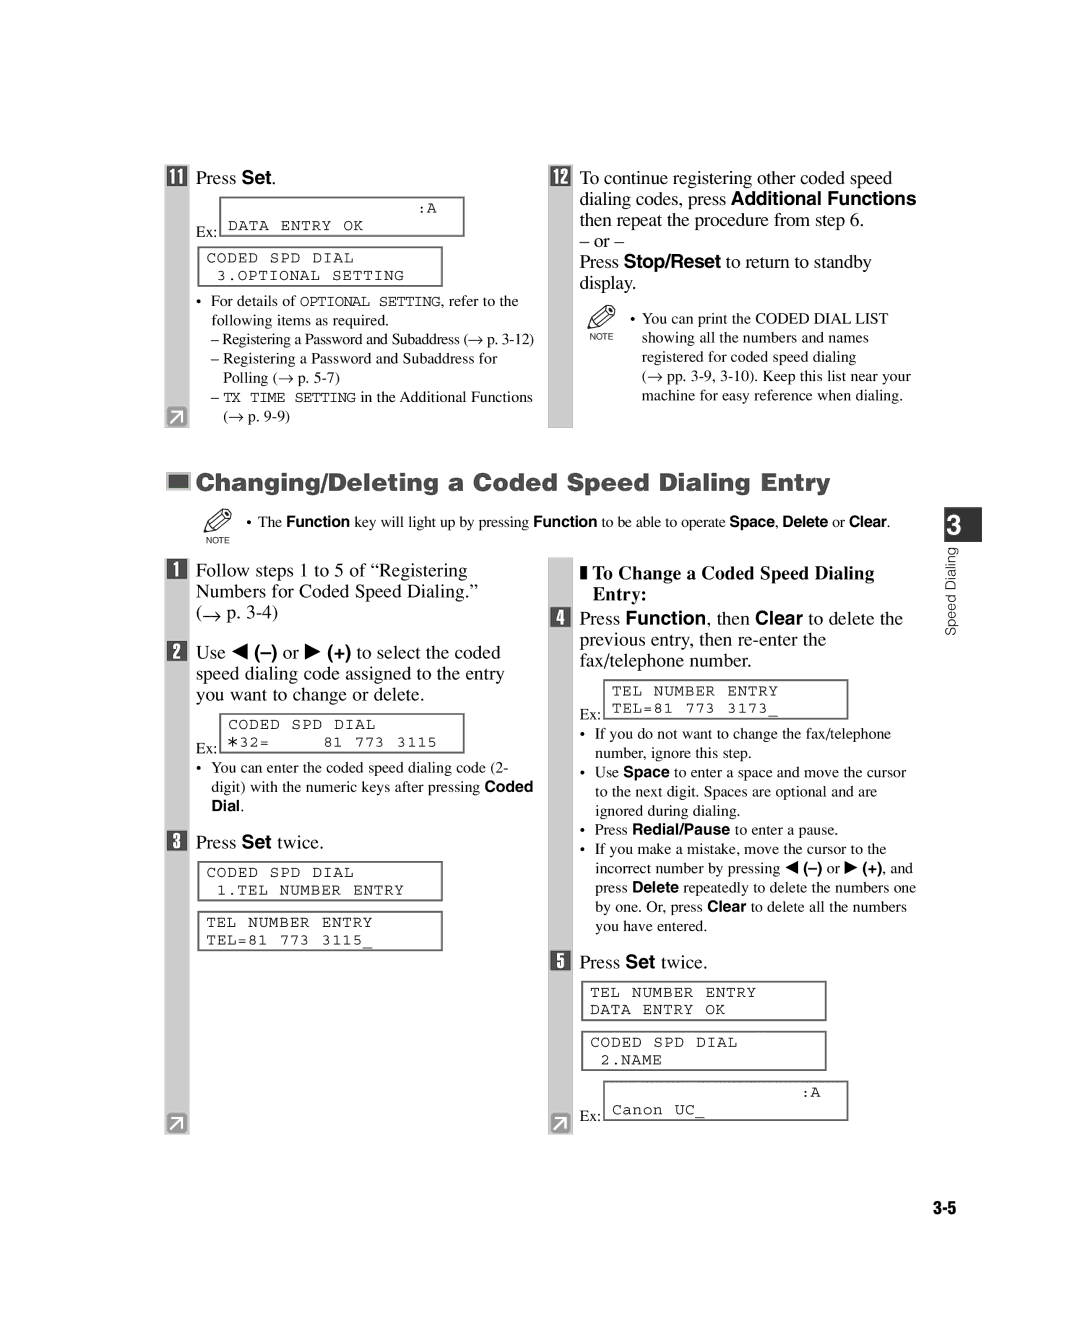
11Press Set.
:A
Ex: DATA ENTRY OK
CODED SPD DIAL 3.OPTIONAL SETTING
12To continue registering other coded speed
dialing codes, press Additional Functions then repeat the procedure from step 6.
– or –
Press Stop/Reset to return to standby display.
• For details of OPTIONAL SETTING, refer to the |
| • You can print the CODED DIAL LIST |
following items as required. |
| |
– Registering a Password and Subaddress (→ p. | NOTE | showing all the numbers and names |
|
| |
– Registering a Password and Subaddress for |
| registered for coded speed dialing |
Polling (→ p. |
| (→ pp. |
– TX TIME SETTING in the Additional Functions |
| machine for easy reference when dialing. |
(→ p. |
|
|

 Changing/Deleting a Coded Speed Dialing Entry
• The Function key will light up by pressing Function to be able to operate Space, Delete or Clear.
NOTE
3
1Follow steps 1 to 5 of “Registering
Numbers for Coded Speed Dialing.” (→ p.
2Use 4
CODED SPD | DIAL |
Ex: A32= | 81 773 3115 |
•You can enter the coded speed dialing code (2- digit) with the numeric keys after pressing Coded Dial.
3Press Set twice.
CODED SPD DIAL 1.TEL NUMBER ENTRY
TEL NUMBER ENTRY
TEL=81 773 3115_
❚To Change a Coded Speed Dialing Entry:
4Press Function, then Clear to delete the previous entry, then
Ex:
•If you do not want to change the fax/telephone number, ignore this step.
•Use Space to enter a space and move the cursor to the next digit. Spaces are optional and are ignored during dialing.
•Press Redial/Pause to enter a pause.
•If you make a mistake, move the cursor to the incorrect number by pressing 4
5Press Set twice.
TEL NUMBER ENTRY
DATA ENTRY OK
CODED SPD DIAL 2.NAME
:A
Ex: Canon UC_
Speed Dialing