4.Rotate the immersion sleeve counterclockwise (1), and then pull forward to remove the entire sensor from the chilled water header (2).
Replacing the temperature sensor in the chilled water system
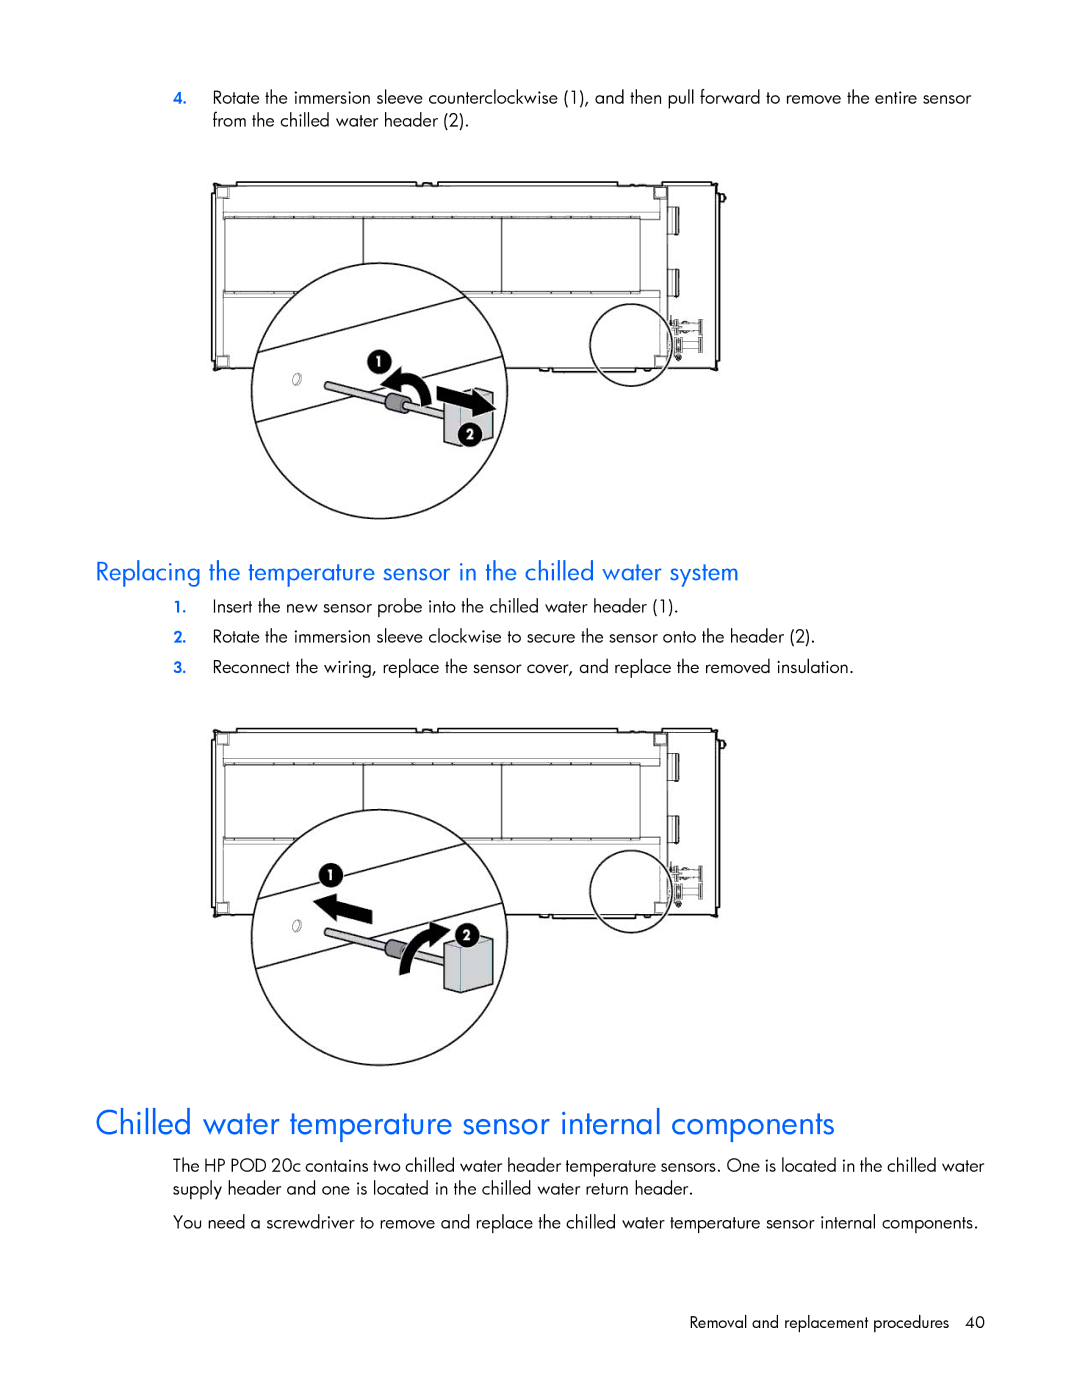
1.Insert the new sensor probe into the chilled water header (1).
2.Rotate the immersion sleeve clockwise to secure the sensor onto the header (2).
3.Reconnect the wiring, replace the sensor cover, and replace the removed insulation.
Chilled water temperature sensor internal components
The HP POD 20c contains two chilled water header temperature sensors. One is located in the chilled water supply header and one is located in the chilled water return header.
You need a screwdriver to remove and replace the chilled water temperature sensor internal components.