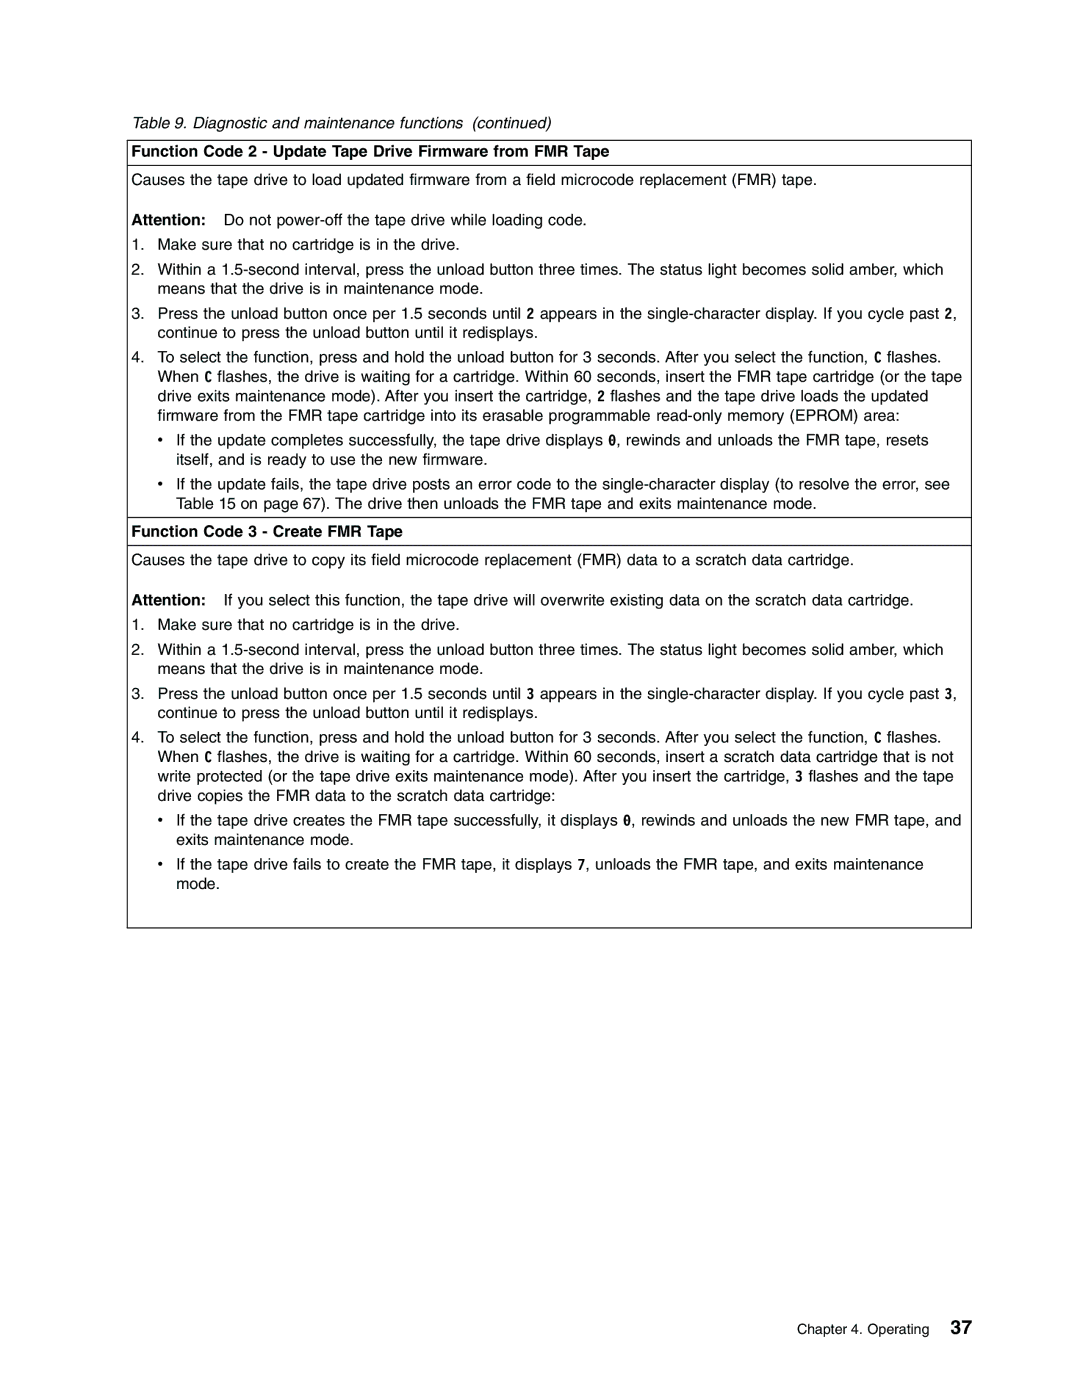
Table 9. Diagnostic and maintenance functions (continued)
Function Code 2 - Update Tape Drive Firmware from FMR Tape
Causes the tape drive to load updated firmware from a field microcode replacement (FMR) tape.
Attention: Do not
1.Make sure that no cartridge is in the drive.
2.Within a
3.Press the unload button once per 1.5 seconds until 2 appears in the
4.To select the function, press and hold the unload button for 3 seconds. After you select the function, C flashes. When C flashes, the drive is waiting for a cartridge. Within 60 seconds, insert the FMR tape cartridge (or the tape drive exits maintenance mode). After you insert the cartridge, 2 flashes and the tape drive loads the updated firmware from the FMR tape cartridge into its erasable programmable
vIf the update completes successfully, the tape drive displays 0, rewinds and unloads the FMR tape, resets itself, and is ready to use the new firmware.
vIf the update fails, the tape drive posts an error code to the
Function Code 3 - Create FMR Tape
Causes the tape drive to copy its field microcode replacement (FMR) data to a scratch data cartridge.
Attention: If you select this function, the tape drive will overwrite existing data on the scratch data cartridge.
1.Make sure that no cartridge is in the drive.
2.Within a
3.Press the unload button once per 1.5 seconds until 3 appears in the
4.To select the function, press and hold the unload button for 3 seconds. After you select the function, C flashes. When C flashes, the drive is waiting for a cartridge. Within 60 seconds, insert a scratch data cartridge that is not write protected (or the tape drive exits maintenance mode). After you insert the cartridge, 3 flashes and the tape drive copies the FMR data to the scratch data cartridge:
vIf the tape drive creates the FMR tape successfully, it displays 0, rewinds and unloads the new FMR tape, and exits maintenance mode.
vIf the tape drive fails to create the FMR tape, it displays 7, unloads the FMR tape, and exits maintenance mode.
Chapter 4. Operating 37
