4.9 COOLER CORES: CLEANING
Ensure the compressor is isolated from the compressed air system by closing the isolation valve and venting pressure from the drip leg.
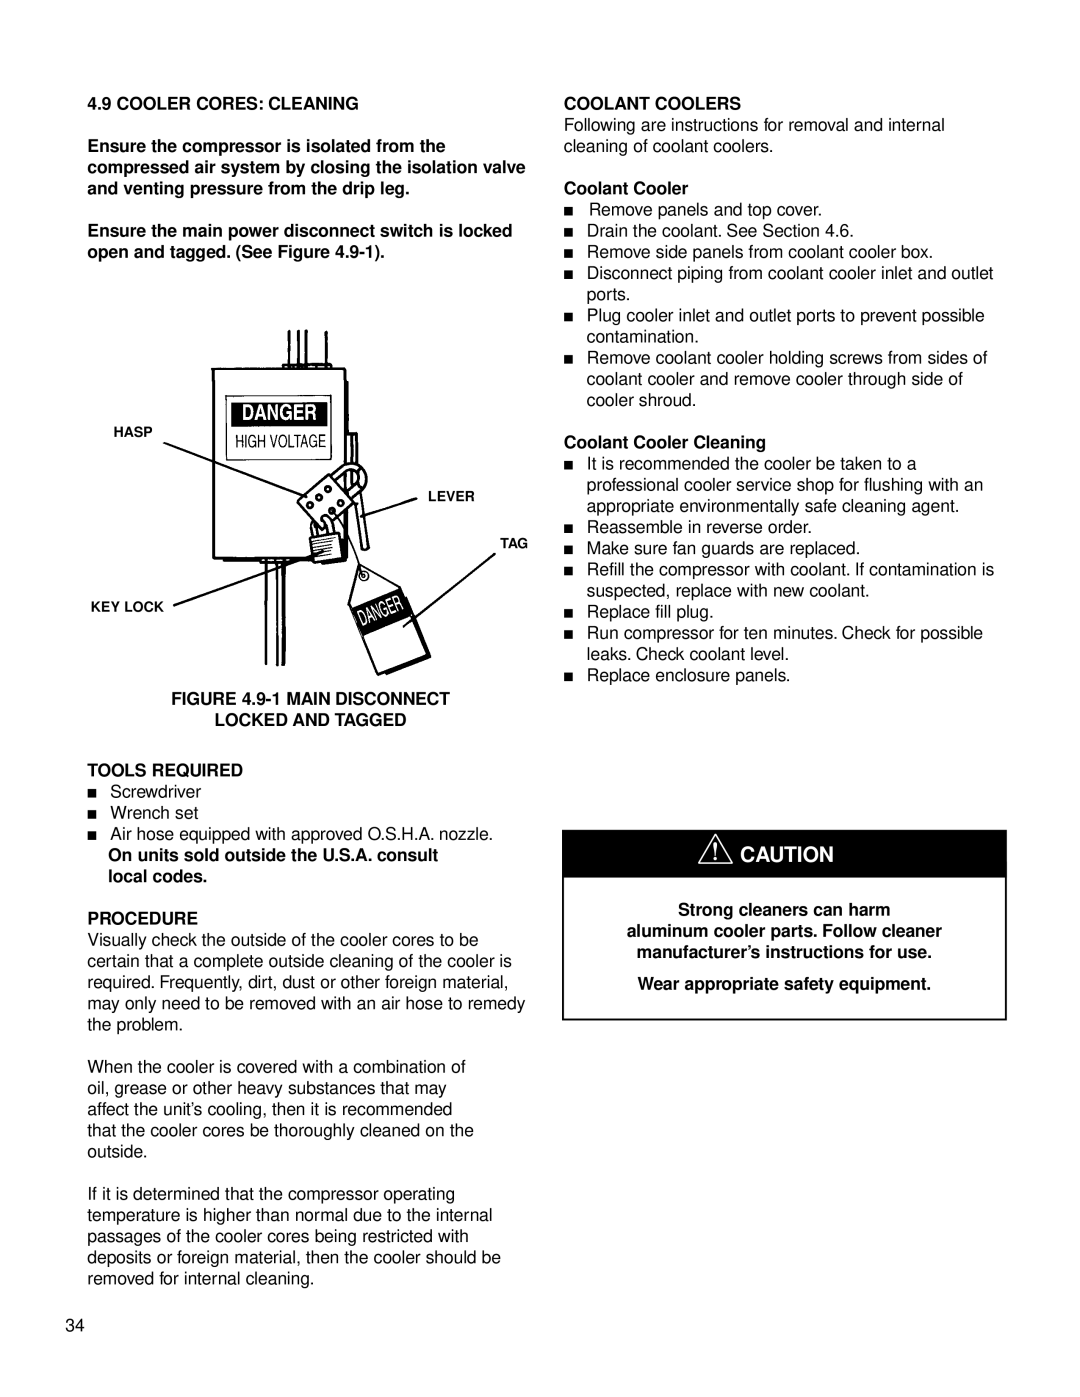
Ensure the main power disconnect switch is locked open and tagged. (See Figure
HASP
LEVER
TAG
KEY LOCK
FIGURE 4.9-1 MAIN DISCONNECT
LOCKED AND TAGGED
TOOLS REQUIRED
■Screwdriver
■Wrench set
■Air hose equipped with approved O.S.H.A. nozzle.
On units sold outside the U.S.A. consult local codes.
PROCEDURE
Visually check the outside of the cooler cores to be certain that a complete outside cleaning of the cooler is required. Frequently, dirt, dust or other foreign material, may only need to be removed with an air hose to remedy the problem.
When the cooler is covered with a combination of oil, grease or other heavy substances that may affect the unit’s cooling, then it is recommended that the cooler cores be thoroughly cleaned on the outside.
If it is determined that the compressor operating temperature is higher than normal due to the internal passages of the cooler cores being restricted with deposits or foreign material, then the cooler should be removed for internal cleaning.
COOLANT COOLERS
Following are instructions for removal and internal cleaning of coolant coolers.
Coolant Cooler
■Remove panels and top cover.
■Drain the coolant. See Section 4.6.
■Remove side panels from coolant cooler box.
■Disconnect piping from coolant cooler inlet and outlet ports.
■Plug cooler inlet and outlet ports to prevent possible contamination.
■Remove coolant cooler holding screws from sides of coolant cooler and remove cooler through side of cooler shroud.
Coolant Cooler Cleaning
■It is recommended the cooler be taken to a professional cooler service shop for flushing with an appropriate environmentally safe cleaning agent.
■Reassemble in reverse order.
■Make sure fan guards are replaced.
■Refill the compressor with coolant. If contamination is suspected, replace with new coolant.
■Replace fill plug.
■Run compressor for ten minutes. Check for possible leaks. Check coolant level.
■Replace enclosure panels.
![]() CAUTION
CAUTION
Strong cleaners can harm
aluminum cooler parts. Follow cleaner manufacturer’s instructions for use.
Wear appropriate safety equipment.
34