C H A P T E R 2 | Configuring and Managing the Switch |
NOTE
If you don’t specify an IP configuration, the agent won’t respond to any
Configuring the SNMP agent for IP
You can monitor and control the switch through any
In the diagram on page 20, a laptop is used to connect to the switch’s serial port. You must connect directly to the serial port for
Commands used
ping <ip address> <number0>
To configure the SNMP agent
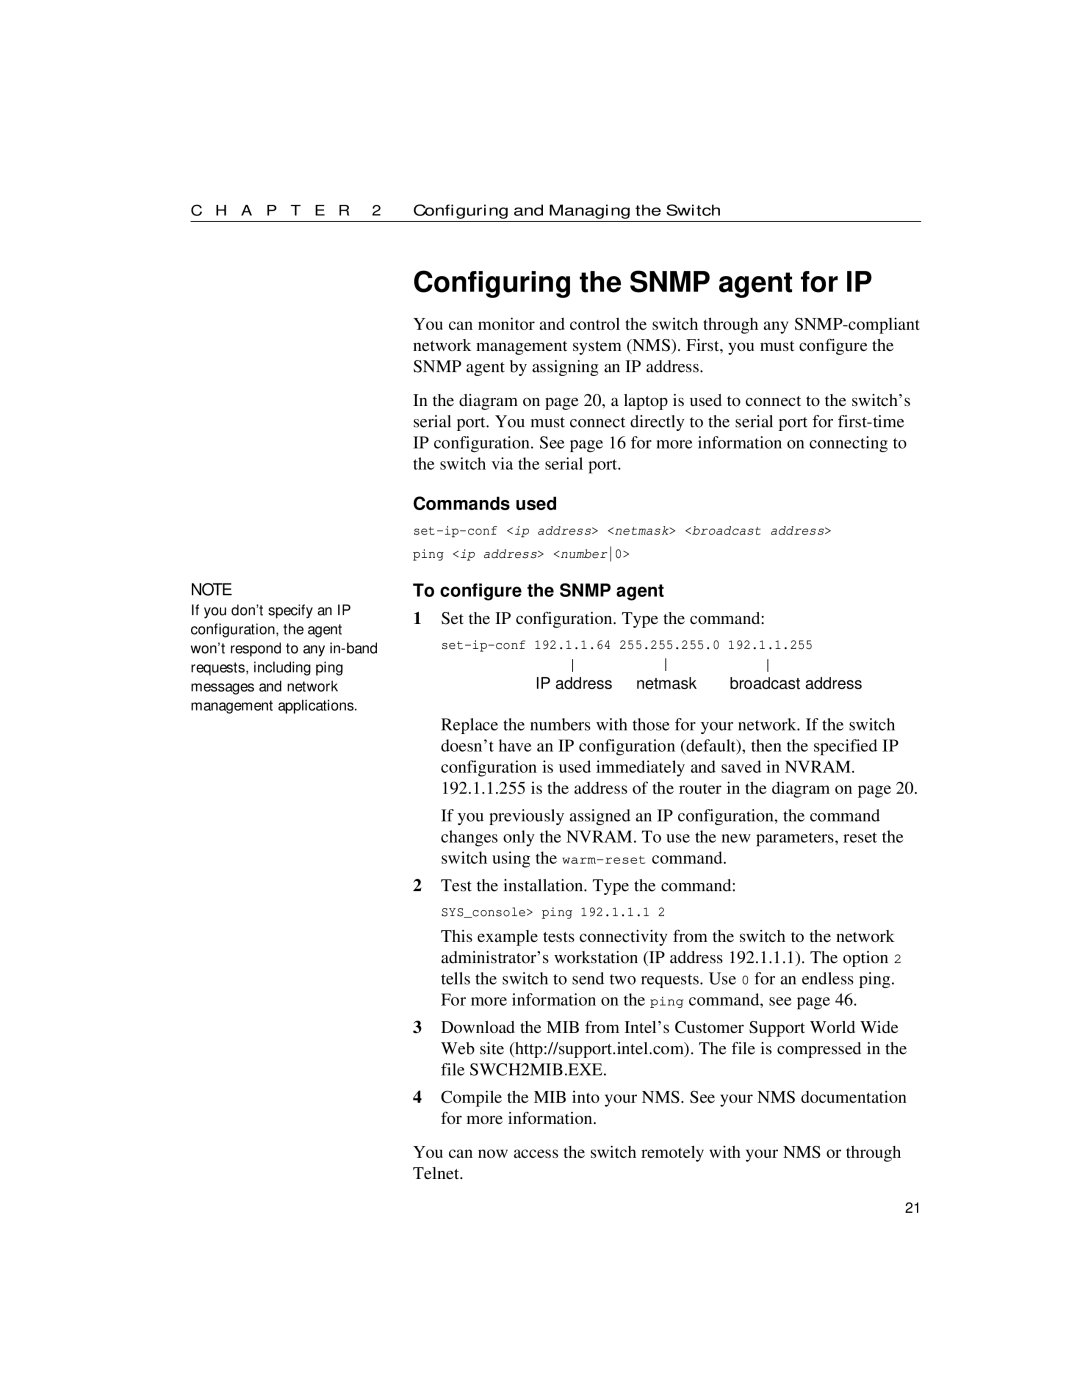
1Set the IP configuration. Type the command:
IP address netmask broadcast address
Replace the numbers with those for your network. If the switch doesn’t have an IP configuration (default), then the specified IP configuration is used immediately and saved in NVRAM.
192.1.1.255 is the address of the router in the diagram on page 20.
If you previously assigned an IP configuration, the command changes only the NVRAM. To use the new parameters, reset the switch using the
2Test the installation. Type the command:
SYS_console> ping 192.1.1.1 2
This example tests connectivity from the switch to the network administrator’s workstation (IP address 192.1.1.1). The option 2 tells the switch to send two requests. Use 0 for an endless ping. For more information on the ping command, see page 46.
3Download the MIB from Intel’s Customer Support World Wide Web site (http://support.intel.com). The file is compressed in the file SWCH2MIB.EXE.
4Compile the MIB into your NMS. See your NMS documentation for more information.
You can now access the switch remotely with your NMS or through Telnet.
21
