C H A P T E R 4 Using the Web Device Manager
Setting Up Priority Tagging
With priority tagging, you can specify a priority value for traffic based on MAC source or destination addresses. For example, you could tag all packets from computer A with a priority of 7 (high).
When you define priority tagging, you can specify a priority value from 0 (low) to 7 (high). Traffic with a priority value of
You can define up to 12 MAC addresses for priority tagging.
To set up priority tagging
1Click the Configure Device menu, and then click Priority Tagging.
2Click Add.
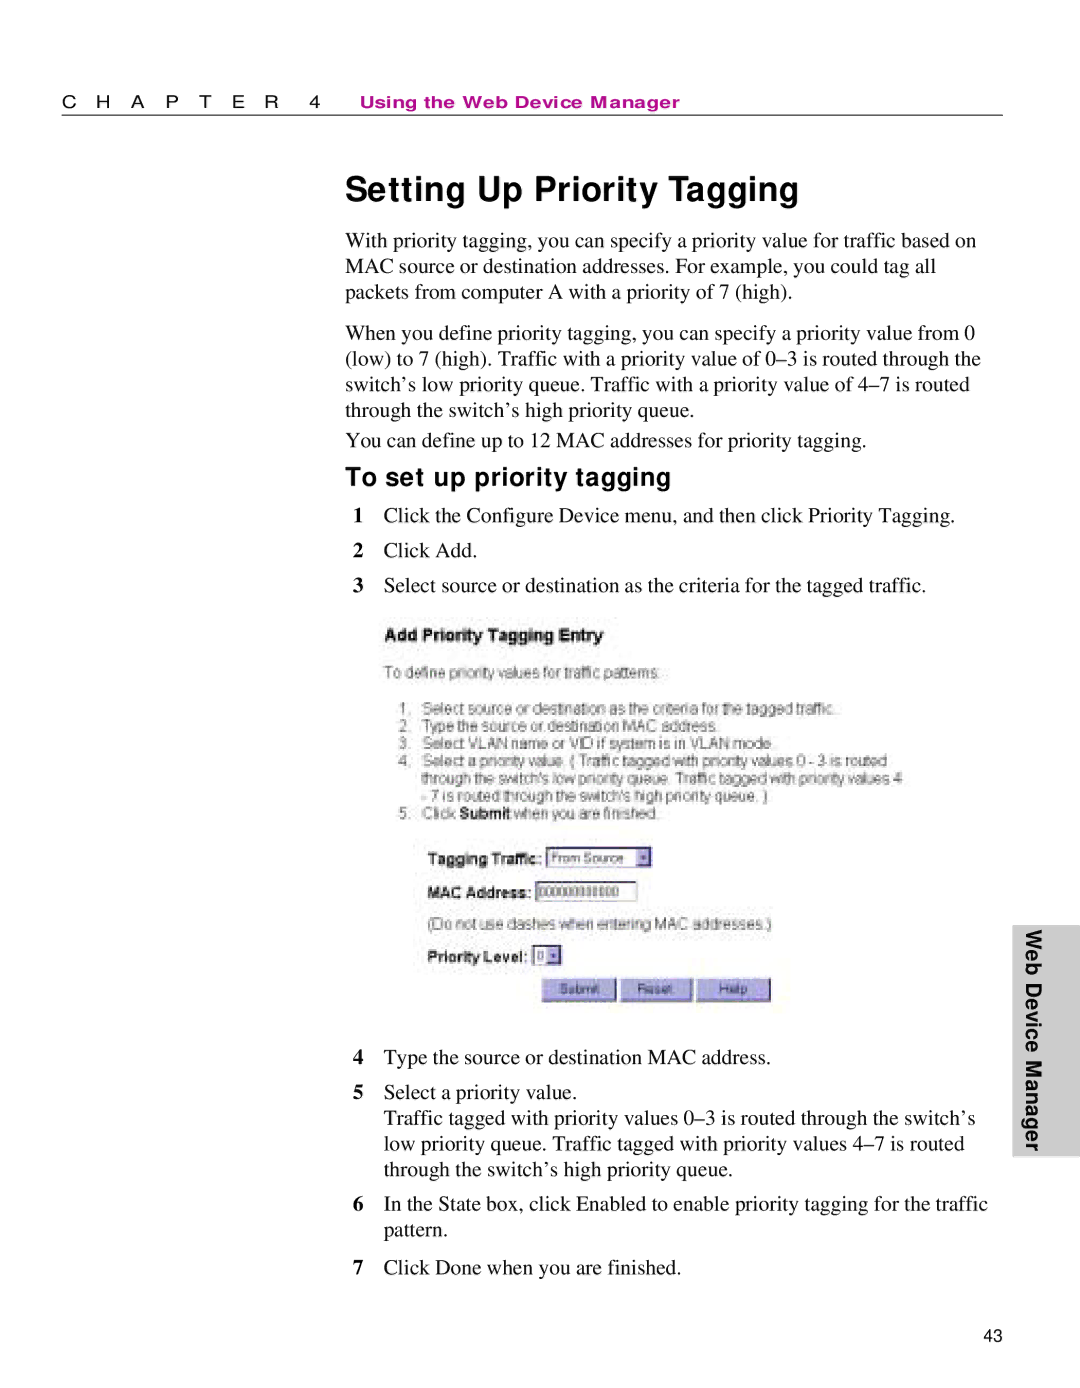
3Select source or destination as the criteria for the tagged traffic.
4Type the source or destination MAC address.
5Select a priority value.
Traffic tagged with priority values
6In the State box, click Enabled to enable priority tagging for the traffic pattern.
7Click Done when you are finished.
Web Device Manager
43
