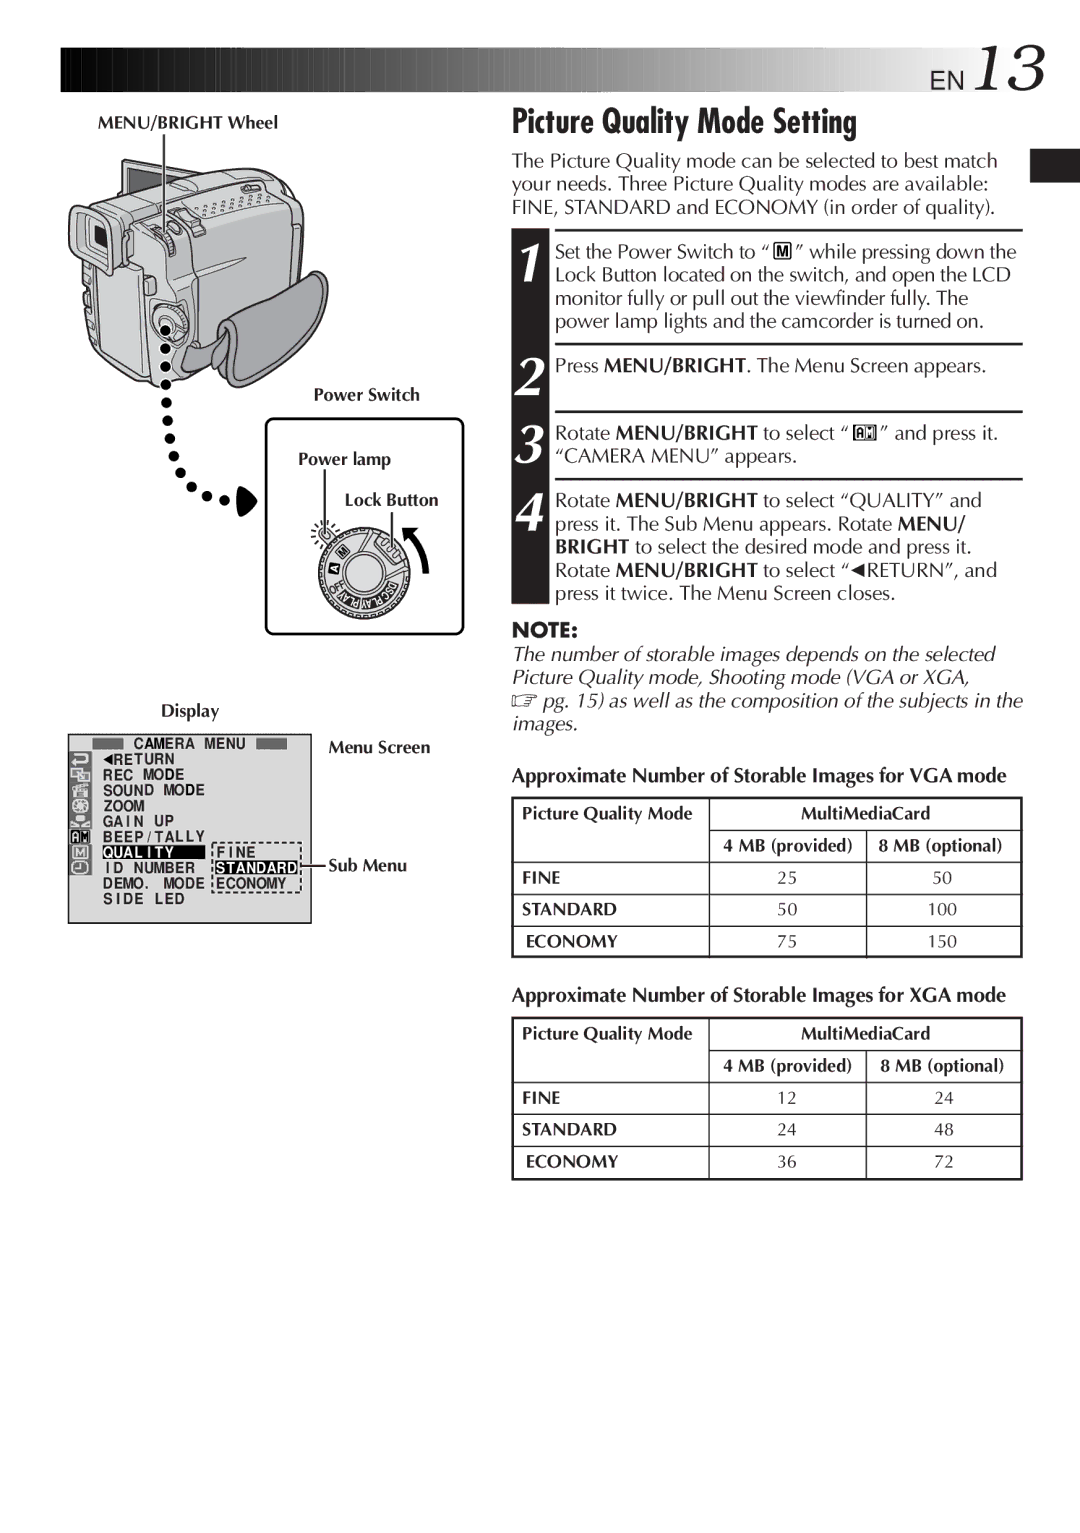
MENU/BRIGHT Wheel
Power Switch
|
| Power lamp |
| ||||
|
| Lock Button | |||||
|
| OFF |
|
| C | S | D |
|
|
|
|
| |||
|
| Y |
|
|
|
| |
|
| A |
| P |
|
| |
|
|
|
| L |
|
| |
|
|
| LP YA |
|
|
| |
Display |
|
|
|
|
|
| |
CAMERA MENU | Menu Screen | ||||||
1RE TURN |
|
|
|
|
|
|
|
REC MODE |
|
|
|
|
|
|
|
SOUND MODE |
|
|
|
|
|
|
|
ZOOM |
|
|
|
|
|
|
|
GA I N UP |
|
|
|
|
|
|
|
BEEP / TAL LY | F I NE |
|
|
|
|
|
|
QUAL I T Y | Sub Menu | ||||||
I D NUMBER | STANDARD | ||||||
DEMO. MODE | ECONOMY |
|
|
|
|
|
|
S I DE LED |
|
|
|
|
|
|
|


 EN13
EN13
Picture Quality Mode Setting
The Picture Quality mode can be selected to best match your needs. Three Picture Quality modes are available: FINE, STANDARD and ECONOMY (in order of quality).
1 Set the Power Switch to “ ![]() ” while pressing down the Lock Button located on the switch, and open the LCD monitor fully or pull out the viewfinder fully. The power lamp lights and the camcorder is turned on.
” while pressing down the Lock Button located on the switch, and open the LCD monitor fully or pull out the viewfinder fully. The power lamp lights and the camcorder is turned on.
2
3 Rotate MENU/BRIGHT to select “ ![]() ” and press it. “CAMERA MENU” appears.
” and press it. “CAMERA MENU” appears.
4 Rotate MENU/BRIGHT to select “QUALITY” and press it. The Sub Menu appears. Rotate MENU/ BRIGHT to select the desired mode and press it. Rotate MENU/BRIGHT to select “1RETURN”, and press it twice. The Menu Screen closes.
NOTE:
The number of storable images depends on the selected Picture Quality mode, Shooting mode (VGA or XGA,
☞pg. 15) as well as the composition of the subjects in the images.
Approximate Number of Storable Images for VGA mode
Picture Quality Mode | MultiMediaCard | |
|
|
|
| 4 MB (provided) | 8 MB (optional) |
|
|
|
FINE | 25 | 50 |
|
|
|
STANDARD | 50 | 100 |
|
|
|
ECONOMY | 75 | 150 |
|
|
|
Approximate Number of Storable Images for XGA mode
Picture Quality Mode | MultiMediaCard | |
|
|
|
| 4 MB (provided) | 8 MB (optional) |
|
|
|
FINE | 12 | 24 |
|
|
|
STANDARD | 24 | 48 |
|
|
|
ECONOMY | 36 | 72 |
|
|
|