46
 EN
EN


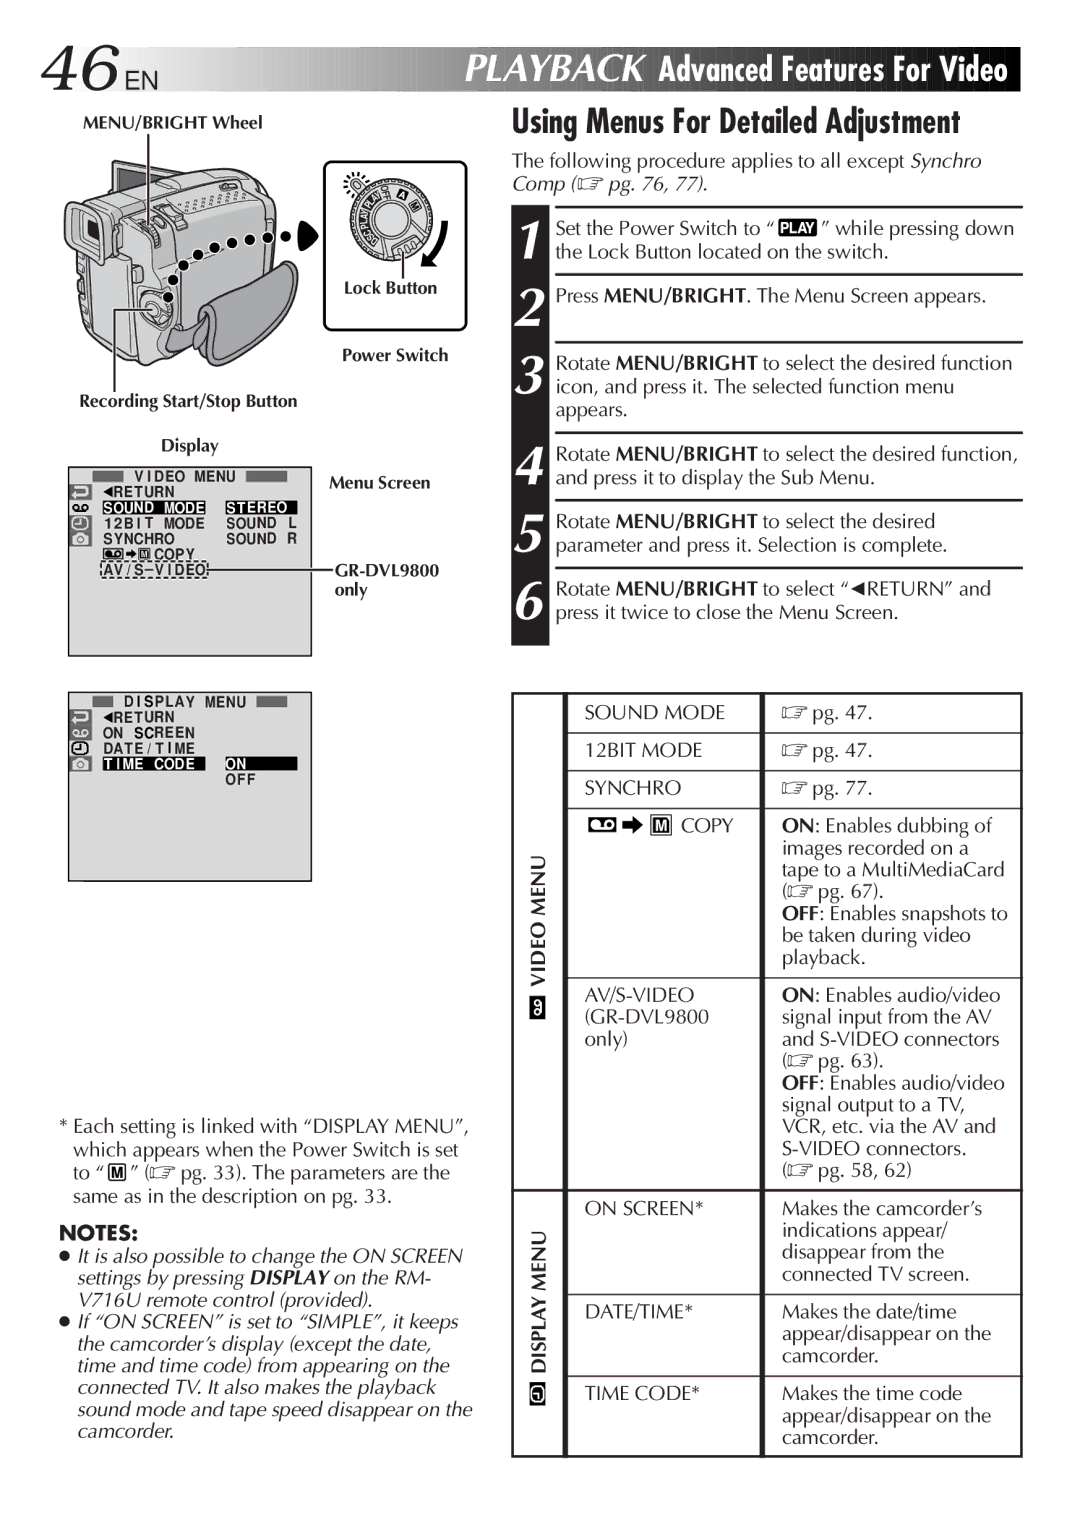
MENU/BRIGHT Wheel


 PLAYBACK

 Advanced
 Features
 For
For
 Video
Video

Using Menus For Detailed Adjustment
|
|
|
|
| YOFF |
|
|
|
| A | |
|
|
| L |
| |
|
| Y | P |
|
|
|
| A |
|
|
|
|
| L |
|
| |
|
| P |
|
| |
|
| C |
| ||
|
|
| S | ||
|
|
|
| D | |
|
| Lock Button | |||
|
| Power Switch | |||
Recording Start/Stop Button |
|
|
|
| |
Display |
|
|
|
|
|
V I DEO MENU | Menu Screen | ||||
1RE TURN |
| ||||
S TEREO |
|
|
|
| |
SOUND MODE |
|
|
|
| |
1 2B I T MODE | SOUND L |
|
|
|
|
SYNCHRO | SOUND R |
|
|
|
|
COPY |
|
|
|
|
|
AV / ![]() GR-DVL9800
GR-DVL9800
The following procedure applies to all except Synchro Comp (☞ pg. 76, 77).
1 Set the Power Switch to “ ![]() ” while pressing down the Lock Button located on the switch.
” while pressing down the Lock Button located on the switch.
2 Press MENU/BRIGHT. The Menu Screen appears.
3 Rotate MENU/BRIGHT to select the desired function icon, and press it. The selected function menu appears.
4 Rotate MENU/BRIGHT to select the desired function, and press it to display the Sub Menu.
5 Rotate MENU/BRIGHT to select the desired parameter and press it. Selection is complete.
6 Rotate MENU/BRIGHT to select “1RETURN” and press it twice to close the Menu Screen.
D I SP LAY MENU
1RE TURN |
|
ON SCREEN |
|
DAT E / T I ME |
|
T I ME CODE | ON |
| OF F |
*Each setting is linked with “DISPLAY MENU”,
which appears when the Power Switch is set to “ ![]() ” (☞ pg. 33). The parameters are the same as in the description on pg. 33.
” (☞ pg. 33). The parameters are the same as in the description on pg. 33.
NOTES:
●It is also possible to change the ON SCREEN settings by pressing DISPLAY on the RM- V716U remote control (provided).
●If “ON SCREEN” is set to “SIMPLE”, it keeps the camcorder’s display (except the date, time and time code) from appearing on the connected TV. It also makes the playback sound mode and tape speed disappear on the camcorder.
VIDEO MENU
DISPLAY MENU
SOUND MODE | ☞ pg. 47. | ||||
|
|
|
|
|
|
12BIT MODE | ☞ pg. 47. | ||||
|
|
|
|
|
|
SYNCHRO | ☞ pg. 77. | ||||
|
|
|
|
|
|
|
|
|
| COPY | ON: Enables dubbing of |
|
|
|
| ||
|
| ||||
|
| ||||
|
|
|
|
| images recorded on a |
|
|
|
|
| tape to a MultiMediaCard |
|
|
|
|
| (☞ pg. 67). |
|
|
|
|
| OFF: Enables snapshots to |
|
|
|
|
| be taken during video |
|
|
|
|
| playback. |
|
| ||||
| ON: Enables audio/video | ||||
signal input from the AV | |||||
only) | and | ||||
|
|
|
|
| (☞ pg. 63). |
|
|
|
|
| OFF: Enables audio/video |
|
|
|
|
| signal output to a TV, |
|
|
|
|
| VCR, etc. via the AV and |
|
|
|
|
| |
|
|
|
|
| (☞ pg. 58, 62) |
ON SCREEN* | Makes the camcorder’s | ||||
|
|
|
|
| indications appear/ |
|
|
|
|
| disappear from the |
|
|
|
|
| connected TV screen. |
|
| ||||
DATE/TIME* | Makes the date/time | ||||
|
|
|
|
| appear/disappear on the |
|
|
|
|
| camcorder. |
|
| ||||
TIME CODE* | Makes the time code | ||||
|
|
|
|
| appear/disappear on the |
|
|
|
|
| camcorder. |
|
|
|
|
|
|