Basic Scan Station operation
Whether you are scanning documents to be sent to an email address(es), printer(s), network share, FTP location or a USB flash drive, basic operating procedures are the same regardless of the selected output destination.
This information applies to all procedures outlined in this chapter.
•Basic operation means that the default Scan Station settings are used. If you need to use settings different from the default settings, refer to the section entitled, “Customizing the Scan Station using a personal configuration file on a USB flash drive” later in this chapter.
•Standard paper size documents should feed easily through the Scan Station. If you need to make adjustments to the input or output trays, see the section entitled, “Adjusting the input and output trays” earlier in this chapter.
•After you press Go, the message “Please wait, lamps are warming up” may be displayed. Document feeding proceeds after the lamps warm up.
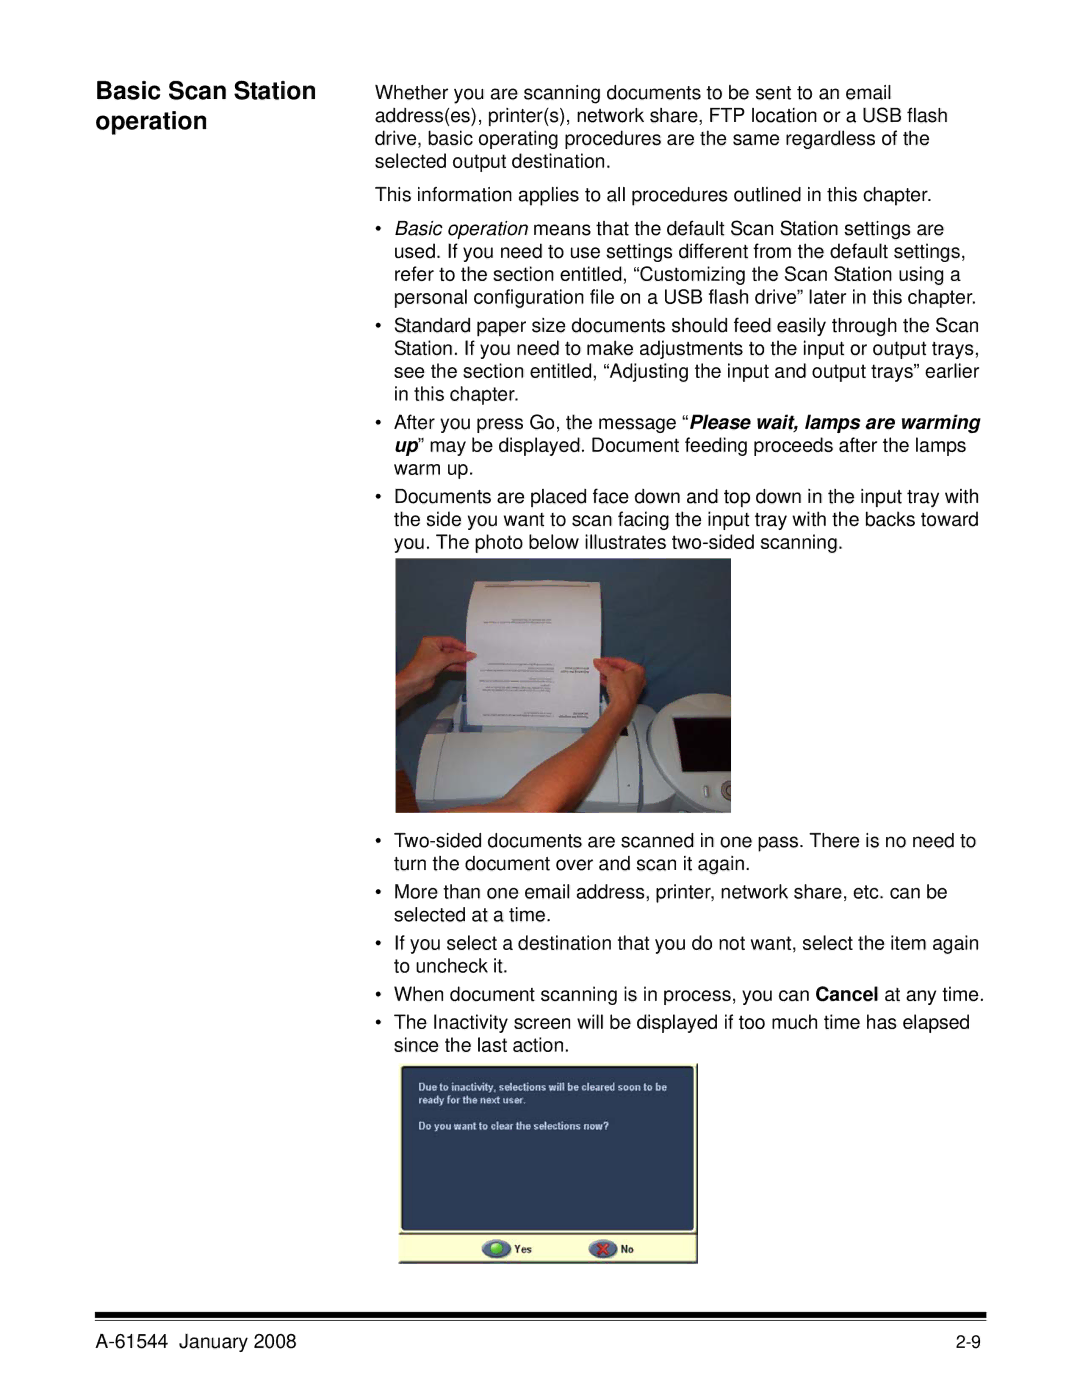
•Documents are placed face down and top down in the input tray with the side you want to scan facing the input tray with the backs toward you. The photo below illustrates
•
•More than one email address, printer, network share, etc. can be selected at a time.
•If you select a destination that you do not want, select the item again to uncheck it.
•When document scanning is in process, you can Cancel at any time.
•The Inactivity screen will be displayed if too much time has elapsed since the last action.