Verifying your scanner installation
Kodak provides a test application called the Kodak Scan Validation Tool. This section describes how to use this tool to perform a basic scan function which includes feeding paper and viewing captured images on your PC.
The following steps help you to verify that your scanner installation was successful. If this procedure is successful, you will be ready to use your scanner. If it is not successful, go back and review the installation procedures outlined in the section entitled, “Installing the scanner” in Chapter 2.
Before you begin, be sure the scanner is on and ready to scan.
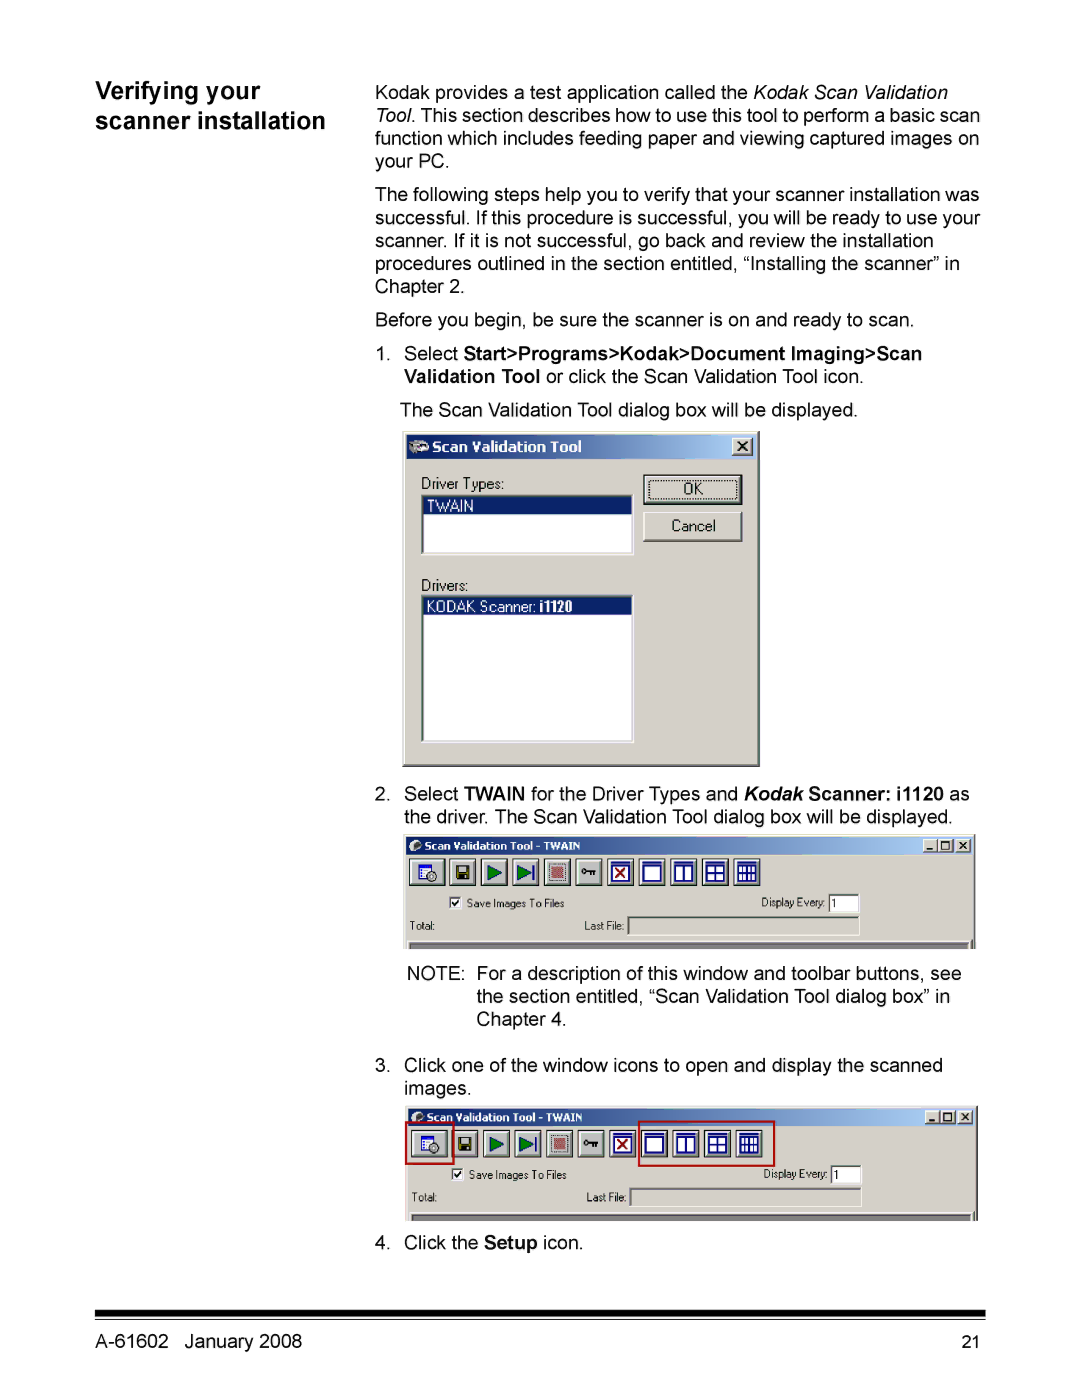
1.Select Start>Programs>Kodak>Document Imaging>Scan Validation Tool or click the Scan Validation Tool icon.
The Scan Validation Tool dialog box will be displayed.
2.Select TWAIN for the Driver Types and Kodak Scanner: i1120 as the driver. The Scan Validation Tool dialog box will be displayed.
NOTE: For a description of this window and toolbar buttons, see the section entitled, “Scan Validation Tool dialog box” in Chapter 4.
3.Click one of the window icons to open and display the scanned images.
4.Click the Setup icon.
| 21 |