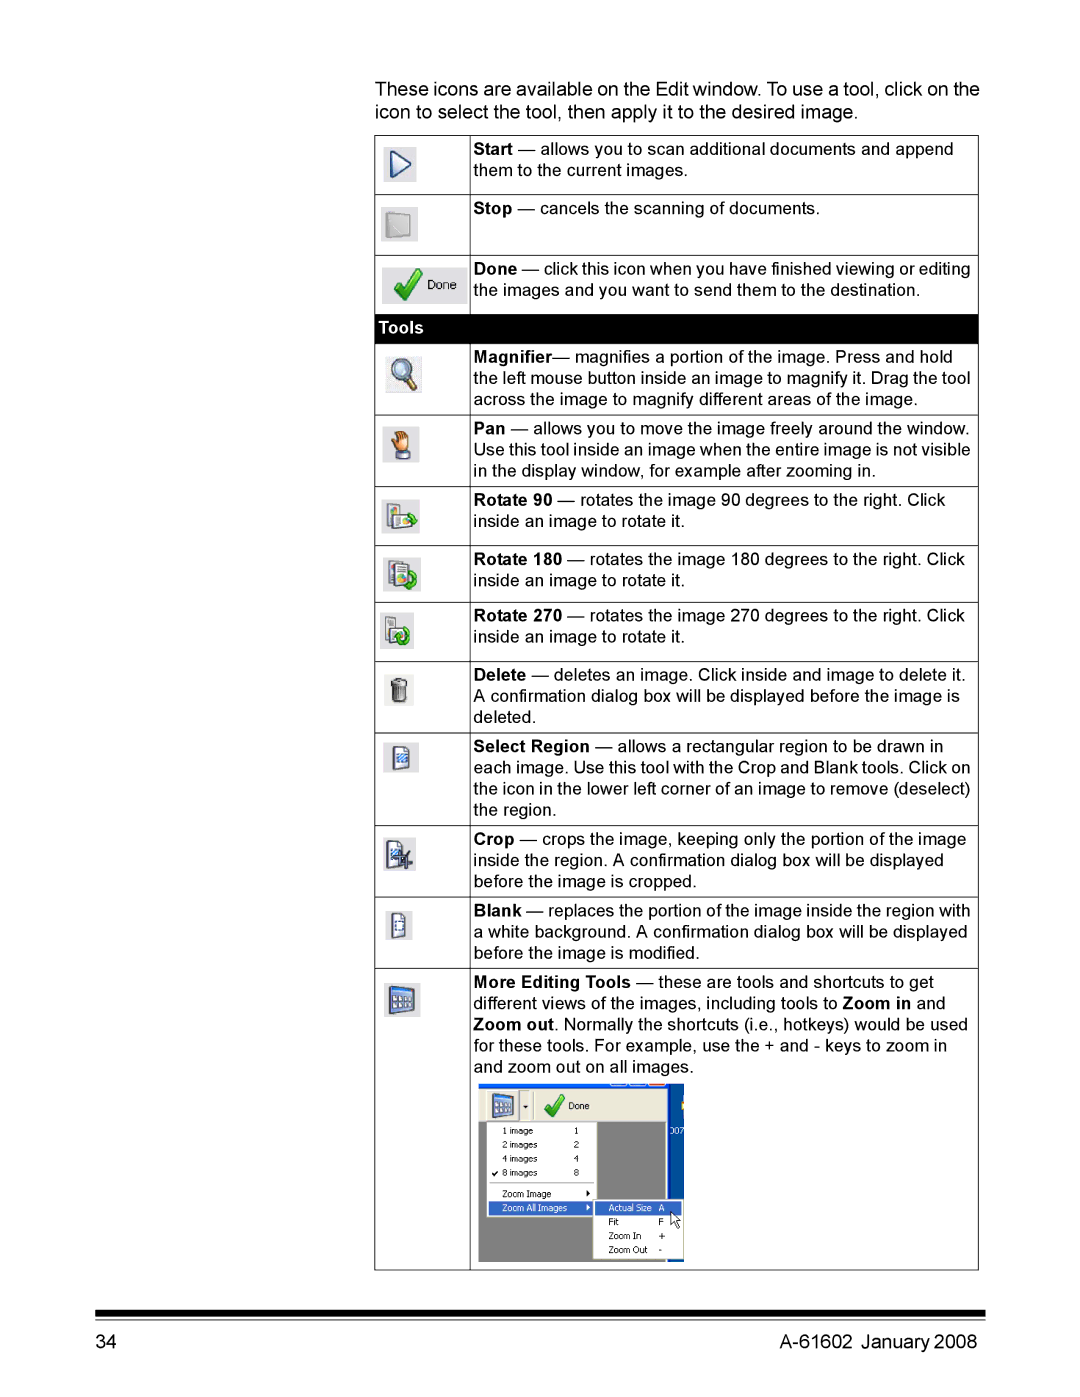
These icons are available on the Edit window. To use a tool, click on the icon to select the tool, then apply it to the desired image.
Start — allows you to scan additional documents and append them to the current images.
Stop — cancels the scanning of documents.
Done — click this icon when you have finished viewing or editing the images and you want to send them to the destination.
Tools
Magnifier— magnifies a portion of the image. Press and hold the left mouse button inside an image to magnify it. Drag the tool across the image to magnify different areas of the image.
Pan — allows you to move the image freely around the window. Use this tool inside an image when the entire image is not visible in the display window, for example after zooming in.
Rotate 90 — rotates the image 90 degrees to the right. Click inside an image to rotate it.
Rotate 180 — rotates the image 180 degrees to the right. Click inside an image to rotate it.
Rotate 270 — rotates the image 270 degrees to the right. Click inside an image to rotate it.
Delete — deletes an image. Click inside and image to delete it. A confirmation dialog box will be displayed before the image is deleted.
Select Region — allows a rectangular region to be drawn in each image. Use this tool with the Crop and Blank tools. Click on the icon in the lower left corner of an image to remove (deselect) the region.
Crop — crops the image, keeping only the portion of the image inside the region. A confirmation dialog box will be displayed before the image is cropped.
Blank — replaces the portion of the image inside the region with a white background. A confirmation dialog box will be displayed before the image is modified.
More Editing Tools — these are tools and shortcuts to get different views of the images, including tools to Zoom in and Zoom out. Normally the shortcuts (i.e., hotkeys) would be used for these tools. For example, use the + and - keys to zoom in and zoom out on all images.
34 |
|
