Advanced Image
Setup
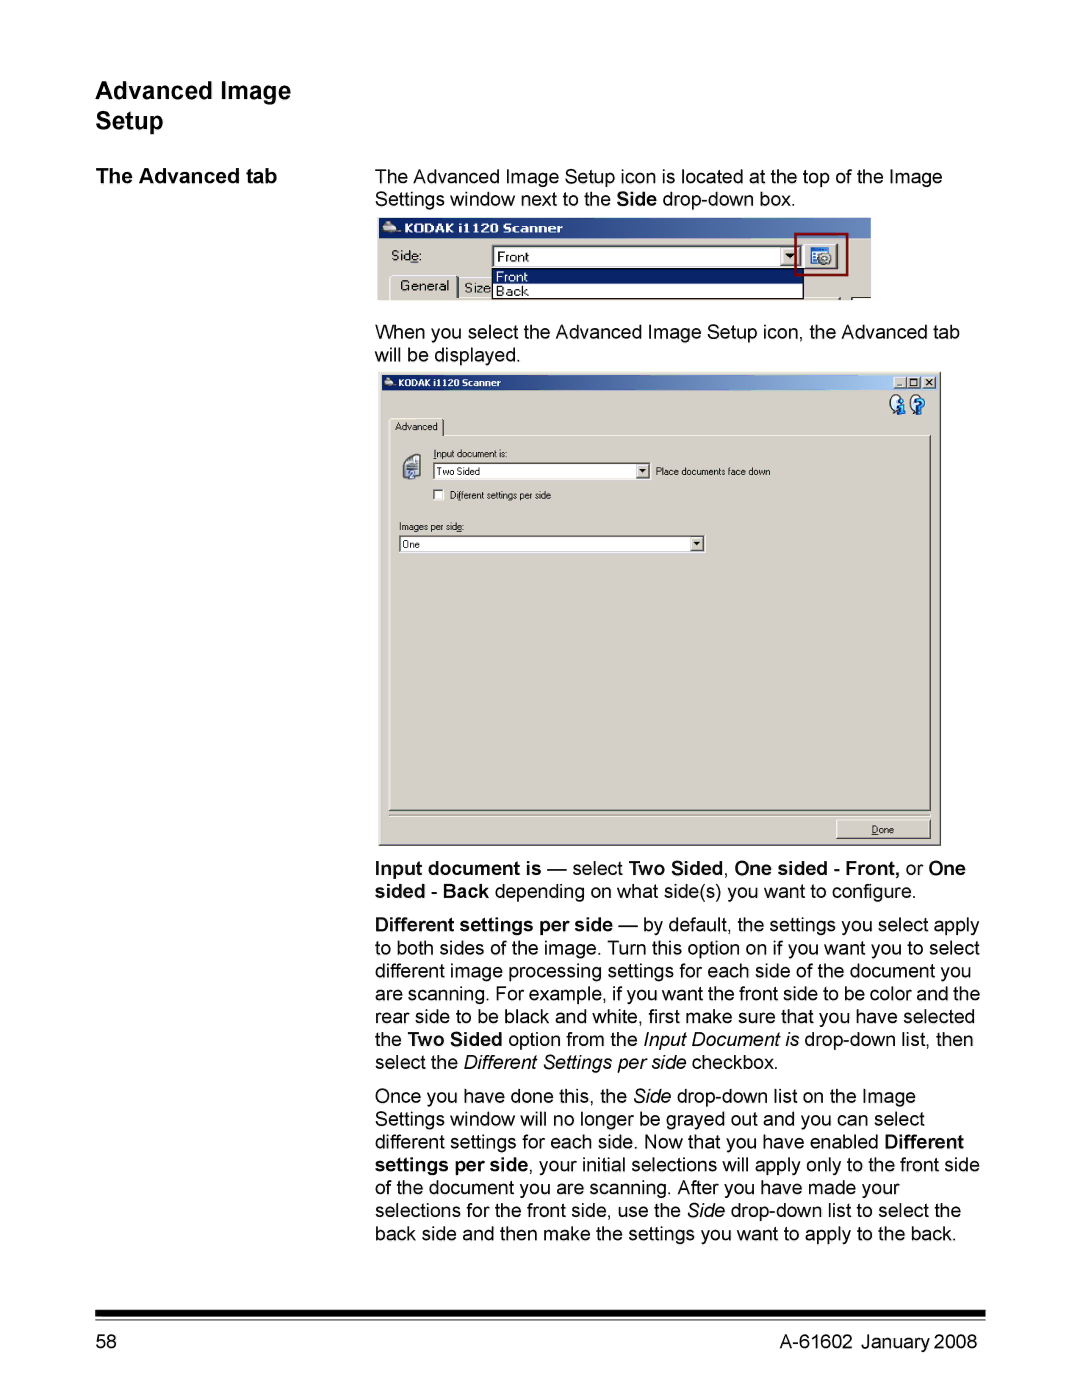
The Advanced tab | The Advanced Image Setup icon is located at the top of the Image | ||
| Settings window next to the Side | ||
|
|
|
|
|
|
|
|
When you select the Advanced Image Setup icon, the Advanced tab will be displayed.
Input document is — select Two Sided, One sided - Front, or One sided - Back depending on what side(s) you want to configure.
Different settings per side — by default, the settings you select apply to both sides of the image. Turn this option on if you want you to select different image processing settings for each side of the document you are scanning. For example, if you want the front side to be color and the rear side to be black and white, first make sure that you have selected the Two Sided option from the Input Document is
Once you have done this, the Side
58 |
|
