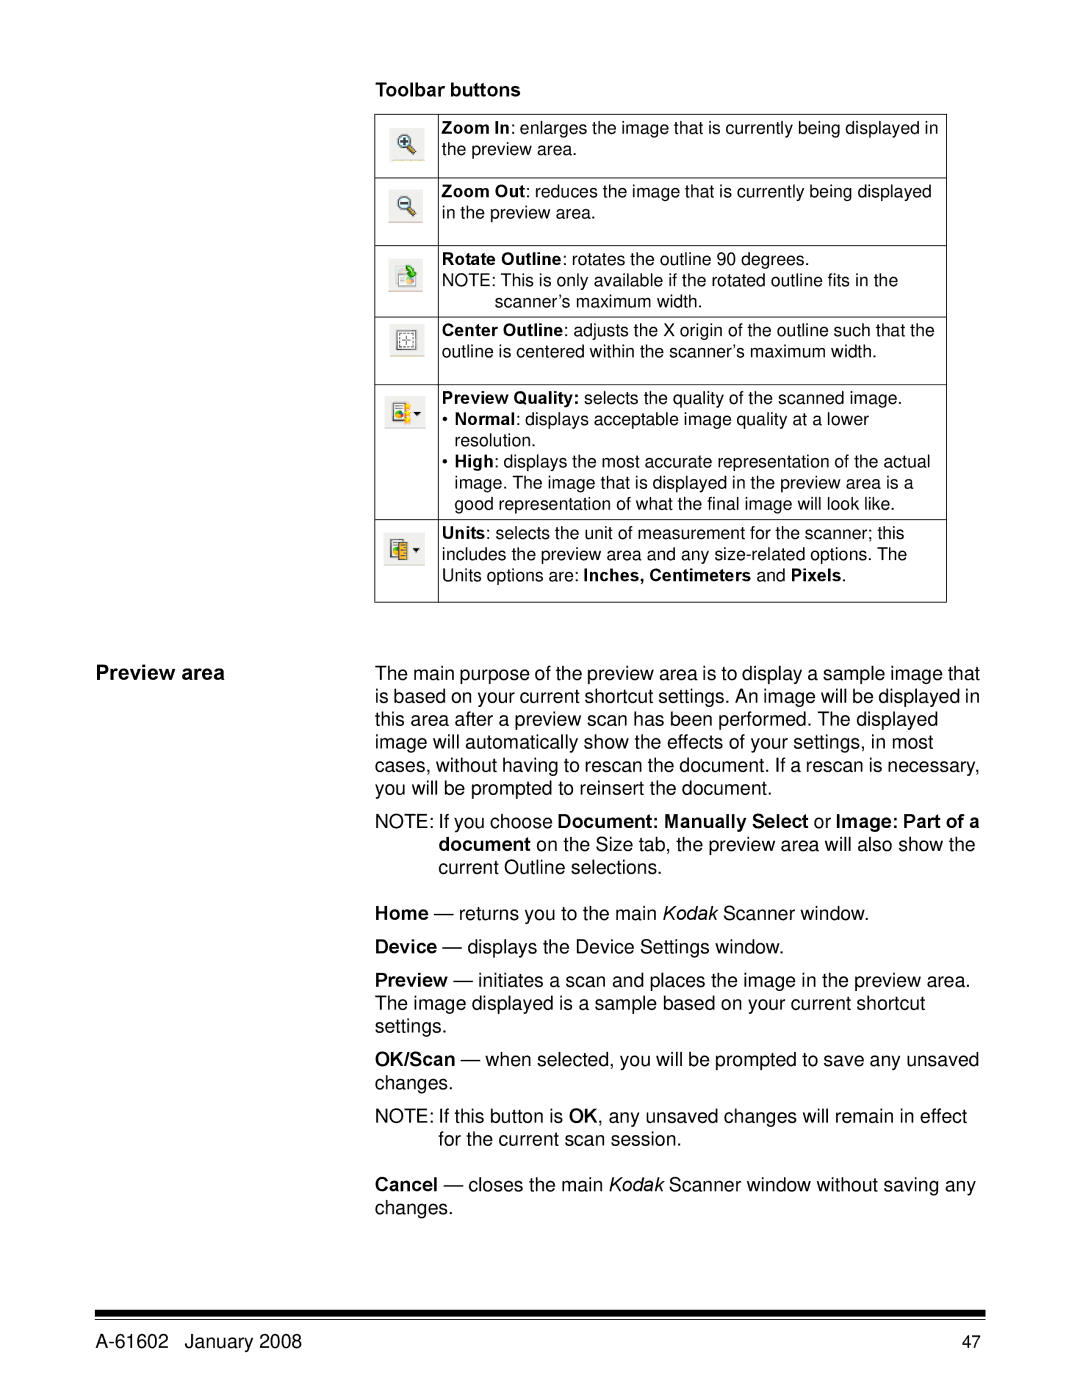
Toolbar buttons
Zoom In: enlarges the image that is currently being displayed in the preview area.
Zoom Out: reduces the image that is currently being displayed in the preview area.
Rotate Outline: rotates the outline 90 degrees.
NOTE: This is only available if the rotated outline fits in the scanner’s maximum width.
Center Outline: adjusts the X origin of the outline such that the outline is centered within the scanner’s maximum width.
Preview Quality: selects the quality of the scanned image.
•Normal: displays acceptable image quality at a lower resolution.
•High: displays the most accurate representation of the actual image. The image that is displayed in the preview area is a good representation of what the final image will look like.
Units: selects the unit of measurement for the scanner; this includes the preview area and any
Preview area | The main purpose of the preview area is to display a sample image that |
| is based on your current shortcut settings. An image will be displayed in |
| this area after a preview scan has been performed. The displayed |
| image will automatically show the effects of your settings, in most |
| cases, without having to rescan the document. If a rescan is necessary, |
| you will be prompted to reinsert the document. |
| NOTE: If you choose Document: Manually Select or Image: Part of a |
| document on the Size tab, the preview area will also show the |
| current Outline selections. |
| Home — returns you to the main Kodak Scanner window. |
| Device — displays the Device Settings window. |
| Preview — initiates a scan and places the image in the preview area. |
| The image displayed is a sample based on your current shortcut |
| settings. |
| OK/Scan — when selected, you will be prompted to save any unsaved |
| changes. |
| NOTE: If this button is OK, any unsaved changes will remain in effect |
| for the current scan session. |
| Cancel — closes the main Kodak Scanner window without saving any |
| changes. |
| 47 |
