Using function numbers
Scanning your documents
When you have assigned the function numbers, they can be easily launched by using the Start button on the scanner or from the smart touch function listing.
Launching from the scanner:
1.Use the arrow button to scroll through the function numbers and select the desired function.
2.Press the Start button. The task associated with the selected function number will be run.
Launching from the smart touch function listing:
1.Display the function listing from the smart touch icon on the system tray.
2.Select the function number you want to run.
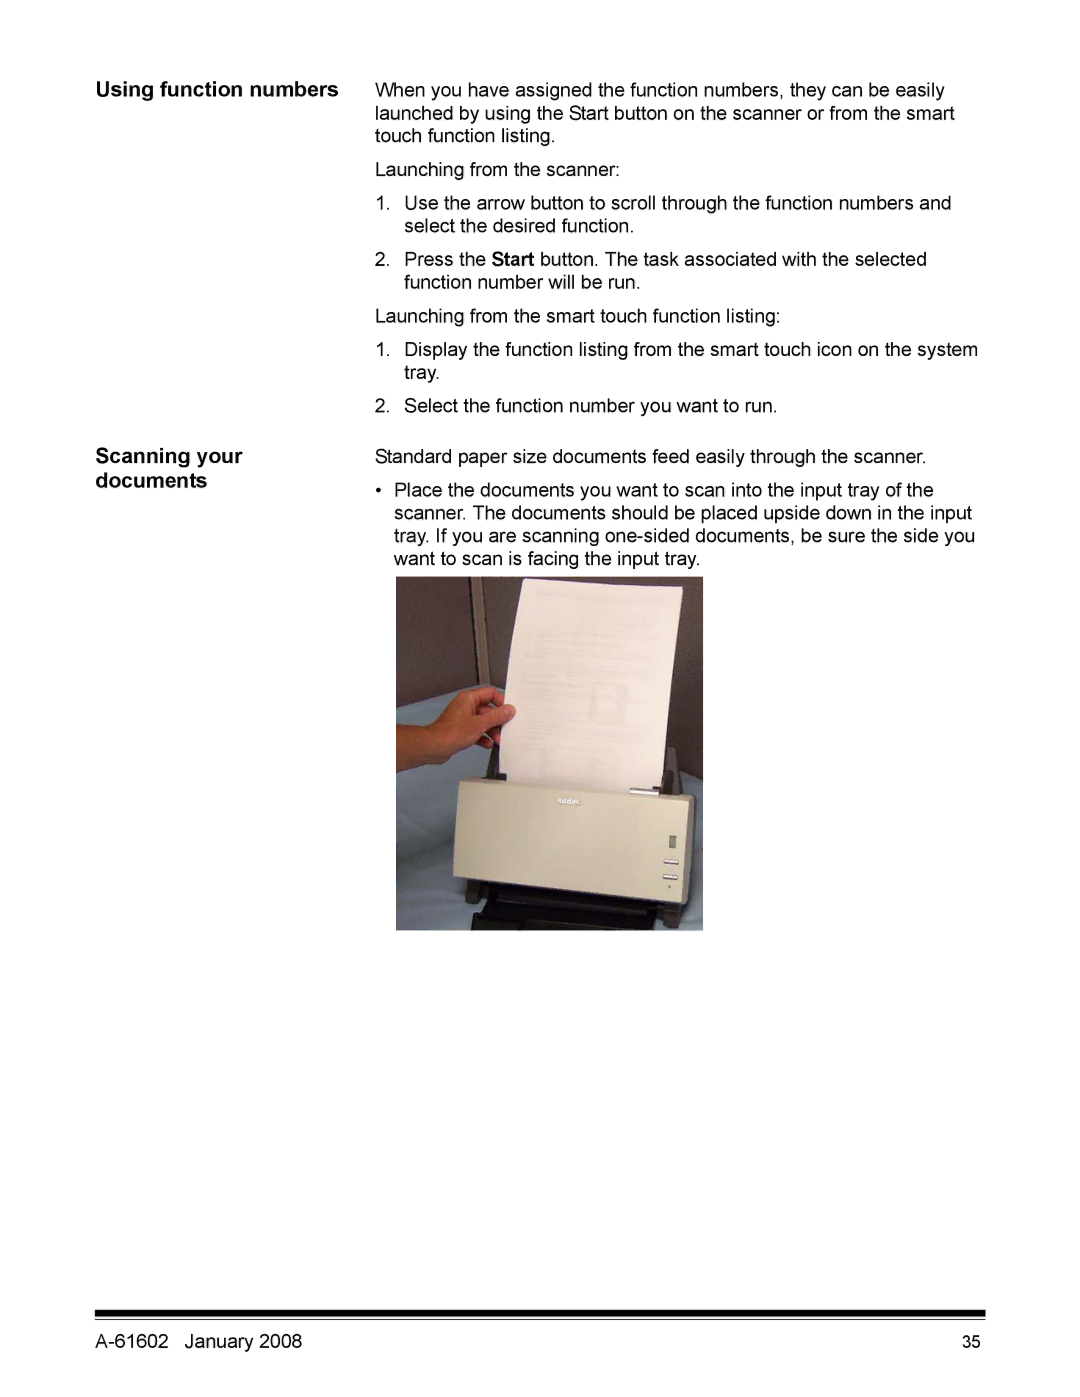
Standard paper size documents feed easily through the scanner.
•Place the documents you want to scan into the input tray of the scanner. The documents should be placed upside down in the input tray. If you are scanning
| 35 |