TRITON Training Guide
22.Press the Grid: 120 BPM value, and set it to your original source device BPM value. Note that if needed, you can re - adjust the BPM value here to set more accurate references to the divisions on the waveform display.
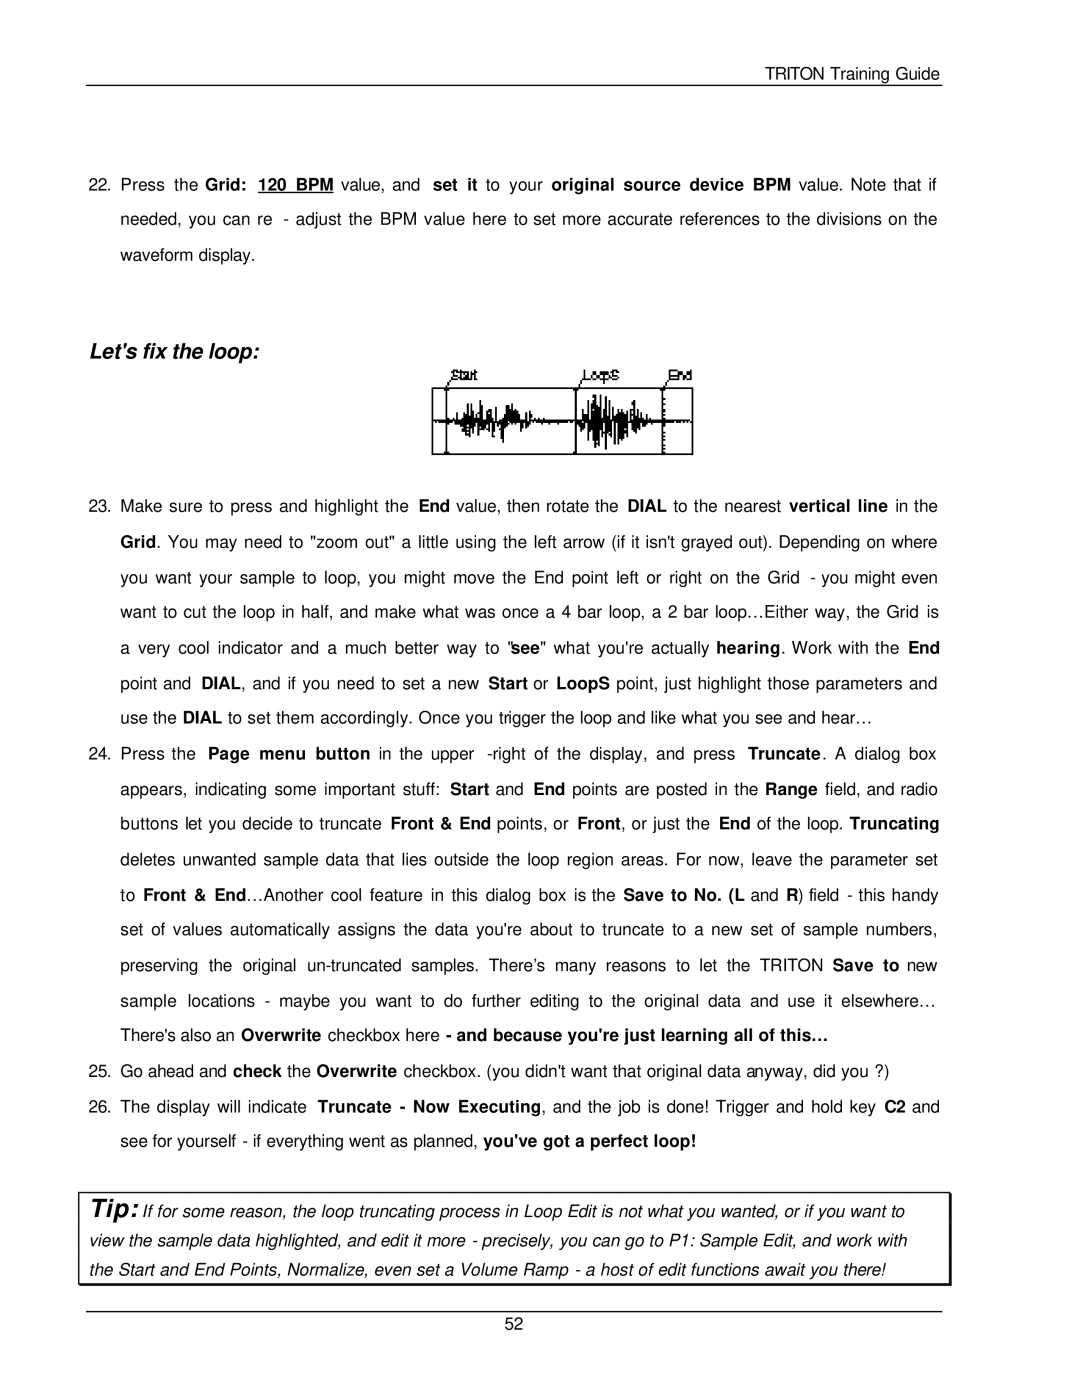
Let's fix the loop:
23.Make sure to press and highlight the End value, then rotate the DIAL to the nearest vertical line in the Grid. You may need to "zoom out" a little using the left arrow (if it isn't grayed out). Depending on where you want your sample to loop, you might move the End point left or right on the Grid - you might even want to cut the loop in half, and make what was once a 4 bar loop, a 2 bar loop…Either way, the Grid is a very cool indicator and a much better way to "see" what you're actually hearing. Work with the End point and DIAL, and if you need to set a new Start or LoopS point, just highlight those parameters and use the DIAL to set them accordingly. Once you trigger the loop and like what you see and hear…
24.Press the Page menu button in the upper
25.Go ahead and check the Overwrite checkbox. (you didn't want that original data anyway, did you ?)
26.The display will indicate Truncate - Now Executing, and the job is done! Trigger and hold key C2 and see for yourself - if everything went as planned, you've got a perfect loop!
Tip: If for some reason, the loop truncating process in Loop Edit is not what you wanted, or if you want to
view the sample data highlighted, and edit it more - precisely, you can go to P1: Sample Edit, and work with the Start and End Points, Normalize, even set a Volume Ramp - a host of edit functions await you there!
52