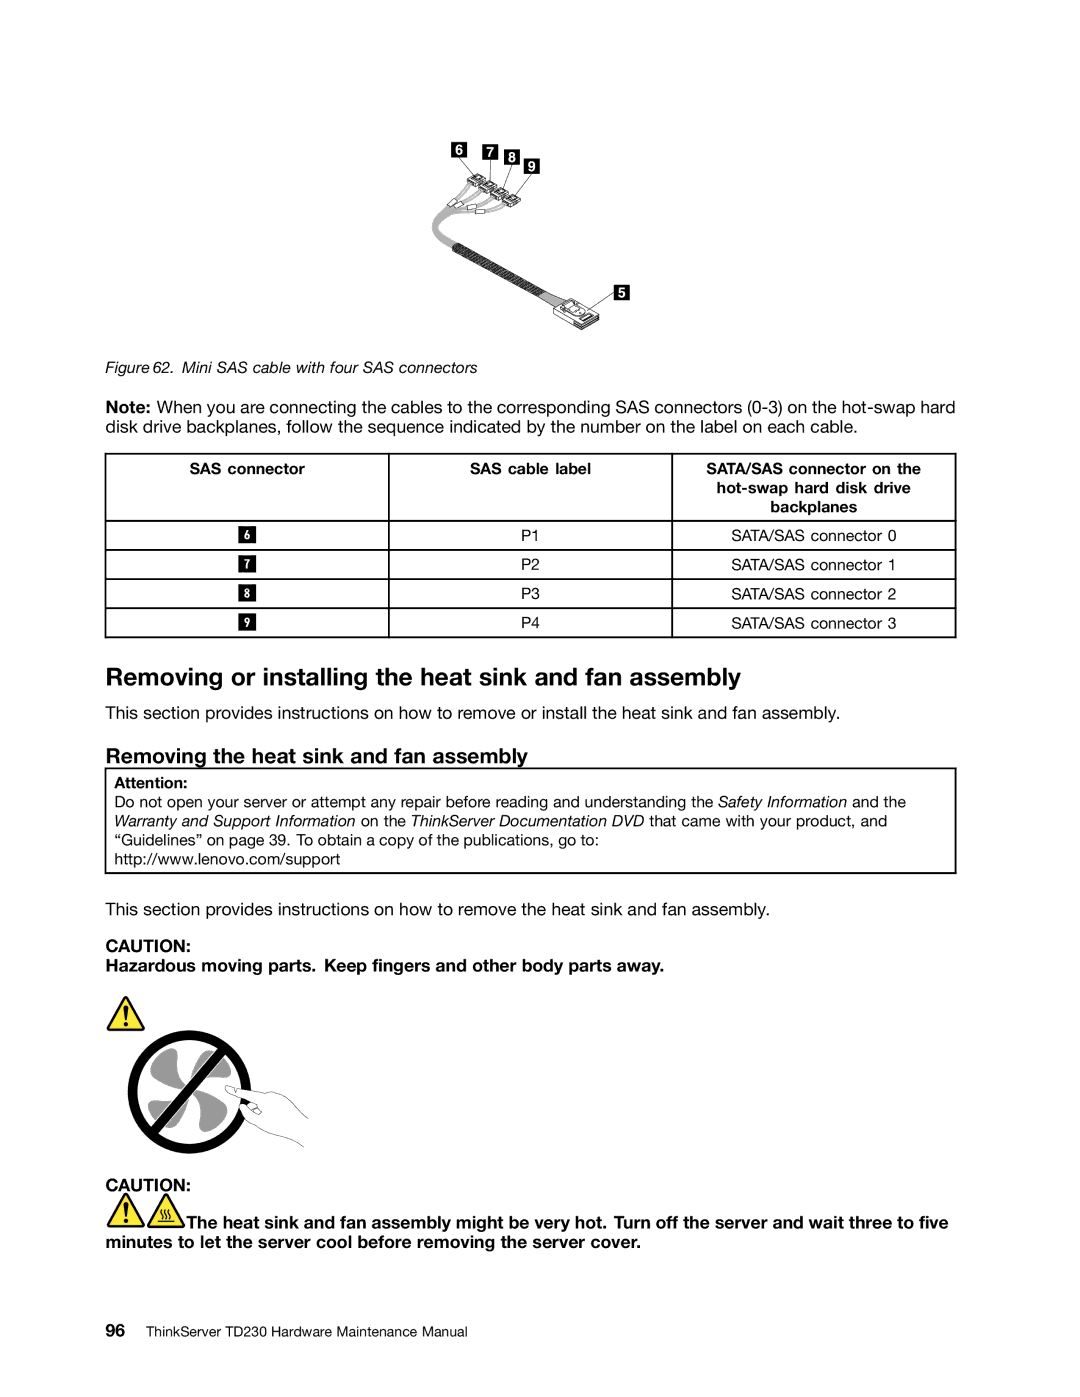
Figure 62. Mini SAS cable with four SAS connectors
Note: When you are connecting the cables to the corresponding SAS connectors
SAS connector | SAS cable label | SATA/SAS connector on the | ||
|
|
|
| |
|
|
|
| backplanes |
|
|
|
|
|
|
|
| P1 | SATA/SAS connector 0 |
| 6 |
| ||
|
|
|
| |
|
|
| P2 | SATA/SAS connector 1 |
| 7 |
| ||
|
|
|
| |
|
|
| P3 | SATA/SAS connector 2 |
| 8 |
| ||
|
|
|
| |
|
|
| P4 | SATA/SAS connector 3 |
| 9 |
| ||
|
|
|
|
|
Removing or installing the heat sink and fan assembly
This section provides instructions on how to remove or install the heat sink and fan assembly.
Removing the heat sink and fan assembly
Attention:
Do not open your server or attempt any repair before reading and understanding the Safety Information and the Warranty and Support Information on the ThinkServer Documentation DVD that came with your product, and “Guidelines” on page 39. To obtain a copy of the publications, go to:
http://www.lenovo.com/support
This section provides instructions on how to remove the heat sink and fan assembly.
CAUTION:
Hazardous moving parts. Keep fingers and other body parts away.
CAUTION:
![]()
![]() The heat sink and fan assembly might be very hot. Turn off the server and wait three to five minutes to let the server cool before removing the server cover.
The heat sink and fan assembly might be very hot. Turn off the server and wait three to five minutes to let the server cool before removing the server cover.