Accessing the system board
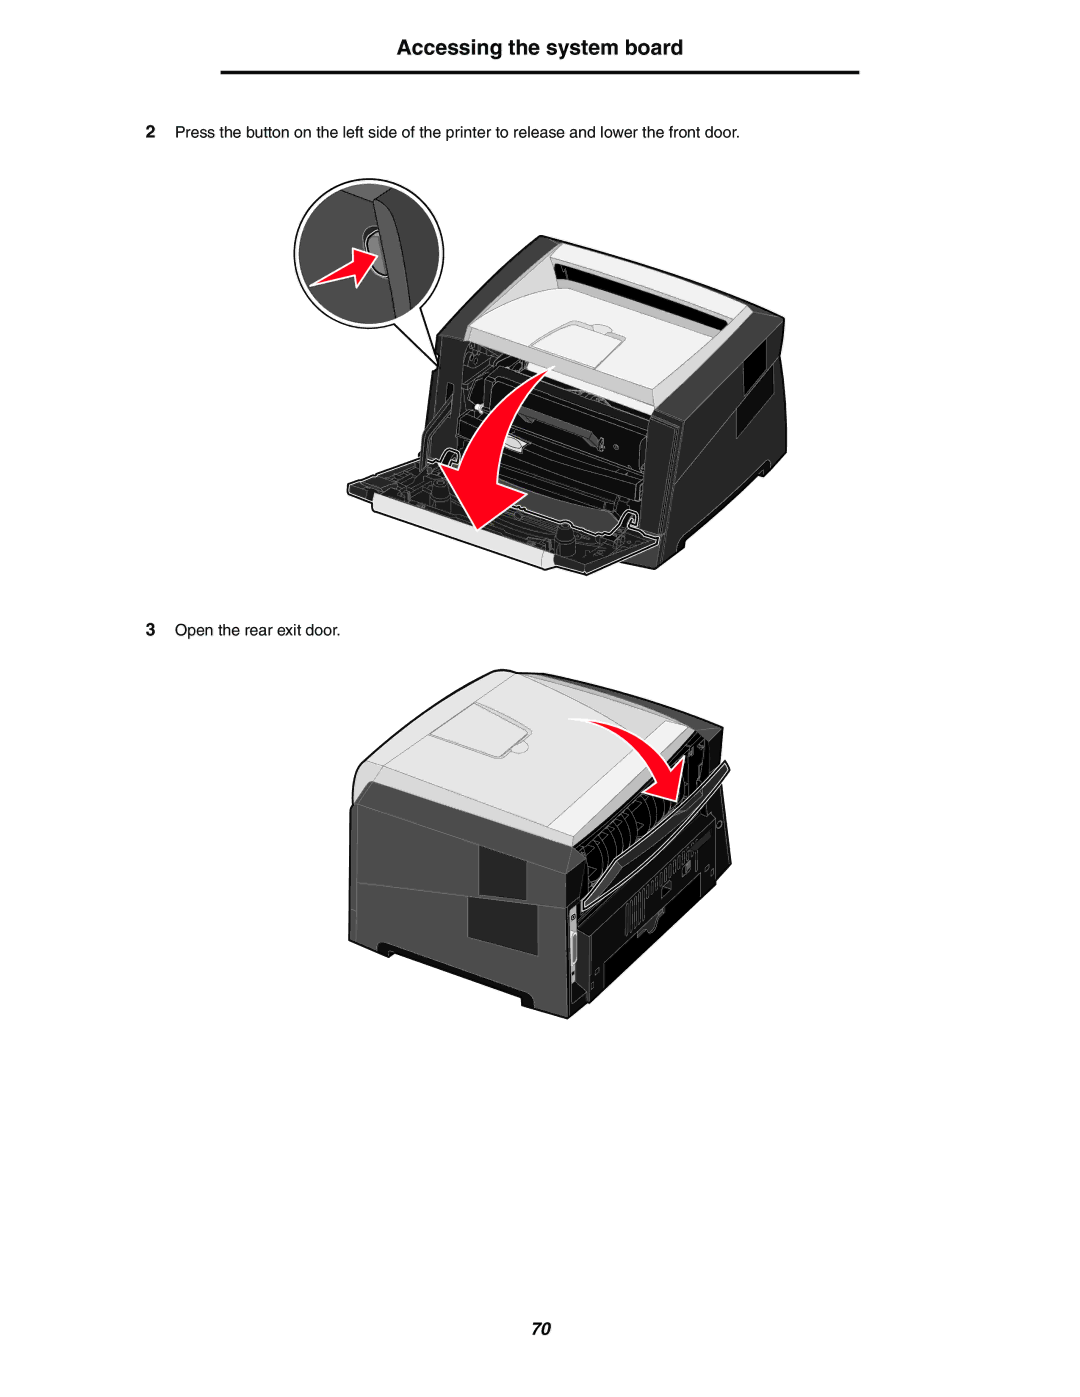
2Press the button on the left side of the printer to release and lower the front door.
3Open the rear exit door.
70
2Press the button on the left side of the printer to release and lower the front door.
3Open the rear exit door.
70