4
5
6
7
8
9
10
Press To
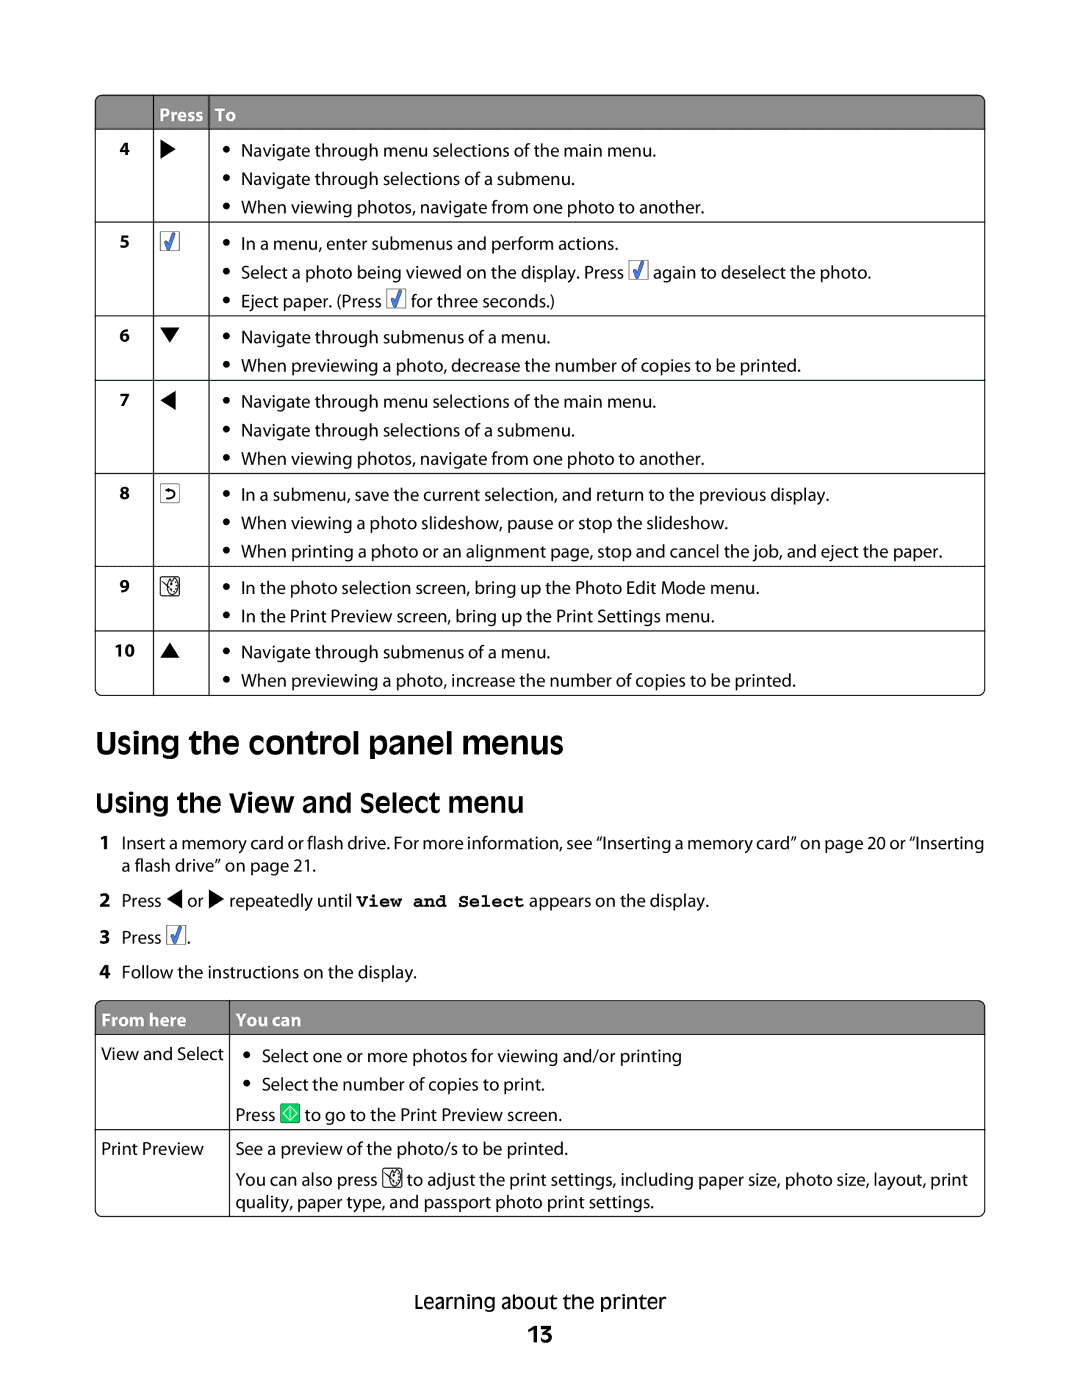
• Navigate through menu selections of the main menu.
•Navigate through selections of a submenu.
•When viewing photos, navigate from one photo to another.
• In a menu, enter submenus and perform actions.
•Select a photo being viewed on the display. Press ![]()
![]()
![]() again to deselect the photo.
again to deselect the photo.
•Eject paper. (Press ![]()
![]()
![]() for three seconds.)
for three seconds.)
• Navigate through submenus of a menu.
•When previewing a photo, decrease the number of copies to be printed.
• Navigate through menu selections of the main menu.
•Navigate through selections of a submenu.
•When viewing photos, navigate from one photo to another.
• In a submenu, save the current selection, and return to the previous display.
•When viewing a photo slideshow, pause or stop the slideshow.
•When printing a photo or an alignment page, stop and cancel the job, and eject the paper.
• In the photo selection screen, bring up the Photo Edit Mode menu.
•In the Print Preview screen, bring up the Print Settings menu.
• Navigate through submenus of a menu.
•When previewing a photo, increase the number of copies to be printed.
Using the control panel menus
Using the View and Select menu
1Insert a memory card or flash drive. For more information, see “Inserting a memory card” on page 20 or “Inserting a flash drive” on page 21.
2Press ![]() or
or ![]() repeatedly until View and Select appears on the display.
repeatedly until View and Select appears on the display.
3Press ![]()
![]()
![]() .
.
4Follow the instructions on the display.
 From here
View and Select
Print Preview
You can
•Select one or more photos for viewing and/or printing
•Select the number of copies to print.
Press ![]() to go to the Print Preview screen.
to go to the Print Preview screen.
See a preview of the photo/s to be printed.
You can also press ![]() to adjust the print settings, including paper size, photo size, layout, print quality, paper type, and passport photo print settings.
to adjust the print settings, including paper size, photo size, layout, print quality, paper type, and passport photo print settings.
Learning about the printer
13
