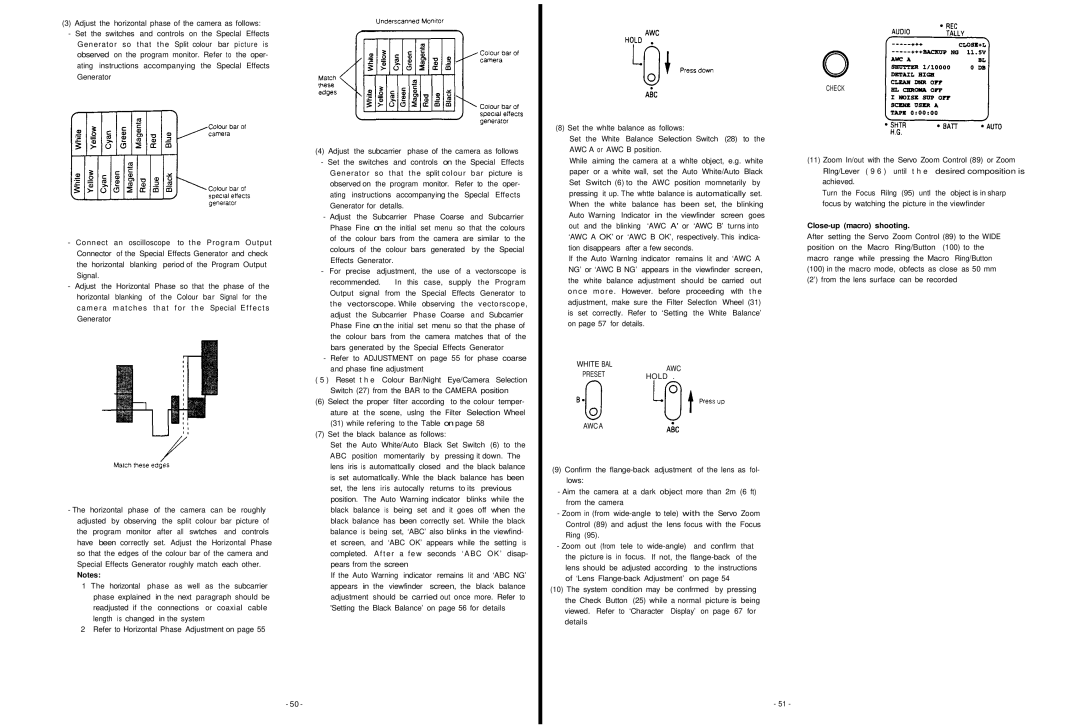
(3) Adjust the horizontal phase of the camera as follows:
-Set the switches and controls on the Speclal Effects Generator so that the Split colour bar picture is observed on the program monitor. Refer to the oper- ating instructions accompanying the Speclal Effects Generator
-Connect an oscilloscope to the Program Output Connector of the Special Effects Generator and check the horizontal blanking period of the Program Output SignaI.
-Adjust the Horizontal Phase so that the phase of the horizontal blanking of the Colour bar Signal for the camera matches that for the Special Effects Generator
(4) Adjust the subcarrier phase of the camera as follows
-Set the switches and controls on the Special Effects Generator so that the split colour bar picture is observed on the program monitor. Refer to the oper- ating instructions accompanying the Speclal Effects Generator for detalls.
-Adjust the Subcarrier Phase Coarse and Subcarrier Phase Fine on the initial set menu so that the colours of the colour bars from the camera are similar to the colours of the colour bars generated by the Special Effects Generator.
-For precise adjustment, the use of a vectorscope is recommended. In this case, supply the Program Output signal from the Special Effects Generator to the vectorscope. While observing the vectorscope, adjust the Subcarrier Phase Coarse and Subcarrier Phase Fine on the initial set menu so that the phase of the colour bars from the camera matches that of the bars generated by the Special Effects Generator
-Refer to ADJUSTMENT on page 55 for phase coarse and phase fine adjustment
( 5 ) Reset t h e Colour Bar/Night Eye/Camera Selection Switch (27) from the BAR to the CAMERA position
(6)Select the proper filter according to the colour temper- ature at the scene, uslng the Filter Selection Wheel
(31)while refering to the Table on page 58
(7)Set the black balance as follows:
(8) Set the whlte balance as follows:
Set the White Balance Selection Switch (28) to the AWC A or AWC B position.
While aiming the camera at a whlte object, e.g. white paper or a white wall, set the Auto White/Auto Black
Set Switch (6) to the AWC position momnetarily by
pressing it up. The whtte balance is automatically set. When the white balance has been set, the blinking Auto Warning Indicator in the viewfinder screen goes out and the blinking ‘AWC A' or ‘AWC B’ turns into ‘AWC A OK’ or ‘AWC B OK’, respectively. This indica- tion disappears after a few seconds.
If the Auto Warnlng indicator remains lit and ‘AWC A NG’ or ‘AWC B NG’ appears in the viewfinder screen,
the white | balance adjustment should be carried | out | |
once more . However. before proceeding wlth | t h e | ||
adjustment, make sure | the Filter Selectlon Wheel | (31) | |
is set correctly. Refer | to ‘Setting the White Balance’ | ||
on page 57 | for details. |
|
|
WHITE BAL | AWC |
| |
PRESET |
|
| |
HOLD . |
| ||
AWCA
CHECK
(11)Zoom In/out with the Servo Zoom Control (89) or Zoom Rlng/Lever ( 9 6 ) until t h e desired composition is achieved.
Turn the Focus Rilng (95) untl the object is in sharp focus by watching the picture in the viewfinder
Close-up (macro) shooting.
After setting the Servo Zoom Control (89) to the WIDE position on the Macro Ring/Button (100) to the macro range while pressing the Macro Ring/Button
(100)in the macro mode, obfects as close as 50 mm (2’) from the lens surface can be recorded
-The horizontal phase of the camera can be roughly adjusted by observing the split colour bar picture of the program monitor after all swtches and controls have been correctly set. Adjust the Horizontal Phase so that the edges of the colour bar of the camera and Special Effects Generator roughly match each other.
Notes:
1The horizontal phase as well as the subcarrier phase explained in the next paragraph should be readjusted if the connections or coaxial cable
length is changed in the system
2 Refer to Horizontal Phase Adjustment on page 55
Set the Auto White/Auto Black Set Switch (6) to the ABC position momentarily by pressing it down. The lens iris is automattcally closed and the black balance is set automatlcally. Whle the black balance has been set, the lens iris autocally returns to its previous position. The Auto Warning indicator blinks while the black balance is being set and it goes off when the black balance has been correctly set. While the black balance is being set, ‘ABC’ also blinks in the viewfind- et screen, and ‘ABC OK’ appears while the setting is completed. Afte r a few seconds ‘ABC OK’ disap- pears from the screen
If the Auto Warning indicator remains lit and ‘ABC NG’ appears in the viewfinder screen, the black balance adjustment should be carried out once more. Refer to 'Setting the Black Balance’ on page 56 for details
- 50 -
(9)Confirm the
-Aim the camera at a dark object more than 2m (6 ft) from the camera
-Zoom in (from
-Zoom out (from tele to
(10)The system condition may be confrmed by pressing
the Check Button (25) while a normal picture is being viewed. Refer to ‘Character Display’ on page 67 for details
- 51 -