3.Some. VTR's may not operate properly even though they are correctly connected to this cam- era. Please contact your dealer for detalled infor- mation.
SET
(5)Turn the camera and the portable VTR on and set the portable VTR to the RECORD mode
(a)F o r portable VTRs with a C a m e r a Select switch, such as Panasonic VTR
Set the Camera Select swich on the VTR to NOR- MAL positlon.
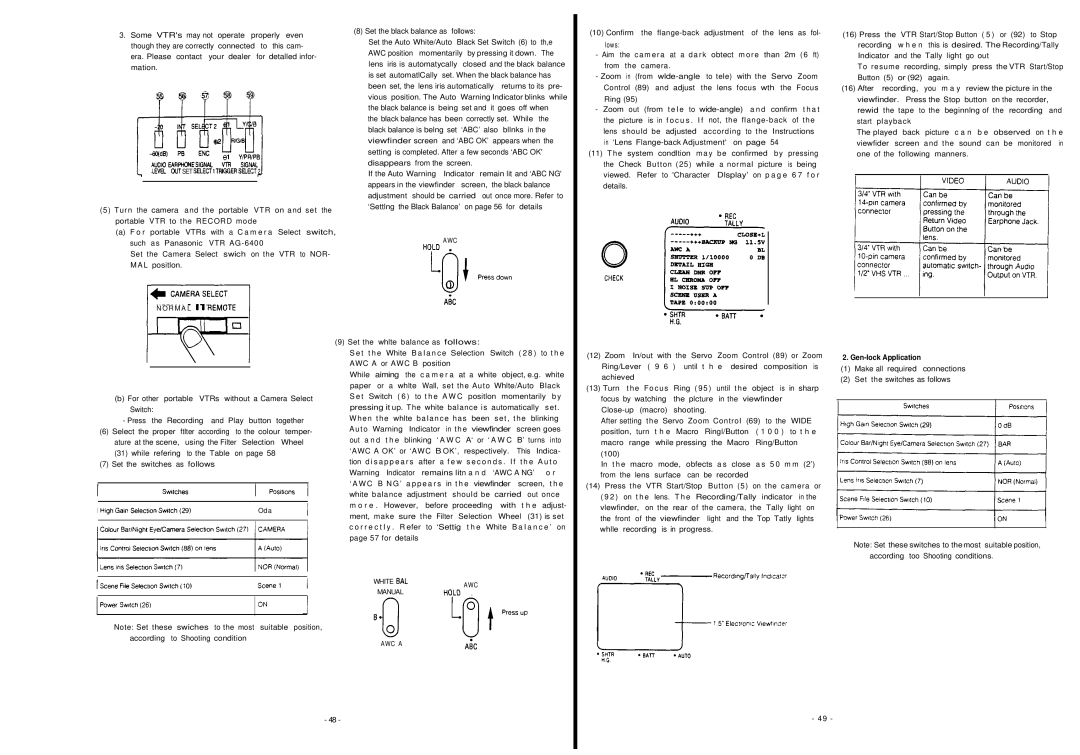
(8) Set the black balance as follows:
Set the Auto White/Auto Black Set Switch (6) to | th,e |
AWC position momentarily by pressing it down. | The |
lens iris is automatycally | closed and the black balance | ||
is set automatlCally | set. When the black balance has | ||
been set, the lens iris automatically | returns to its pre- | ||
vious position. The Auto | Warning Indicator blinks while | ||
the black balance is being set and it goes off when | |||
the black balance has been correctly set. While the | |||
black balance is belng set | ‘ABC’ also | bllnks in the | |
viewfinder screen and ‘ABC OK’ appears when the | |||
setting is completed. After a few seconds ‘ABC OK' | |||
disappears from the screen. |
| ||
If the Auto Warning | Indicator remain lit and ‘ABC NG' | ||
appears in the viewfinder | screen, the black balance | ||
adjustment should be carried out once more. Refer to ‘Settlng the Black Balance’ on page 56 for details
AWC
0
(10) Confirm the
-Aim the camera at a dark obtect more than 2m (6 ft) from the camera.
-Zoom in (from
Ring (95) |
|
|
|
|
|
|
| |
- Zoom out | (from | t e l e to | a n d | confirm | t h a t | |||
the | picture | is in | f o c u s . I f | not, the | of | the | ||
lens | should be | adjusted | according | to the | Instructions | |||
in ‘Lens | 54 |
|
| |||||
(11) The system condltion may be confirmed | by | pressing | ||||||
the Check Button (25) while a normal picture | is being | |||||||
viewed. Refer to 'Character Dlsplay’ on p a g e | 6 7 | f o r | ||||||
details. |
|
|
|
|
|
|
| |
(16) Press | the VTR Start/Stop Button ( 5 ) or (92) to Stop | |||||
| recording | w h e n | this is desired. The Recording/Tally | |||
| Indicator | and the Tally light go out | ||||
| To resume recording, simply press the VTR Start/Stop | |||||
| Button (5) | or (92) | again. |
|
| |
(16) After | recording, | you m a y review the picture in the | ||||
| viewfinder. Press the Stop button on the recorder, | |||||
| rewid | the tape to the beginnlng of the recording and | ||||
| start playback |
|
|
| ||
| The played back | picture | c a n b e observed on t h e | |||
| viewfider | screen | and the | sound can be monitored in | ||
| one of the | following manners. | ||||
|
|
|
|
|
|
|
N O R M A L
(b)For other portable VTRs without a Camera Select Switch:
-Press the Recording and Play button together
(6)Select the proper ftlter according to the colour temper- ature at the scene, using the Filter Selection Wheel (31) while refering to the Table on page 58
(7)Set the switches as follows
| Oda |
|
|
|
|
|
|
|
|
(9) Set the whlte balance as follows: |
|
|
|
| |||||||
S e t t h e White B a l a n c e | Selection Switch | ( 2 8 ) | to t h e | ||||||||
AWC A or AWC B position |
|
|
|
|
|
| |||||
While | aiming | the | c a m e r a at a white object, e.g. white | ||||||||
paper | or a | whlte | Wall, set the Auto | Whlte/Auto | Black | ||||||
S e t Switch | ( 6 ) to t h e A W C | positlon momentarily b y | |||||||||
pressing it up. The white balance is automatically | set. | ||||||||||
When the whlte balance has been set, the blinking | |||||||||||
Auto | Warning | Indicator in the viewfinder | screen goes | ||||||||
out a n d t h e | blinking | ‘ A W C | A‘ or ‘ A W C | B’ turns into | |||||||
‘AWC A OK’ or ‘AWC | B OK’, | respectively. | This Indica- | ||||||||
tion d i s a p p e a r s | after | a f e w | s e c o n d s . I f | t h e A u t o | |||||||
Warning Indicator | remains litn a n d | ‘AWC A NG’ | o r | ||||||||
‘ A W C | B N G ’ | a p p e a r s in t h e viewfinder | screen, t h e | ||||||||
white balance | adjustment | should be | carried | out once | |||||||
m o r e . However, | before | proceedlng | with |
| t h e | adjust- | |||||
ment, make | sure the | Filter Selection | Wheel | (31) is set | |||||||
c o r r e c t l y . R efer to | ‘Settig | t h e White B a l a n c e ’ on | |||||||||
page 57 for details |
|
|
|
|
|
|
|
| |||
(12)Zoom In/out with the Servo Zoom Control (89) or Zoom Ring/Lever ( 9 6 ) until t h e desired composition is achieved
(13)Turn the Focus Ring (95) until the object is in sharp focus by watching the plcture in the viewfinder
After setting the Servo Zoom Control (69) to the WIDE positlon, turn t h e Macro Ringl/Button ( 1 0 0 ) to t h e macro range while pressing the Macro Ring/Button (100)
In t h e macro |
| mode, | obfects a s close | a s 5 0 m m (2’) | ||||
from the lens | surface | can be recorded |
|
|
| |||
(14) Press the | VTR Start/Stop | Button (5) | on the camera or | |||||
( 9 2 ) on t h e | lens. T h e Recording/Tally | indicator | in the | |||||
vlewfinder, | on the rear of the camera, the | Tally light on | ||||||
the front of | the | viewfinder | light and the Top Tatly | lights | ||||
whlle recording | is in progress. |
|
|
| ||||
2.
(1)Make all required connections
(2)Set the switches as follows
Note: Set these switches to themost suitable position, according too Shooting conditions.
|
|
|
| WHITE | AWC |
|
|
|
| MANUAL | |
|
|
|
| . | |
|
|
|
|
| |
Note: Set these swiches to the most suitable position, |
|
| |||
according to Shooting condition | AWC A |
| |||
|
|
|
|
| |
- 48 -
- 49 -